larsona
389914
5484
71

Finished product first. Stars are fiber optic strands that are routed through a false ceiling. I also used LED strips for indirect lighting for the room.

Sketchup model of the framing. The sloped ceiling made things a little tricky in spots so I wanted to make sure everything fit together before starting building. If I had a flat ceiling with an attic above things would have been much easier, but I didn't so I had to build a false ceiling.

Rough idea of what the finished thing should look like.
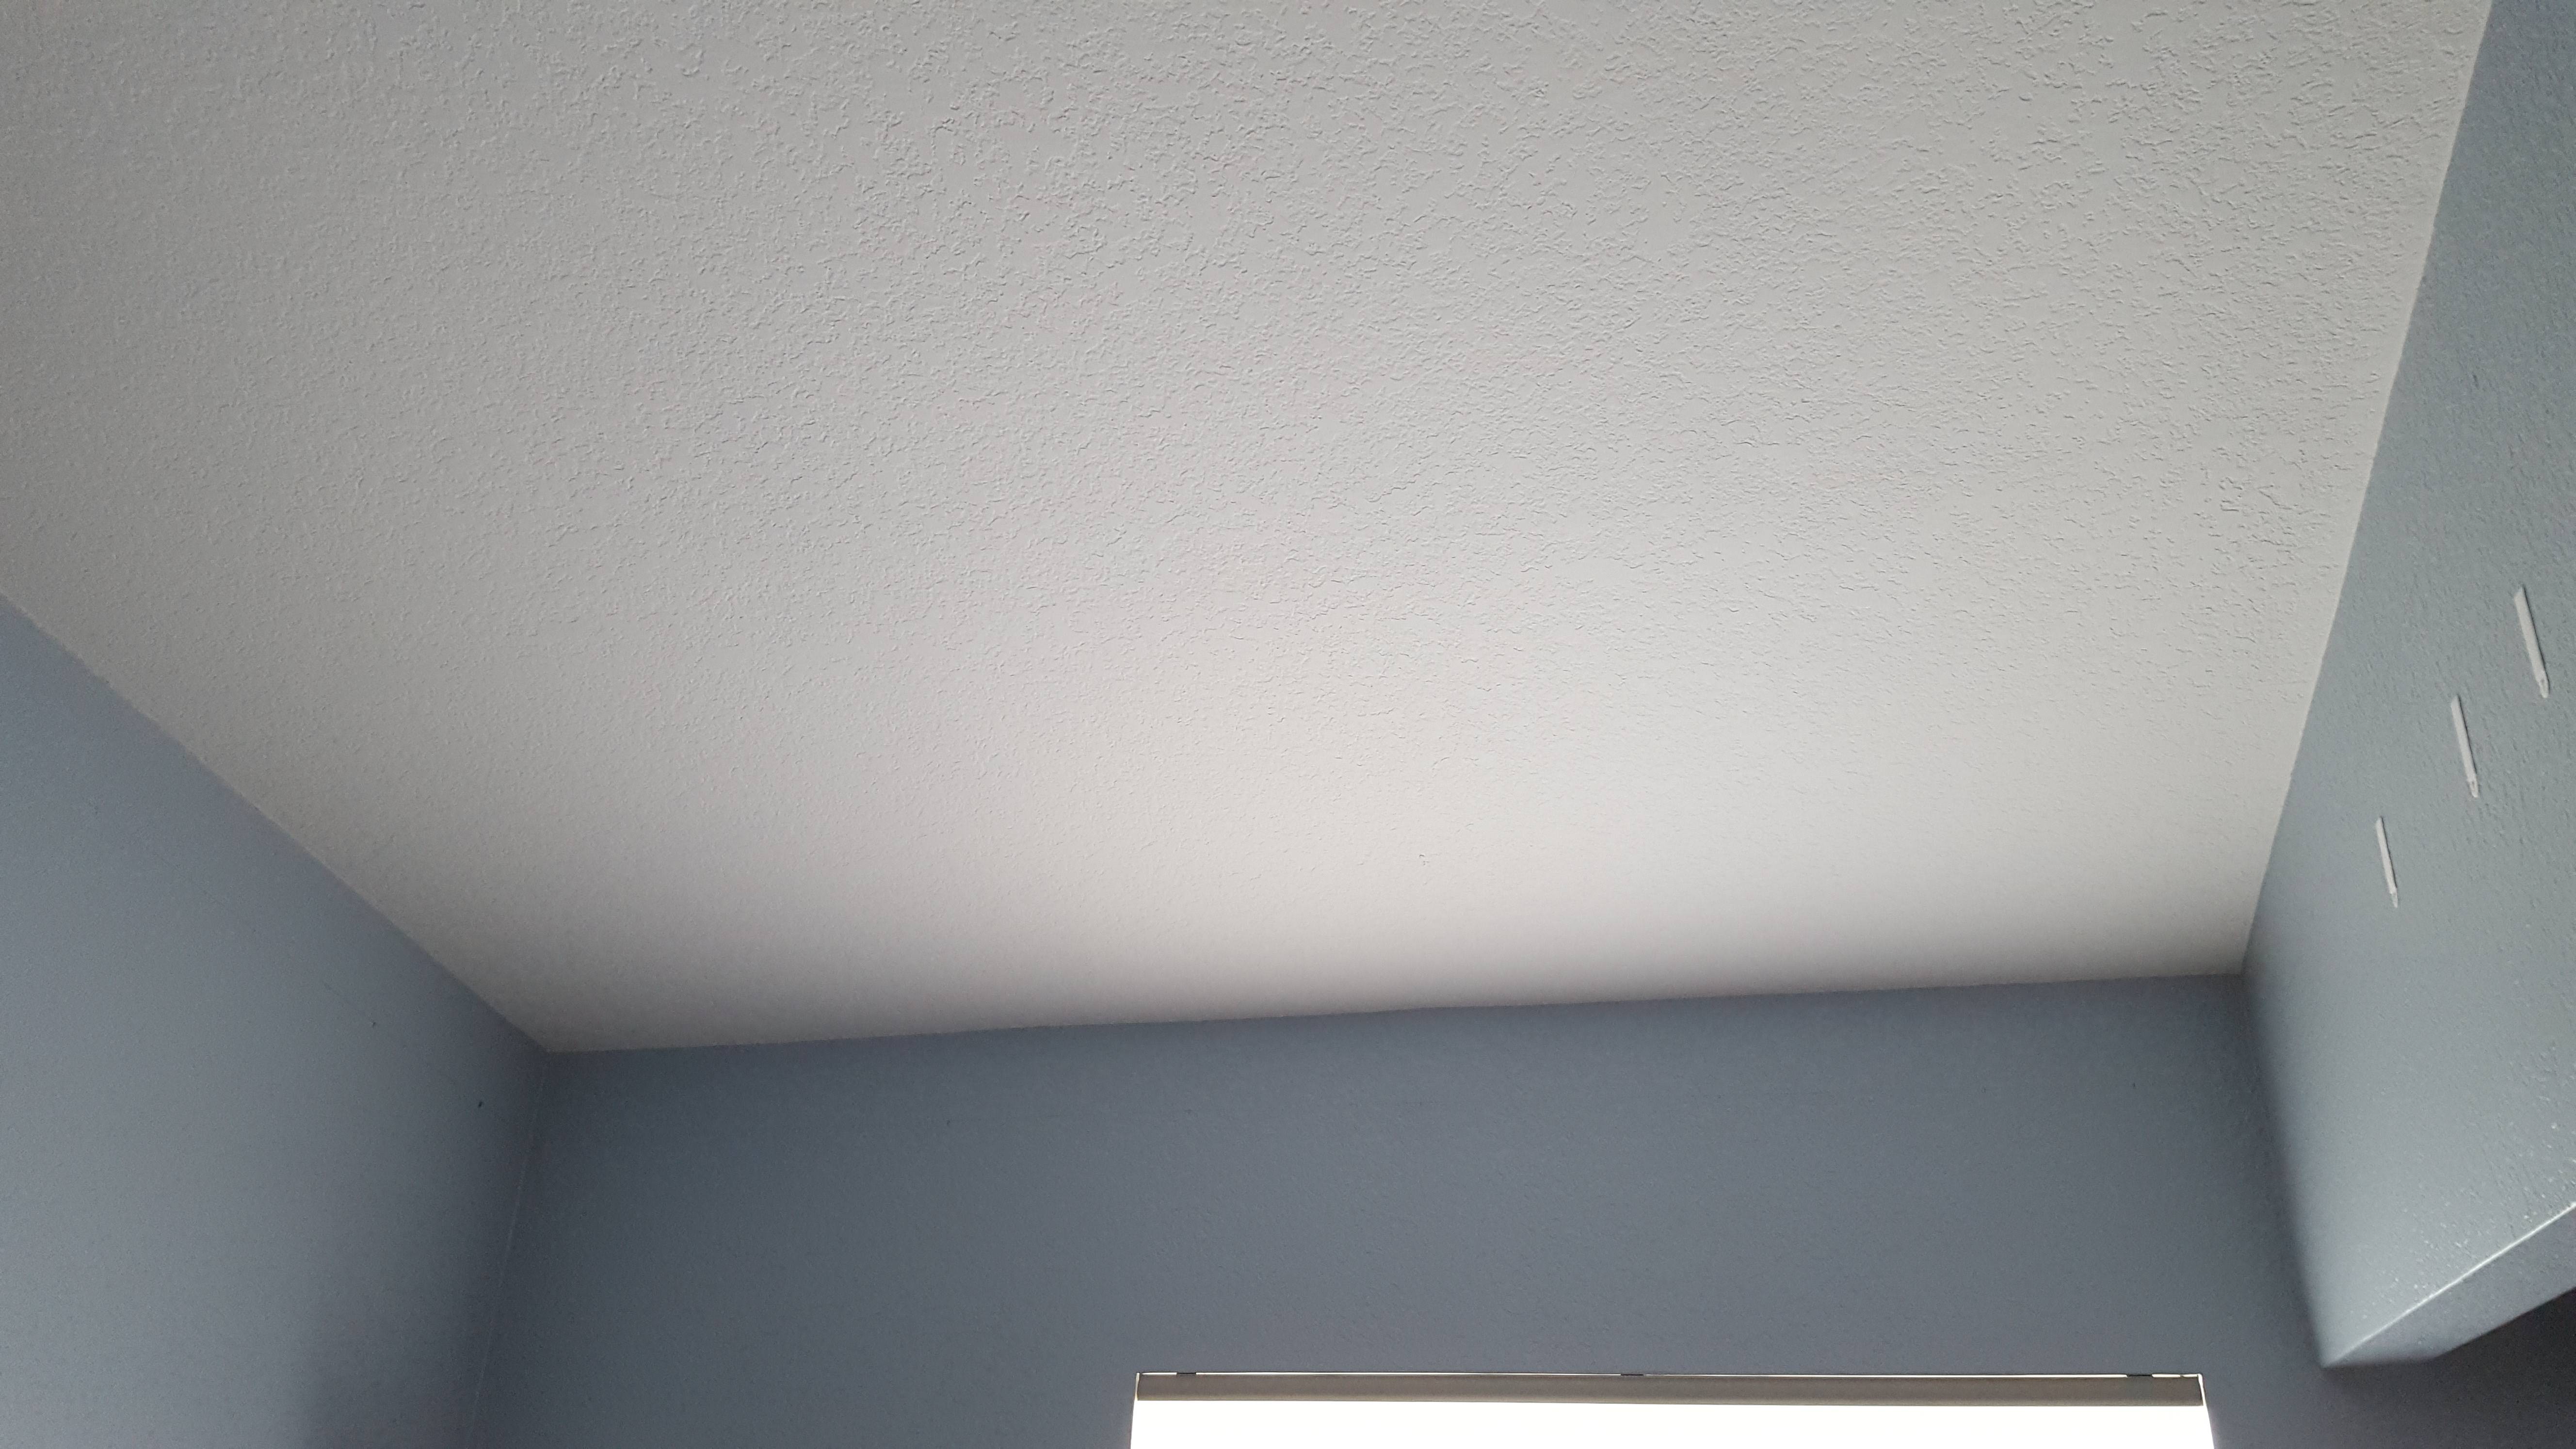
The start point before beginning any work.

2x4s are used on the sides. I used a 2x8 cut down the middle with an angled cut for the front/back pieces to match the angle of the ceiling. Things would have been a bit easier if I spent more time looking for kiln dried lumber, but it was straight enough and a few shims later in the process corrected any problems.

2x2s attached to ceiling joists. These were kiln dried and pretty straight forward. It's not perfectly square since the ceiling isn't perfectly square, but it's close enough.

Connecting it all together with plywood and smaller 2x4 pieces. If you look closely you can see that the small 2x4s don't line up perfectly with the large 2x4s on the wall, but it's close enough.

The goal was to have the stars be a realistic view of a spring/summer night sky since my son was born in April. The room also has a north facing window so I thought it would be cool if you could look out the window at the right time and see some of the same stars.

The star ceiling kit I used had 288 fiber optic strands with different thicknesses to represent different brightness of stars, so I needed to find the brightest 288 stars for the section of the night sky I wanted to recreate. This was a tedious process that involved lots of screenshots from a program called Stellarium, each screenshot I took had a different magnitude filter and was then dropped into a new layer in paint.net. Then for each layer I painted dots over the stars to mask them and kept count as I went.
Here's a link to the star ceiling kit I used:
http://www.wiedamark.com/288ledstarceiling.aspx

I then used a projector to map the stars to the drywall that would be used for the false ceiling. I ended up scooting some of the stars away from the seam since I assumed that would make things easier, but I don't think I really needed to do that. I knew that mudding/sanding later on would cause any star here to be sanded flat before painting, and I was worried that painting over the stars would block them. I found out later that they shine through a coat of paint pretty well and a dremmel with an engraving bit can knock some of the paint off the tips pretty effectively.

Poking 288 holes through drywall with a sewing needle. I tested different sized needles for the different sized strands to try to get it to fight snugly. The large sized strands ended up needing a thin drill bit.

Labeling the different strand sizes since it was pretty hard to tell the difference between the smalls and mediums and I wanted to make things easier on myself when it was time to plug these things through the drywall. It also let me count how many of each strand I had, which was good since it didn't match what was advertised, I ended up with 30 or so more medium strands and 10 or so less small strands. Some of the small stars were upgraded to mediums at random and the extras were unused since I wasn't about to redo all the work needed to plot the points.

Sorting and placing the strands needed for the different sections of drywall. I ended up bundling the smalls together and removing the stickers since they were getting in the way. The mediums and larges were bundled together since those were easy enough to tell apart.

The view from the ladder, this was pretty tedious to pull individual strands out of the bundle and get them sorted.

Rented a drywall lift so I could plug in the strands and raise the drywall up to the ceiling. Once it was close to the top I dabbed glue in each spot to hold it in place. I think it would have been better to remove the stickers before gluing since some of the strands ended up being glued to the sticker rather than the drywall.

Strands hanging through before being trimmed, looks pretty cool in person.

Trimmed down the strands. I didn't trim them totally flat since I was going to paint over this, then give them the final trim.

Other side up. The constellations ended up being hard to see since the brightness of the stars ended up being very similar, even between large/medium/small fibers. The light kit I used also has a "twinkle wheel" which works by rotating a disc with holes in it to basically turn off some of the stars as it rotates, which can make it harder to identify constellations. I think if I wanted to chase down the realistic view of the night sky further it would require removing the twinkle wheel and painting over the ends of stars that should be dimmer, but losing the twinkle effect would be less entertaining for a baby so I left it as is for now.

Mudding/sanding the seams. I ended up sanding down the tips of the fibers that were close to the seams/edges since it was hard to get things smooth otherwise. I was really hoping that I didn't cause bigger problems later since it would be tricky to get the paint off the tips of the fibers, but the paint didn't actually dim the lights that much anyways so it wasn't a huge deal.

Painted with the lights off and ends of the fibers trimmed. I was really happy that it ended up looking like a normal ceiling with the lights off.

And with the lights on. I was really happy with how well things were coming together at this point.

Plywood shelf added to hold the LED strips for indirect room lighting.

I hired an electrician to put an outlet up and hook up a light switch to one of the outlets. The fiber optic light box thing was put inside the structure since I didn't want light to leak through and it was a little bulky. The other stuff I figured was small enough to stay out of the way especially once the trim was put up to help hide it.

Light strips turned on. I wasn't able to get a picture of it that matches how it looks in person, but the way it glows almost makes it look like you are looking out a big window into the sky as the sun is setting. It's a very cool effect and turned out better than I thought it would.

More drywall to finish it up.

Adding trim, I initially wanted to use 1x3 pieces so I could block the view of the electronics, but this created a hard shadow from the LED strips and since I really liked the soft glow I decided that a shorter trim was needed.

Switched it out for 2x1 pieces, but even then it was slightly too tall. I ended up using a router to shave down the inside edge and that was just enough to avoid creating a hard shadow.

Trim up, glow effect still looking good.

Taped up everything for mudding, sanding, and texturing.

Close up of the texture, it's not as blotchy as the wall texture but it's close enough.

Finishing the seams with a bead of caulk after the tape was removed.

The view of the electronics. I think I'll try to find a 12v dc brick that is smaller or in white to hide it better.

Finished painting. Pretty happy with the results, but I'm still thinking about painting the trim a slightly darker color to help frame it better. Not sure if I should yet though.

All done. Thanks for looking.
bluntfakie
Coulda put a skylight in bro
ICarpeYourDiems
looks great. Why not just paint your power supply and cables?
BigBlackPimp
Great work!!! I did the same for my son.....took me a solid 2 hours.
GimmeYourSchnitzel
you're going to be a great, thoughtful father
GENTLEMANxJACK713
I’ve heard of nesting, but what you did was build the Sistine Chapel of Nests.
AsshatMattTittyGrabbers
Nice job! Imma just gonna steal your wall paint idea and use a cheap light projector for the ceiling though....
FfejNC
Raising the next Carl Sagan. Billions and billions of stars.
inzane
I wish I could be a baby in your house
hangemhigh13
Sketchup is God's gift. Extremely helpful to be able to look at the final result before you start tearing down walls.
ExitPursuedBySeveralBears
This is amazing and I want it!!! How cute would it be if the kid grew up to be an astronomer?
PoeticThoughtsFromAShittyPerson
This is truly a labor of love, I'm deeply moved by your dedication to this project for your son
Scythrael
That is super cool. I am so jealous of your tiny human. I would love to have this in some room in my house. Maybe in my eventual office.
TheGreyKnightsBANNED
Yeah but I want someway to see the actual stars at night. I would love to somehow have a camera way out in the middle of nowhere and a tv1/2
TheGreyKnightsBANNED
Above my head. That streamed what that camera saw directly to the tv. Then I could fall asleep by watching the actual stars. 2/2
merdock379
Really awesome OP
NightSkyMurals
That's one of the nicest fiber optic star ceilings that I've seen done. Nice job!!!
lampylamplamp
Great.... now NEVER MOVE.
WW2Marinerd
My dad just used glow in the dark star stickers when i was little. Times are a changin i guess
ArmedWithATediore
I'm 23 but can you adopt me?
df209
That’s a lucky baby!
0AK14ND
Seriously! When the baby becomes an astrophysicist he's going to have one proud papa!
giitsok
Here it took me like 2 years to change the lightbulb in my entrance way.
SakuraSunsets
If I was your baby I'd keep that ceiling forever
McFluffySundae
They make laser lights just for this, they project stars on the ceiling and even move them around.
big65
They look rough and like something out of the late 80's.
smu23
I asked an worker at our planetarium in Vienna here: Contrast is still better with this & you nee no line of sight (projector-> ceiling).
EmotionallyTransparent
Pfffffffffffft. It says nursery. I'm a grown man and this would be the best room in the house for me.
goofyboots81
Aye. Google star field home theatre ceiling
EmotionallyTransparent
Found cinema shop star ceilings. So cool. Omg. I hope I get to build a room like this before I die.
aFadingMemory
Well that was 45 minutes of envy and awe. Seems there are a lot more plug and play solutions than OP decided to go with as well.
Brant04
Was the mural painted or a vinyl? If it was painted could we get a post about that as well pls :)
larsona
It was painted. I put together a composite of some mountains in paint.net then projected it on the wall and just traced the edges.
Brant04
Wow, you did a great job!
StrugglingDad
Damm that's some amazing work, real dedication with all those tedious steps. Just curious how long did it take and what would u say it cost?
jelloknits
It cost $3.50.
iAmLegMan
It costs about H e l l a B r e a d
MyFetishIsALittleOddish
I would like to know this as well OP! This is fantastic!
big65
Rough estimate would put it at around $750 not including his time for his own labor. Lighting kits and electrician are the highest.
larsona
Thanks!
larsona
I didn't keep a running total of cost, but under $1000 is my guess.
larsona
I started the project in June and just finished in October. Though it was weekend work and time was limited due to the new baby.
yagotabekittenme
I will pay you to come do this at my house. I want it.
TK421isAFK
OK, long reply: First off, I gotta say I'm a perfectionist, and once I saw you doing a really good job (I don't hold shoddy work against 1/?
TK421isAFK
amateurs, unless it's truly unsafe), I started nit-picking. You did an awesome job with this. Then, I read the magic words: "I hired an 2/?
TK421isAFK
electrician...". As a (former) electrician, I have a lot of respect for this. It tells me you didn't take short-cuts. Very nice work! 3/3
SeveralBalloons
Yes but is the ground bouncy and is the rainbow water breathable?
TogepiOmelette
I would like to go there...before Timothy of course
MyDadSaidICouldSellThePoopTube
Brant04
TheRustyArgonian
Noxcado
I didn't.
pookieeatworld
LookUnderThere
Froopy Land! /a/iZmld
Natissonat
Rick and Morty. Season 3, the ABC's of Beth.
Brant04
I believe it is referring to a show called extreme makeover: home edition