jtthemediocre
1710
37
2

Another round of model shipbuilding for you wonderful peasants.

Remember all those tacks I hammered into place? I'm going to have to file every one of those down flush with the hull.

It's proving to be a bit more time consuming than I thought.

I kept at it, though.

Patience is rewarded.

It's both required and desired.

With the nails filed down, I begin sanding.

I opted for an 80 grit sanding sponge for most of the work. The planks aren't as thin and fragile as the veneer I used for the deck, so this will get the job done right.

Making good progress so far. It also revealed what I need to do to make the bow nice and pretty.

You can tell from the shadows being cast how much I still need to do.

I want the end cuts to follow the natural curves of the stern, making it round where it needs to be.

The ends should be flush with the keel as well.

Getting closer.

As boring as sanding can be, it's also one of the most important steps.

Well, look at that...

I'm tickled pink by the progress I'm making.

Just a few spots to take care of.

Including this beast.

Ew. Sorry for the potato.

That's better.

I'll address the end cuts first.

And then tackle the curve.

It's going to take quite a bit of time and elbow grease.

I wrapped some 80 grit paper around a spray can that was just the right shape.

Then I went to town on it.

There's a lot of material that I need to get rid of.

The hardest part was keeping the sanding even throughout the process. The impromptu sanding block really helped in this step.

The fruits of my labor.

Perfect? No, but good enough for me to be happy with it.

The curve of the stern was also time consuming. I wanted to get the taper just right.

Eventually I was satisfied with the job.

I will admit that all of this sanding meant that I needed to file down the nails a second time. No biggie.

Just keep at it.

Eventually it came to be something to be proud of.

Smooth and refined.

Unlike my ex.

Just a few more nail heads to clean up.

Once I was satisfied, I gave everything a wipe down with a damp paper towel.

And I saw that it was good.

I'm so happy that all of you have been enjoying this little project with me.

I'm glad to share this new-found hobby.

I do need to do some test fitting for an upcoming step.

This gets attached to the bow.

I need to double check the curve and finally deal with that ugly bow.

I'm going to cheat a bit and use some filler.

Just squeeze a bit into the gap...
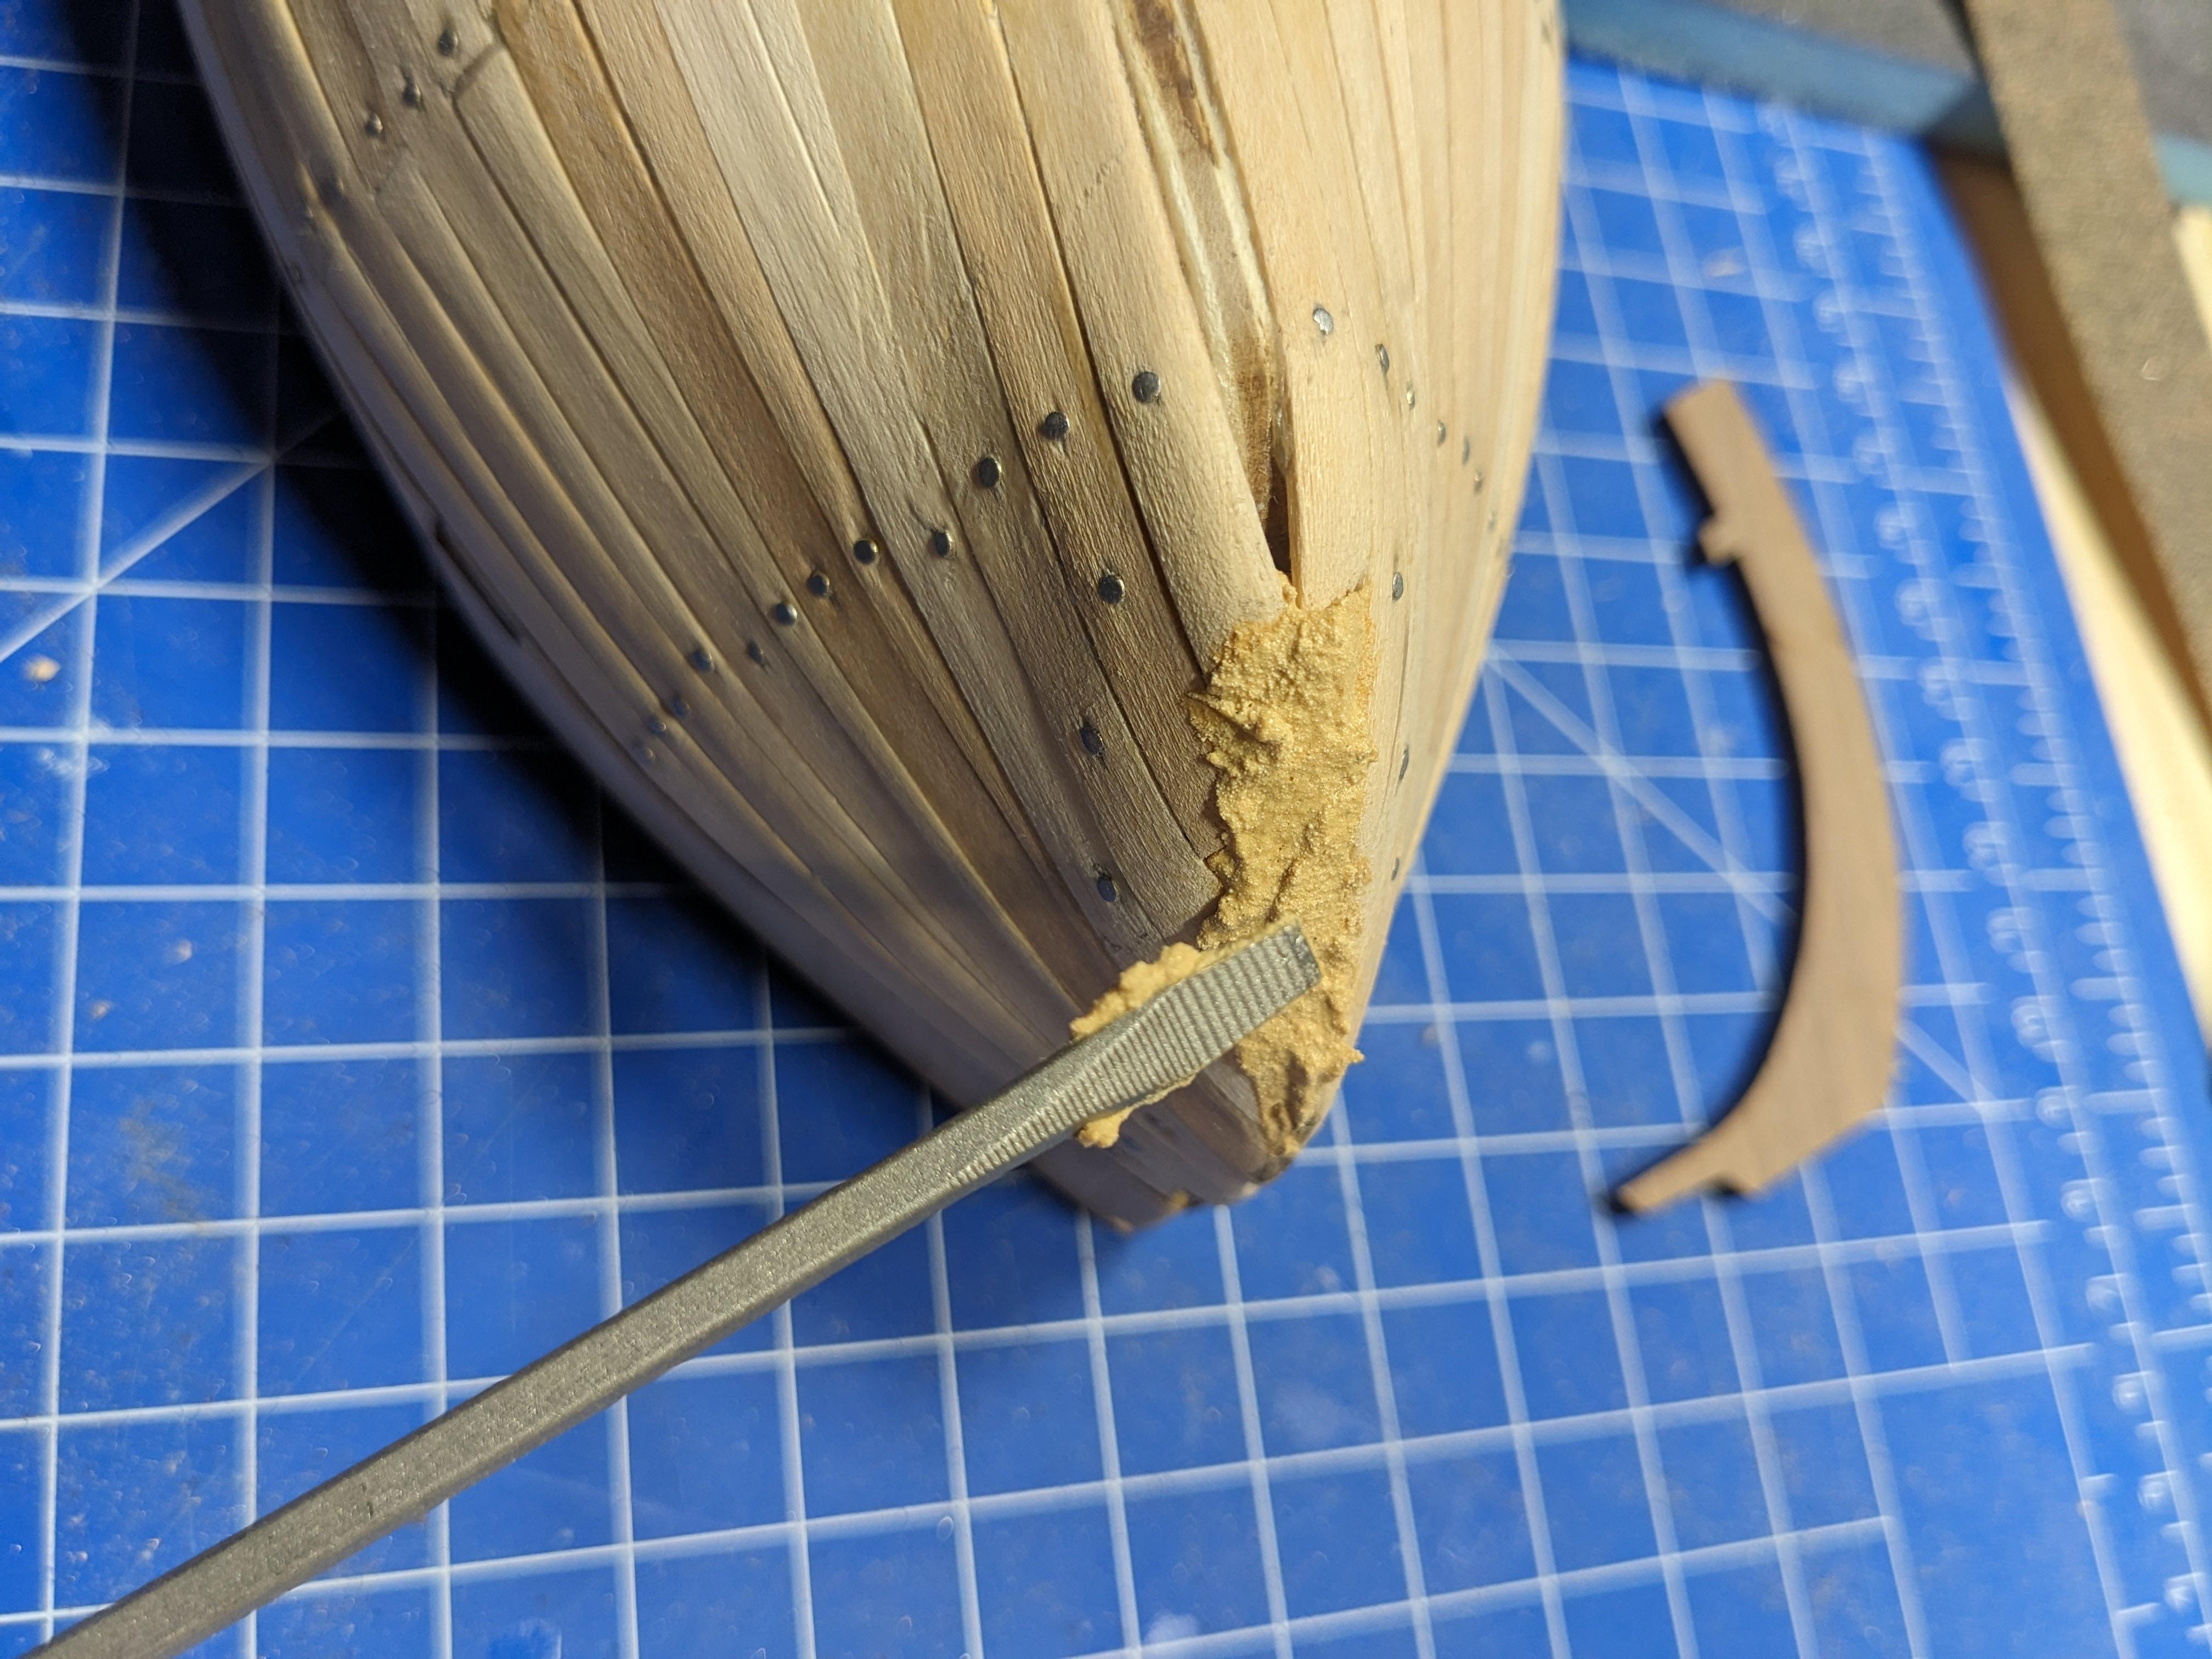
And tamp it in with a screwdriver.

I'll let it sit to cure and then sand it down.

I think you're going to love the next portion of this, but for now, it's quitting time.

Cat Tax!
Have a good rest of your day, and happy building.
ILikeFood2000
Loved the step by step commentary