mjperk
2411
48
2
Final product

I don't know how to play guitar and I've never built one. My hobby is really just trying new stuff. A hobby of having hobbies? Anyway, this was quite the project and took me about 7 months to complete. I didn't log hours exactly, but I'd guess it was in the several hundred region.
Sorry in advance for some of the potato photos. I had to pick and choose since almost all were taken with a cell phone in poor lighting.
Getting started

I bought this guitar as a kit so while it is 90% still DIY, some of rough cuts and shaping were already done. Mostly the stuff that would be too advanced for amateurs to easily do. I was still surprised how many tools I had to get to complete the rest of it still.
The first step here is gluing the braces to the front and back of the guitar body.

You can see the "finished" top laying face down here. The braces are scalloped too.
Not even its final form

I left a bit out, but the sides have been glued to the end blocks and are attached to the guitar face here. The weird thing around the body is just a jig I made to keep it in the correct profile while assembling.

I'm gluing the back on here. You can see the liberal use of clamps and weight--that was to make sure everything sealed up nicely.

The semi-finished body! You can see the excess material hanging over the sides which gets trimmed later.
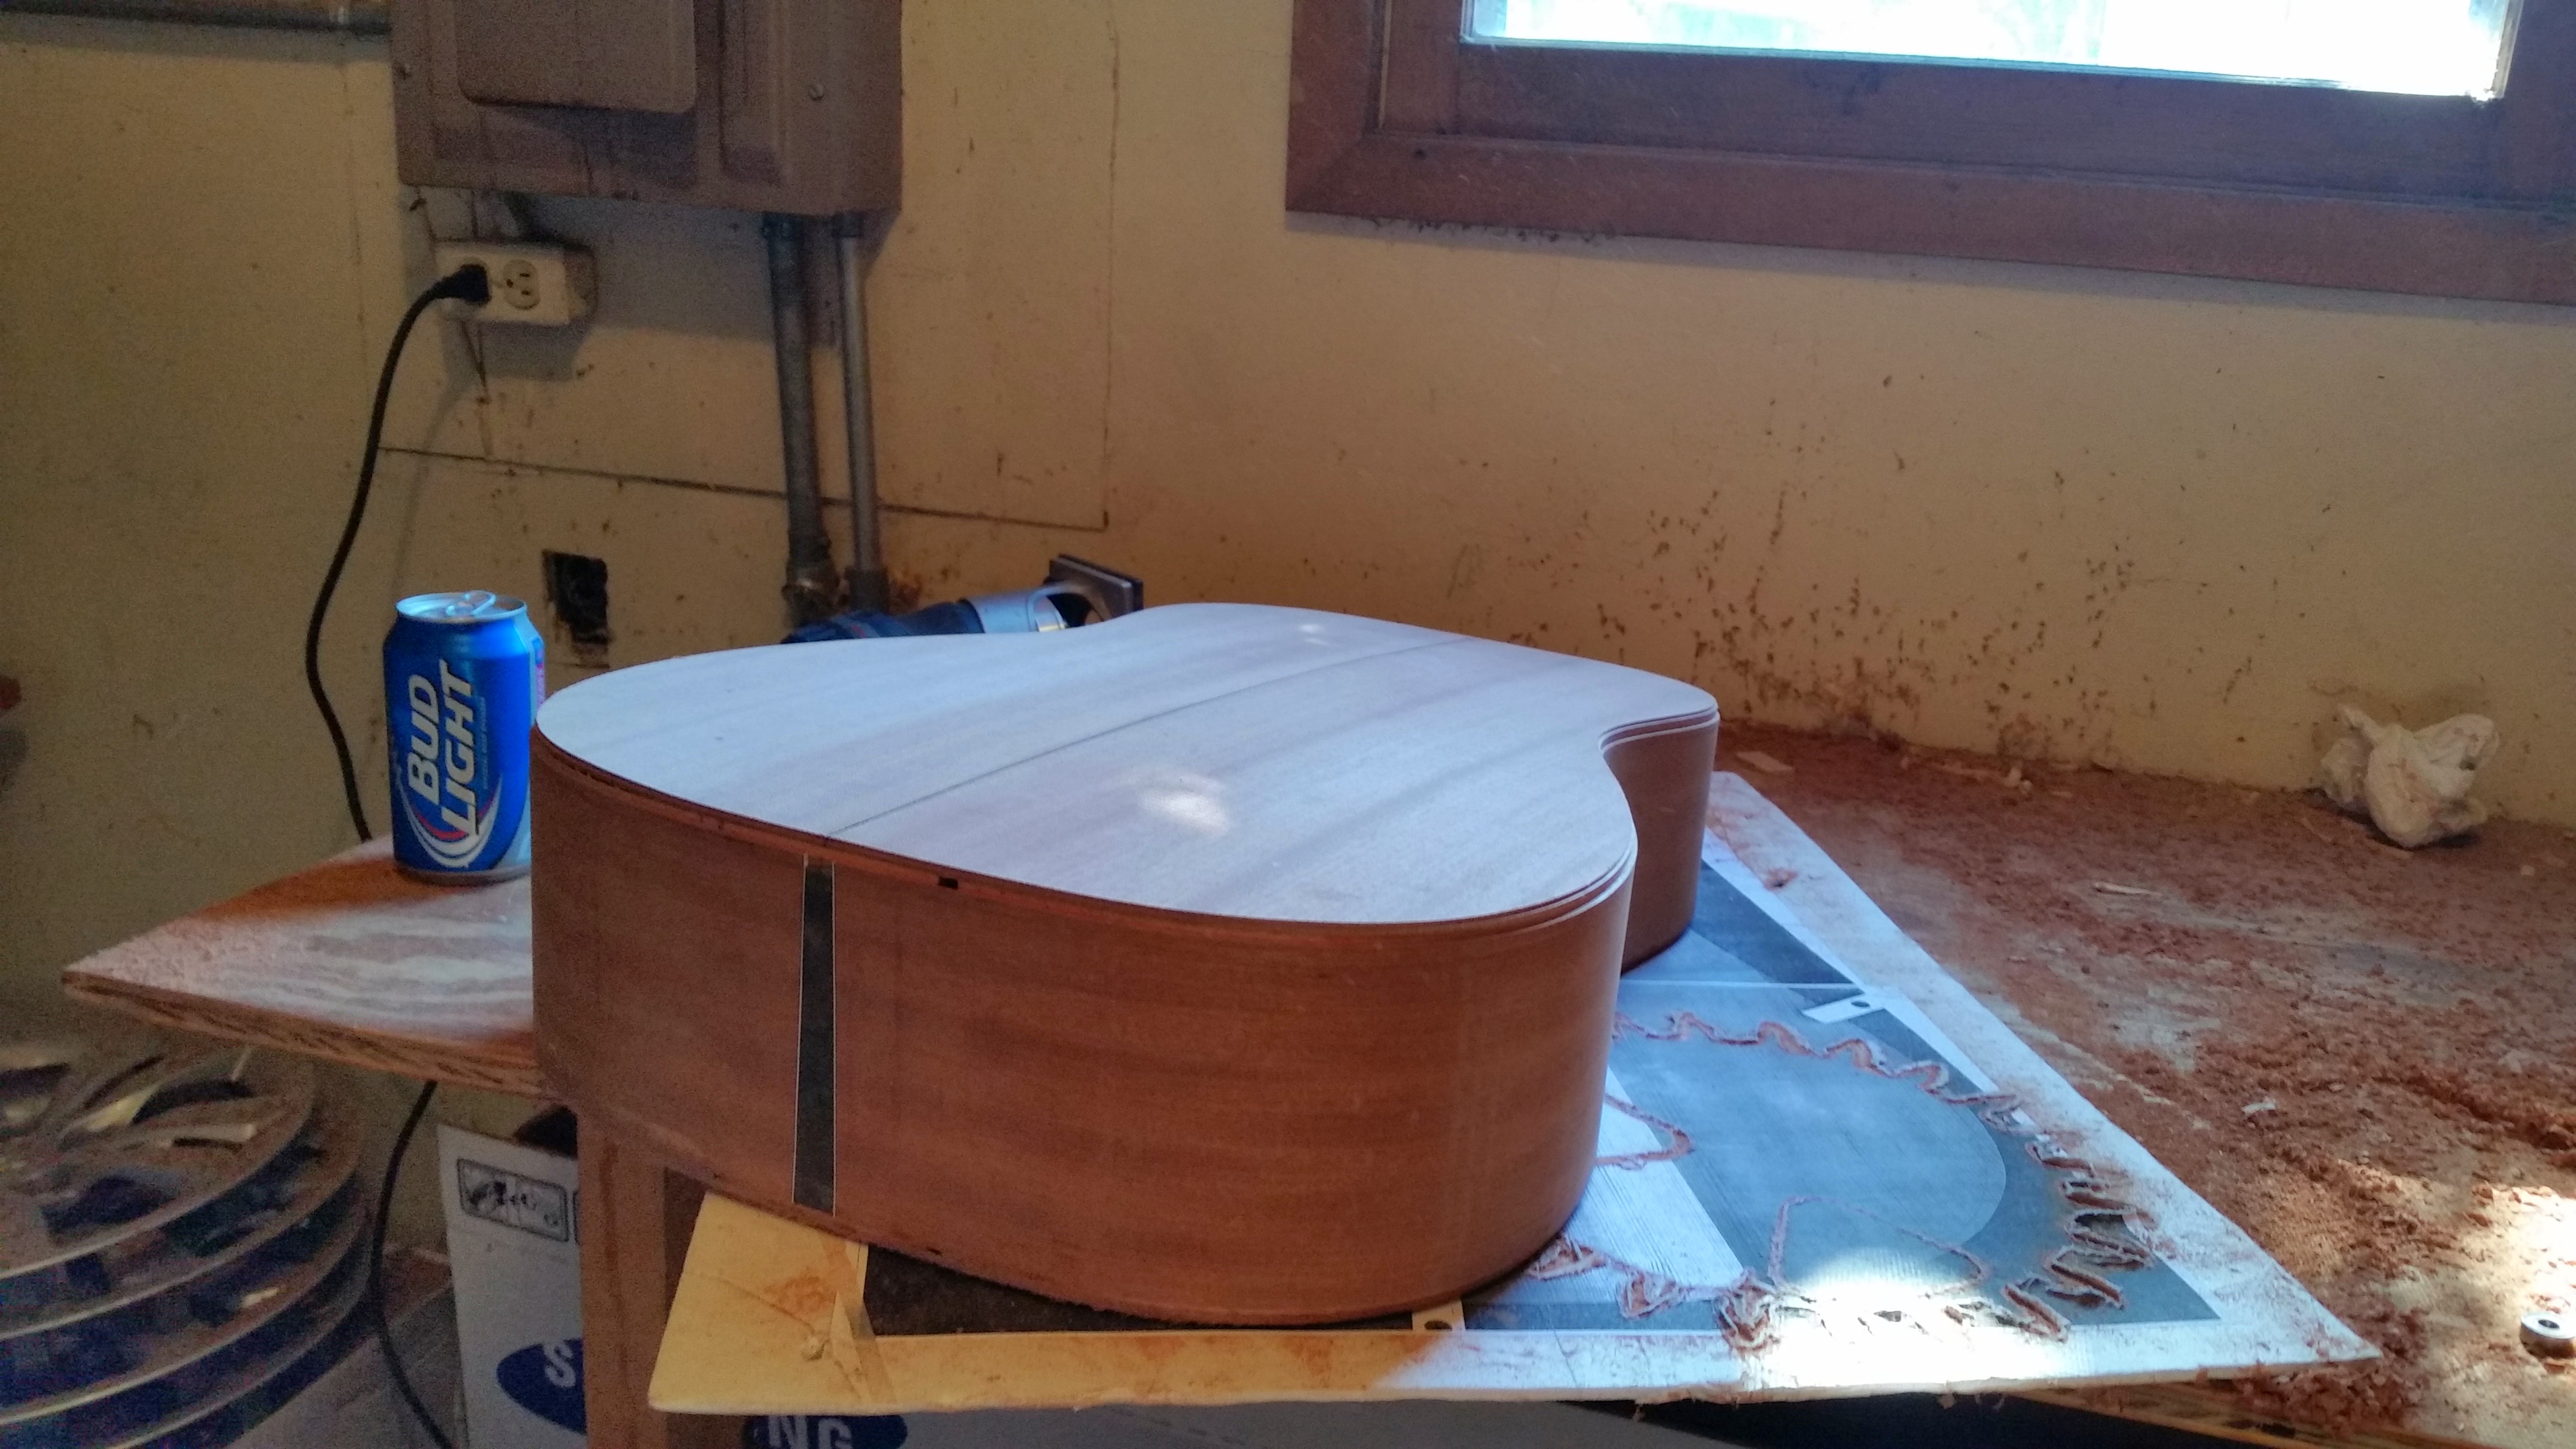
Adult beverages always help projects to a point, right? You can see that I've taken a router to the edges. This is so the binding and purfling (the decorative edge stuff) can get glued onto the body. It helps to hide seams and ugly stuff.
Money shot

Uhhh yiss. Close up of those nice, clean edges.

So I skipped quite a bit here, but you can see how the binding/purfling is in place and sanded down. You might have also noticed that I decided to replace the black, plastic end piece with crotch maple. It matched better and I decided it was worth the time and trouble.
Cheating?

When you get the neck it is roughly shaped. I'm not sure what kind of results I would've gotten if I had to do that part myself. I had to correctly measure and drill the tuning machine holes, as well as installed the truss rod and attach the fingerboard. Here, I'm gluing on the heel cap.
Potato

Sorry for the bad quality, but it was the only photo I had showing the installed frets and finger dots.
Inlay work

Something I didn't show is that I actually ended up replacing the entire front of the guitar body after a failed inlay. It was just too large and I couldn't make it work. However, I really wanted to personalize this guitar somehow, so I decided to do a more traditional inlay on the head. More curly maple.

This photo might be a little out of order, but it shows the inlay installed and sanded down.
Getting closer?

No. Little did I know that this is where my troubles would start. I decided to use a 2-part aerosol finish for the guitar because it is easy to apply and is very durable. Traditionalists might scoff, but I'm glad I did it.

Here's a shot of the neck getting finished. As you can imagine from seeing photos of my dirty furnace room (it was too cold to do this outside) dust and contamination were an issue. I decided to hang plastic from the ceiling and make a clean room. It solved much of my finishing issues. Getting it to a mirror shine was difficult as well. I had to go up to 2000 grit paper and a buffing wheel with polishing compound. I can't tell you how many hours I spent sanding and buffing.

Here's where the guitar really started to look like one. My neck was bolt-on, but still required the finger board to be glued to the body on top.

And attaching the bridge after some very careful measuring. The literature I could find said that being off by more than 1mm in any direction could cause serious intonation issues later. Not a lot of wiggle room.
Oh yeah, I almost forgot...

And here's where you see the start of my major issues. I got the guitar roughly strung up and to my dismay learned that I set the neck angle incorrectly. The strings touched the 12th fret all of the time. A lack of experience and good instructions...
I had to remove the neck to make some corrections. Because the bridge location is determined from the neck location, that also had to come off. Remember that 1mm in any direction thing? I found instructions online saying that you could use a heat lamp to ruin the glue and pry it off. Needless to say, I was terrified of ruining my nice finish that I spent weeks getting right. For as ghetto as it looks, the cardboard and foil did an excellent job at controlling the heat.
Getting there

I used a thermocouple to get as close as I could to the proper temperature with the heat lamp. It wasn't exactly scientific but made me feel a little less anxious about what I was doing.
Success

To my surprised, it came off with little trouble. There was massive prying involved, even with the hot glue.
Take 4 or 5 steps back

Because I removed the bridge, I had to repair the finish there. It cost me several more weeks to do that and repair other damage caused by removing the neck. After everything was said and done however, it was hardly noticeable that anything ever went wrong. I think I got pretty lucky here.
Take 2


Finished!

And here we are again. I left a bit out about shaping the saddle and nut (the pieces the strings actually rest on) which was pretty time consuming too.
Overall I'm pretty happy with how it turned out. Now I just need to learn a song to say I did.


halyeahboy
DAT ASS
TheEvilTwinOfJackHarkness
I'm not a fan of those paddle headstocks, but aside that, it's a beautiful instrument.
pmohlman
Great job dude.
OGParseltongue
TheLivinLegend
How does it sound?
mjperk
A friend of mine played it. I made this as a "secret project." After I told him I made it he said he couldn't have guessed. Pretty good imo!
TheLivinLegend
Any chance we could hear a recording?
mjperk
I'll see if I can get one. Best I can personally do now is a few chords :)
TheLivinLegend
That'd be awesome! And it looks fantastic, by the way.
mjperk
Thanks :)