Quarantane
663
16
1

I work at a cabinet shop in Arkansas, I'm the draftsman/CNC programmer (sometimes operator as well) so I rarely get the chance to actually build anything at the shop, this was the first cabinet I built at J.H.C. It's a locker for a women's soccer team at O.B.U.
This is the first step, I built the outside shell of the cabinet, very simple. Just glue and nail your 2 end panels to the bottom, slide the 1/4" back into the dado, or grove cut by the CNC and staple the back at an angle to your end panels to keep it in place, be careful not to be at to sharp an angle or your staples will blow out the inside and you'll have to start over.
You can zoom in on the bottom of this cabinet and see that I forgot to change the nails when I nailed the shipping blocks to the bottom of the cabinet, so they went through completely. Luckily it wasn't to bad and we could repair it.

This was step 2, build the inside portion of what will be the locker, using a couple jig blocks cut to the proper height you clamp those to the end panels and then glue your horizontal partitions and set them in place, shoot a couple nails to hold it in place until the glue dries, not to complicated.
Then, we have to add a panel for a mirror to be glued to in the second from the top hole in the picture, to do that you just get some scrap blocks cut to the height of your holes and glue nail them into the ents. After that just glue the 1/4" panel onto those blocks and your set.
After that you need to fasten the drawer guides in place, we use full extension ball bearing guides, you need to make sure they're not perfectly flush with the front of your cabinet, give them about 1/16" clearance, this will allow your drawer fronts to completely close, instead of sticking out of the front.
Next step is to combine those two units together, this is the harder part, you need to make sure that your partitions are square, flush, and level with the shell of the cabinet before you fasten them, use a framing square and a level to accomplish this.
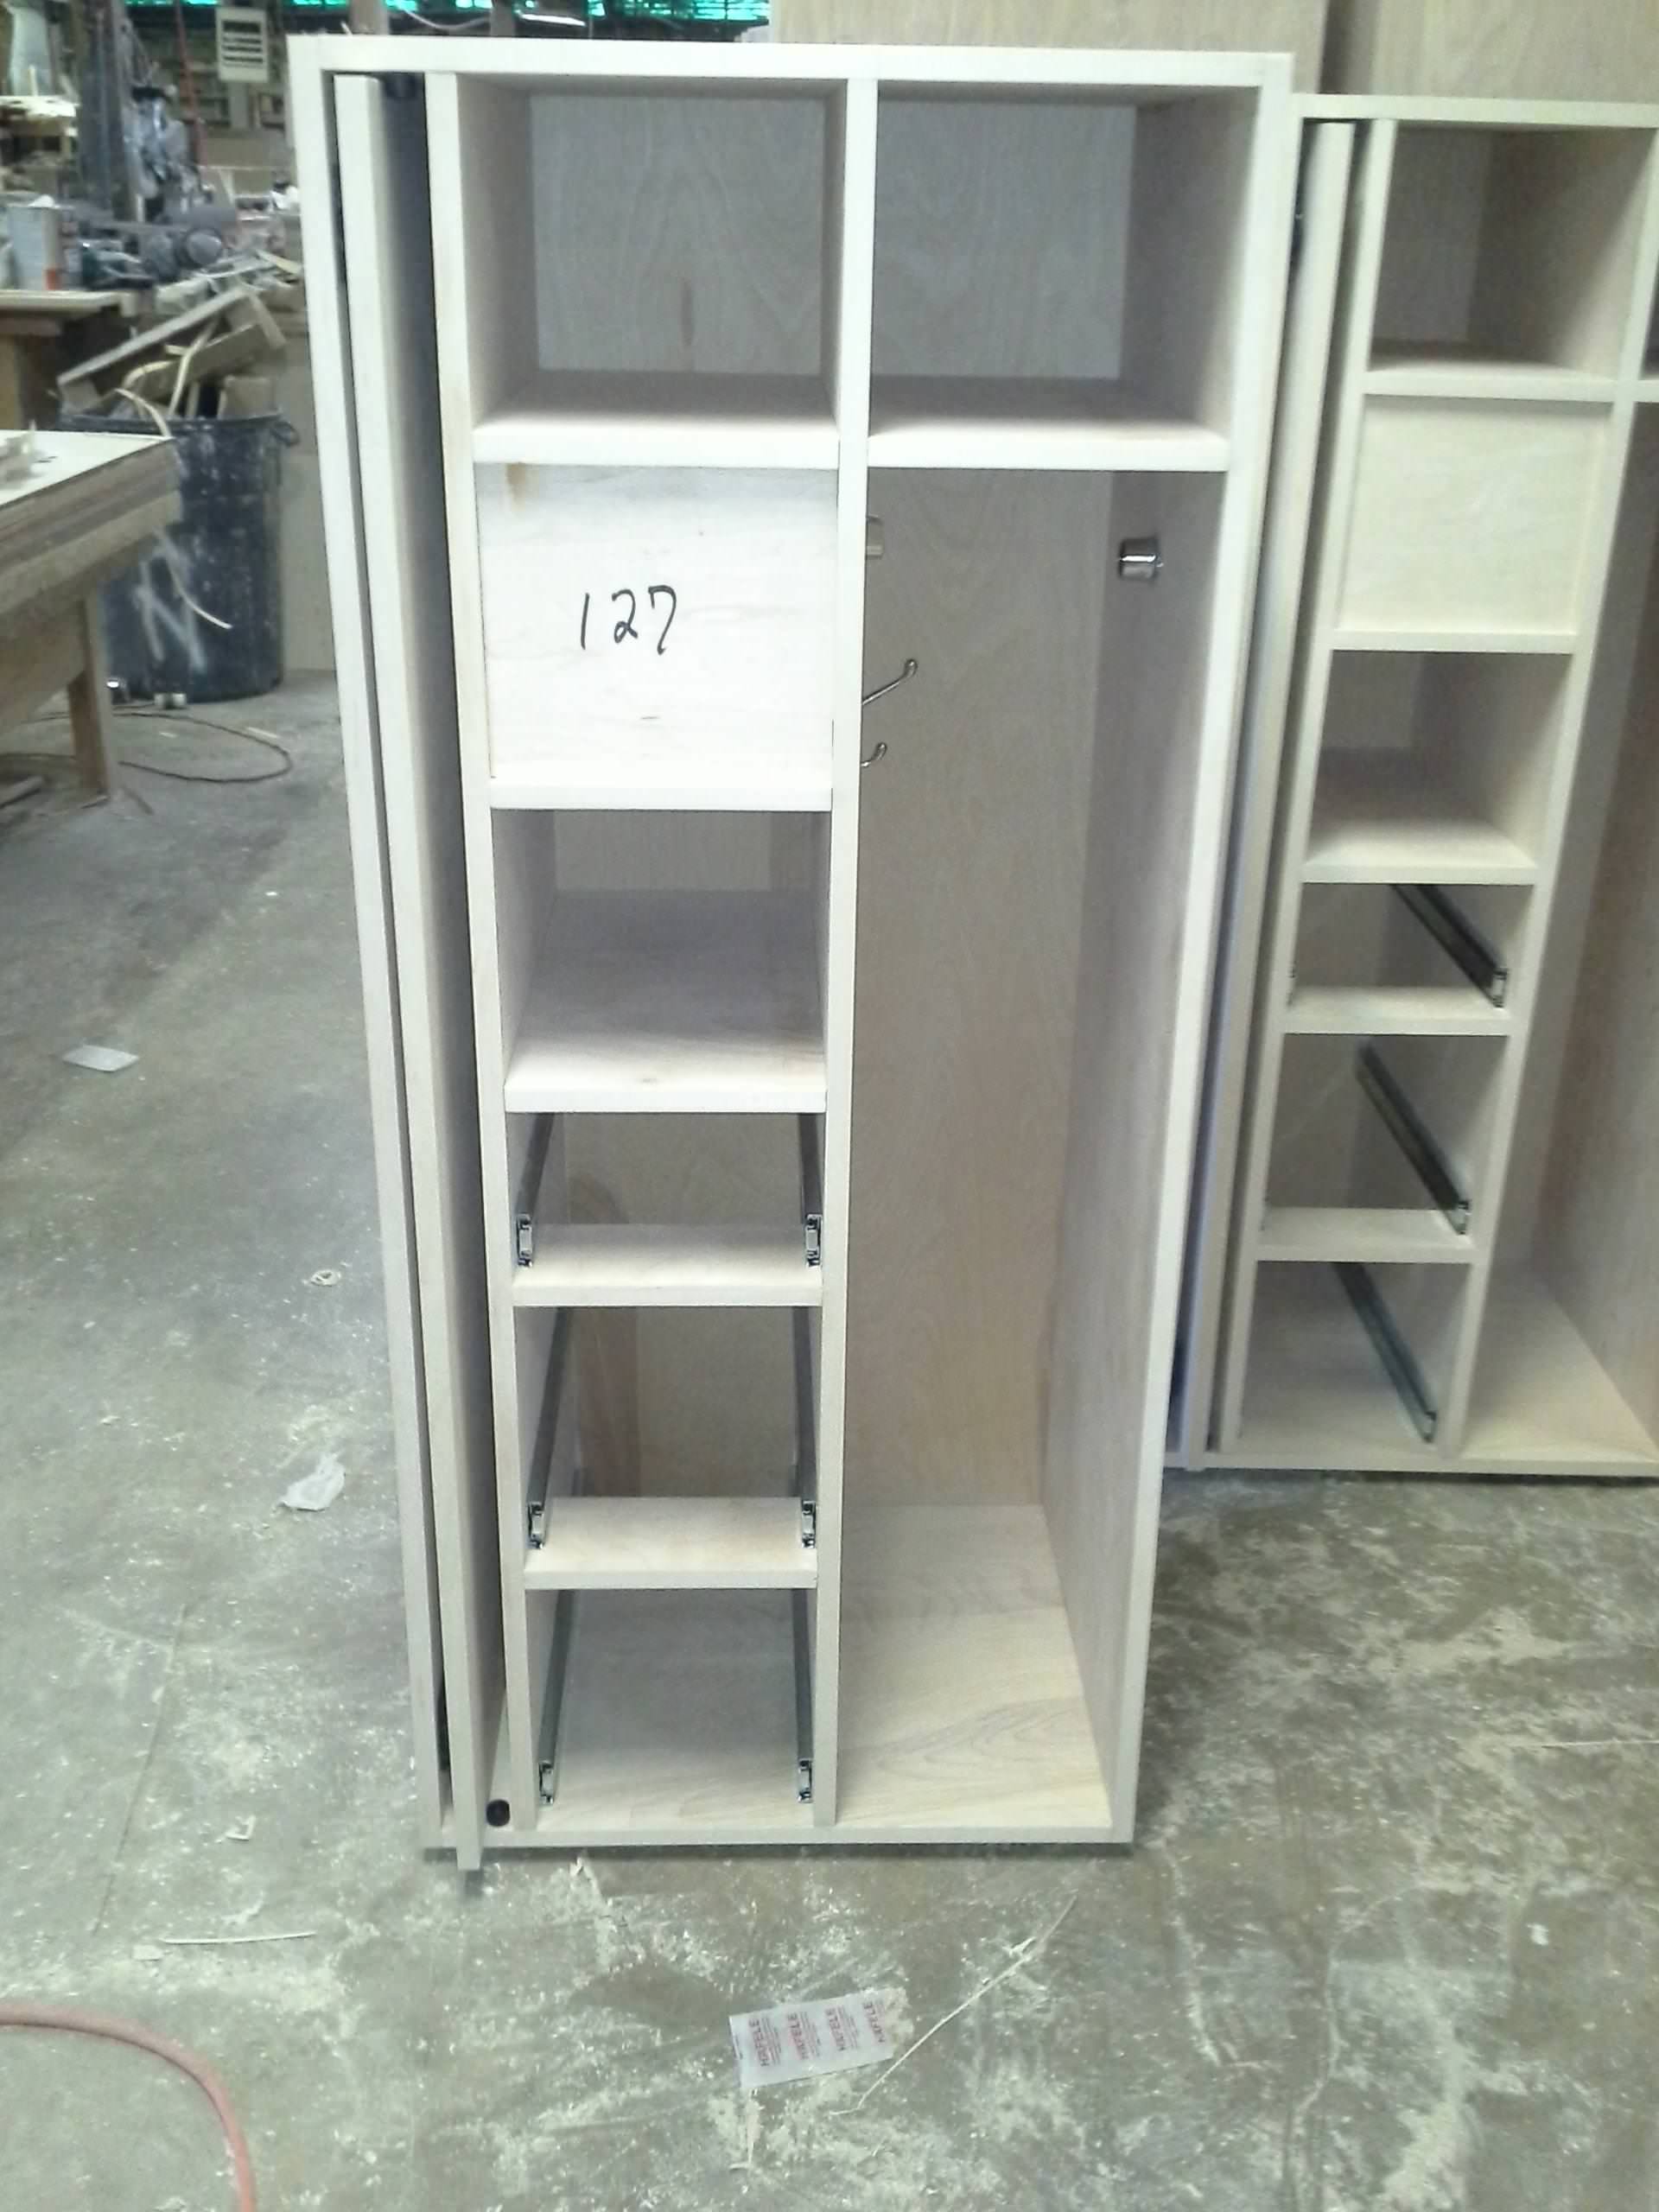
You can see that this cabinet has a pocket door in the left hand side, this will pull out and close flush with the partition I the center leaving the far right opening completely open at all times, if you look close there is also hardware for a closet rod to be installed in this cabinet.
I'm sorry I don't have any more pictures to give a better step by step of the process, but I'm rarely building and this was one of the only cabinets I got the chance to take pictures of, and the only one I actually built. This was a couple years ago, I have a lot of pictures of other projects that I helped design, draw, and program but none that I physically built myself. Let me know if any of you are interested in seeing some more.
neillmain