CypherColt
7890
30
3

I've opted to save some money and instead of using 2 inch pipes, I'm using 1 and a half inch. ABS instead of PVC so I don't have to paint it over to make it look better, though most people confuse ABS pipes for PVC pipes. (Which is why I kept PVC in the title of my project, more people understand what a PVC pipe is over an ABS pipe).
Note - Sources of Idea/Sketchup files at the bottom of -this- bunch of paragraphs.
If anyone is genuinely interested in my modded Sketchup File, I'll gladly share it on 3D Warehouse!
Cost for materials (Without HOTAS/Wheel/Pedals/Chair)
Around 300$ CAD, mostly from Home Depot. This includes a few tools that I needed, like the PVC/ABS Cutter.
Specs:
- 30.69 feet of Schedule 40, 1 1/2 Inch ABS Pipes (Schedule 40 means 40mm thick walls in the pipes)
- X Rocker Ace seat
- Logitech G920 Racing Wheel
- Thrustmaster T16000M FCS HOTAS (Joystick + Throttle)
- Ply Wood instead of MDF. (Was recommended to use Ply Wood by a contractor)
**I ended up with Pine wood, Home Depot didn't have the thickness of ply wood I was looking for to feel safe to mount anything to it.**
Fun little addons:
- Cup HolderI added a Cup Holder to the left of the seat. My awesome roommate had bought me a can of cookies, the metal cover for that can fit perfectly to finish the cupholder. I had no idea how I was going to block the pipe hole until I opened that can.
- Phone Holder
Lazy Pod Phone Holder so I can look at my phone hands free while driving.
Future Mods:
I plan on adding something for my mouse on the right side of the chair as well as a keyboard holder under the steering wheel.
I am not sure where yet, but I need a VR stand for both the headset and the controllers. Charge ports as well for the controllers.
I will likely Cover the wood with something as I'm way too lazy to paint it. I just want to play some games!
Sources:
Modified Simul8r Sketchup file - Original here:
https://3dwarehouse.sketchup.com/model/ccbaa46d4aabb440baf647e1f0598b35/Simul8r-PVC-Sim-Rig
Chair/Wheel/Pedal model from this sketchup file:
https://3dwarehouse.sketchup.com/model/a017ca54-f7dc-4368-bee7-fc9e9dbd876b/PVC-Racing-Sim-Pod-w-Logitech-G27
HOTAS Mount Layout idea: (This is the only Mod I found that put both HOTAS and Wheel in the same Simul8r rig, thank you for that!)
https://www.gtplanet.net/forum/threads/my-first-custom-rig-pvc.343642/

I had to figure out the most efficient way of cutting up the pipes. I think I did pretty good with the least possible waste.

Marked up all the pipes for cutting, using the Rigid PVC/ABC cutter. After watching the YouTube video to see exactly how to use the tool, it worked just as well. Though I was a bit slower than them at it. It was still much faster than using a saw to cut 57 pieces.

Cut up pipes, organized them in order of height as well as grouping the fittings together.

Halfway there, this half was for the seat.

Everything went together nicely, still not glued.

Different angle.

Chair fits on it nicely. I spent about an hour of testing with my keyboard to play some Forza 7 on PC. I noticed the pipes on the back as a rest for my chair are not tough enough. I do plan on securing the seat to a wood plank, but I'm worried it might somehow still manage to lean backwards.
I've decided I'll change the corner fittings on the back rest behind the chair to be the bent Tees, like a corner with a 45 degree angle on one of the pipes. This should let me have a triangle formation with a few more fittings and 1 more 19 inch pipe.
Otherwise, all that's left is ABS Cementing it together, fitting on the wood, and setting up the peripherals.

After a few hours of glue and getting fresh air, the pipes are all solid. If you look closely, at the pipes to front/right of the chair. You will notice wing nuts on a bolted pipe. It's the same on both sides to allow for easy take down and storage. Note the wood planks are not secured to the pipes yet here, I was just testing the size.
The Throttle and Joystick are secured with the regular M6 Screws, and the wood planks for them are bolted to pipe caps. I decided not to glue the caps down, but haven't tested it yet. I want to be able to take them away when I'm not using them so I have more space.
I managed to use the ABS cement to glue down the metal cookie can cap into the cupholder, works like a charm!

Closeup of the bolted pipe.

- Wood piece that sits under the seat.
- The brackets are to mount the wood to the pipes.
- Also used a dremel to allow the bolts to be recessed under the seat.

Closeup of the recessed holes.

Mounting the wood for the seat.
I didn't take photos while mounting the Pedals / Wheel / HOTAS as I just wanted to finish the build already.

All done, I'm super happy with the results! I made sure the HOTAS can be detached easily as it gets a bit crowded with it.


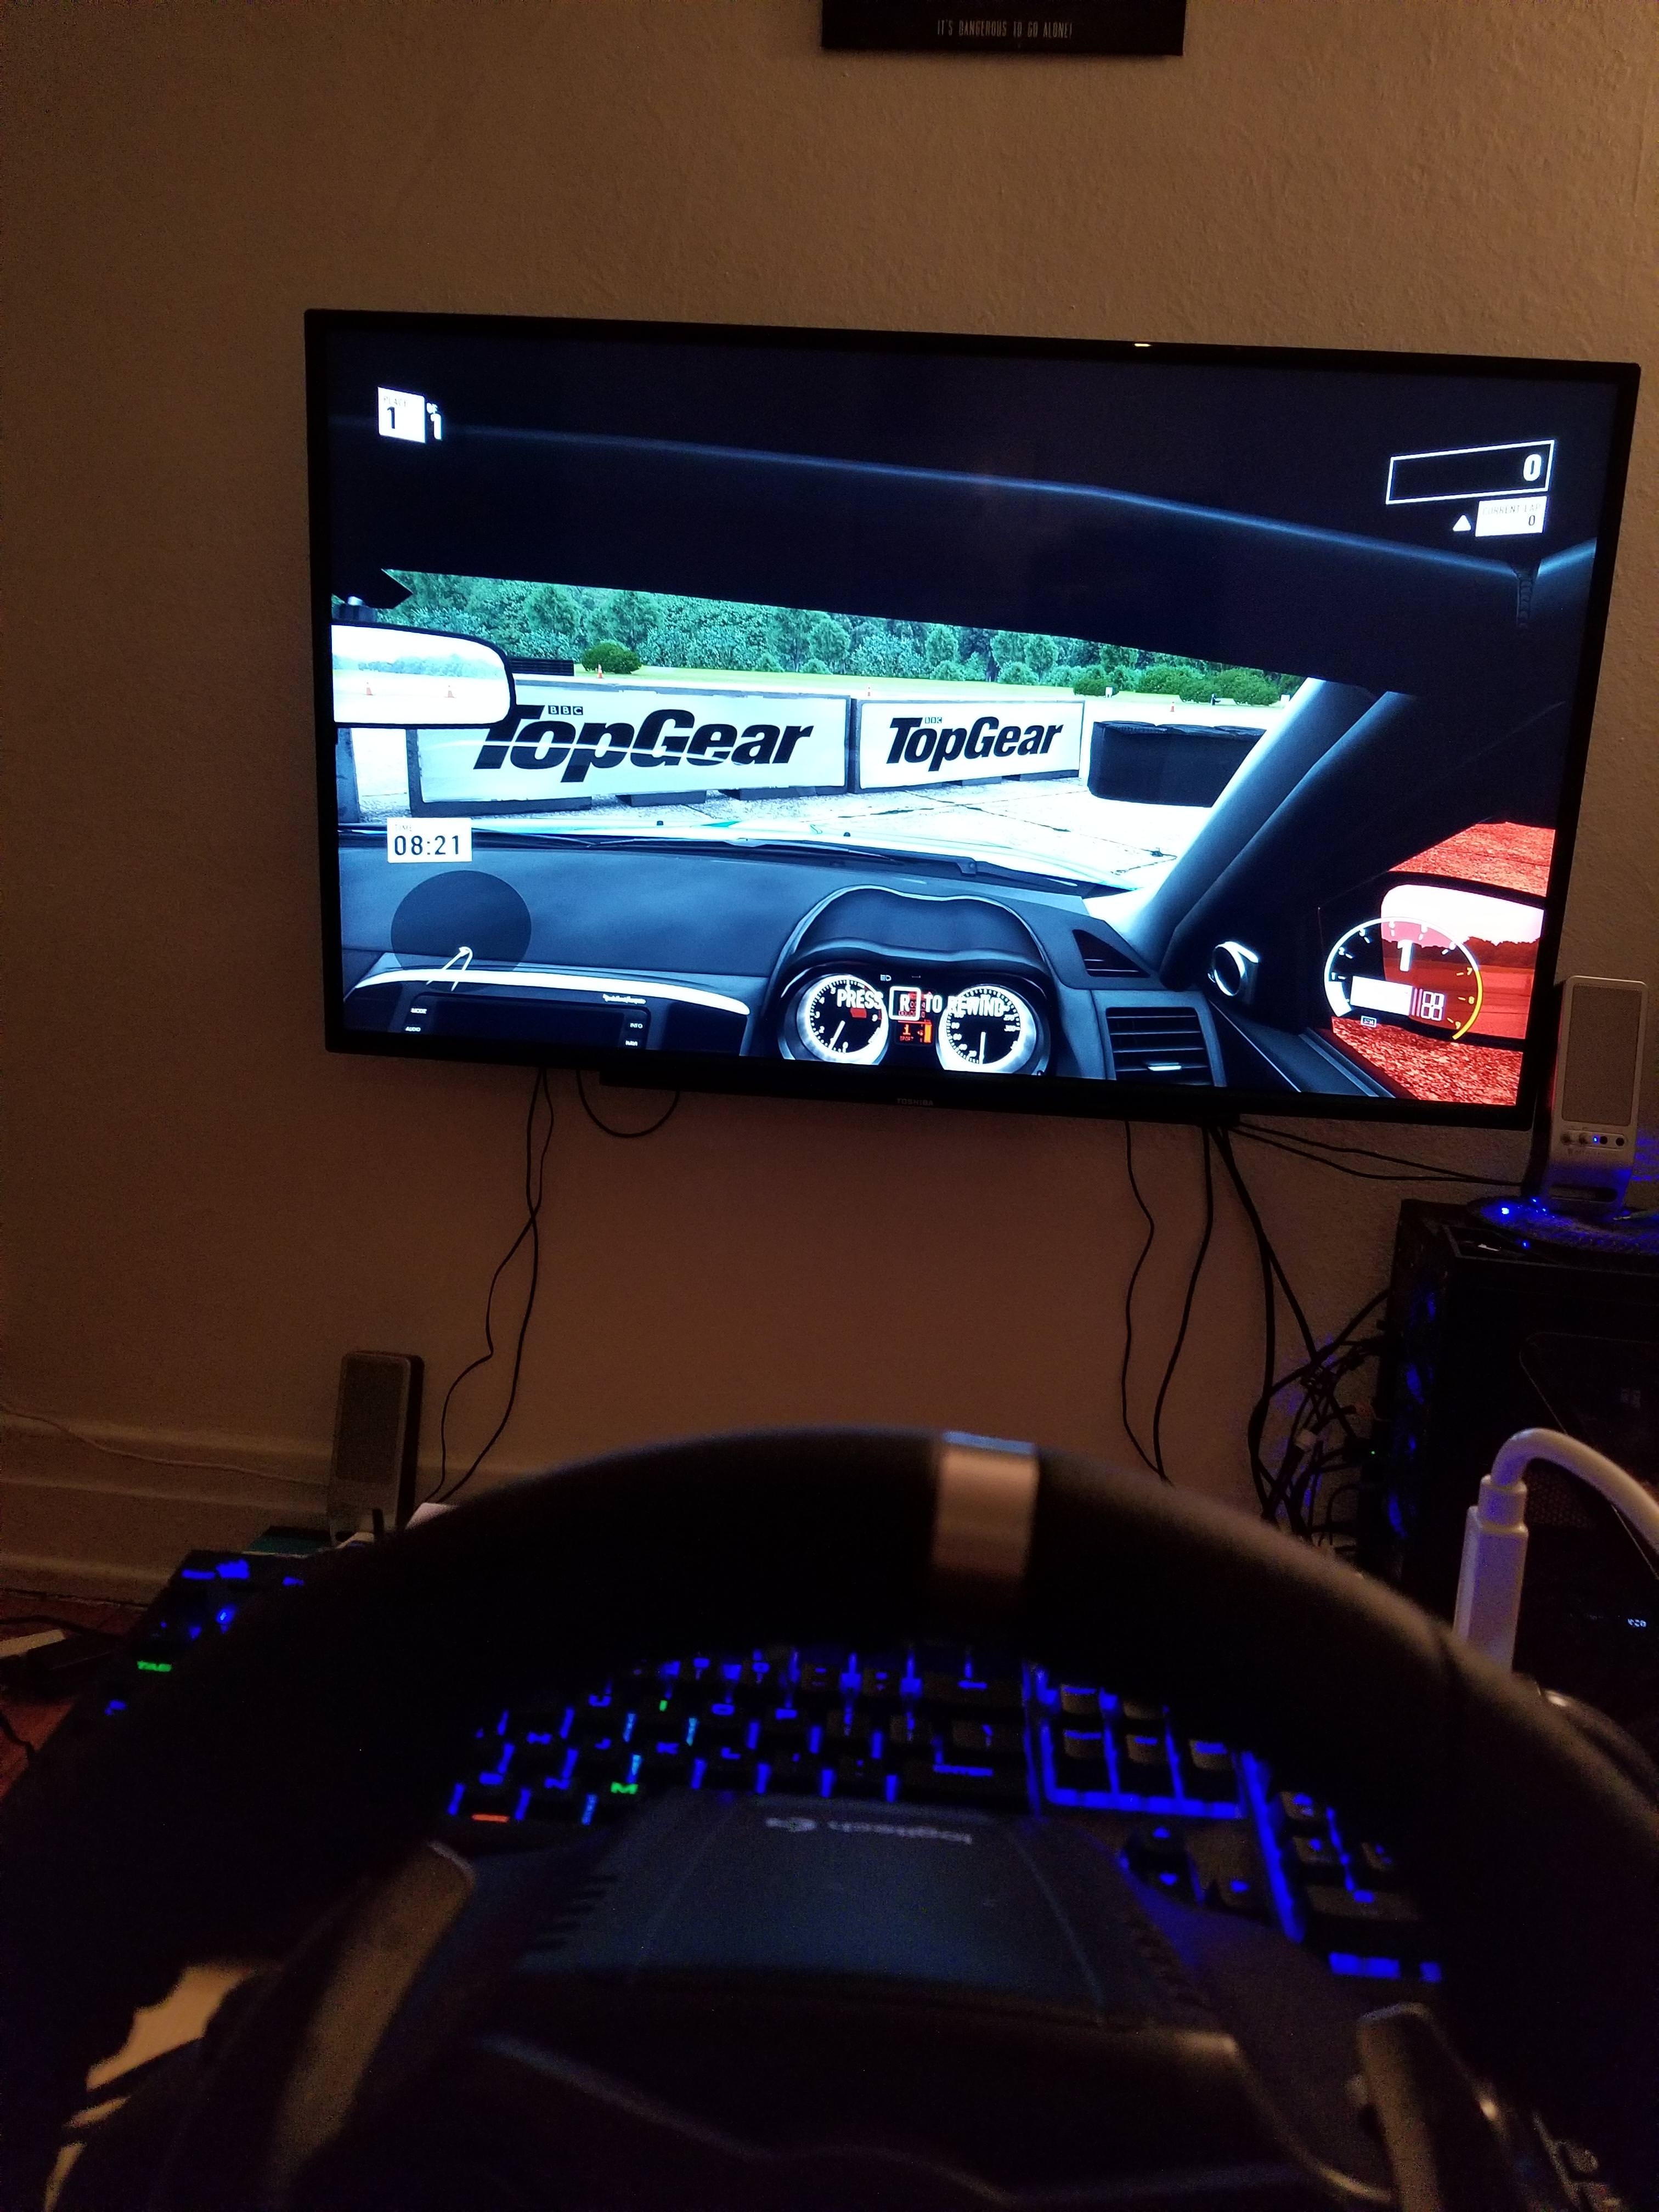

Enjoying some Forza 7 (PC)

Driving Cat!
wattavan
I do Assetto Corsa and Project Cars...I'm planning my seat...G27
maciakba
after years, do you still have it? how happy are you with it, what would you change?
drowhunter
How did you secure the Xrocker so it doesnt move? Im thinking about doing the same thing.
drowhunter
is there anything on the base of the chair you can drill into?
photog
Cup holder was a nice touch
CypherColt
Thanks!
opkraut
OP what do you play? You should check out BeamNG.Drive if you like driving simulators this much.
CypherColt
I'll look into it, I have asseto corza, Forza 7, project cars, and dirt rally. I'm avoiding most non VR games except for Forza.
esselsol
I think generally you show the finished product first. Cool rig tho.
CypherColt
Yeah I realized that too late, first time posting on Imgur haha. Thanks!
esselsol
oooh geee, this is your first post? Man, welcome! I remember my first (re-)post. Yours is way better
Thajavaman
Can the setup handle the force feedback of the wheel though?
CypherColt
Yes, I've been testing it out on Forza. The wheel is bolted to the wood plank, and clamped. The plank is also secured to the pipes.
saylorasshat
I think you made the pipe cutting way harder then you needed to
CypherColt
What can I do to make it easier next time? This is my first DIY project, and first time using pipes.
saylorasshat
I just don't think you need to make a spreadsheet to do that cut the longest pieces first
CypherColt
Oh ok, I'll stick to my way. I spent a lot of money so I'd rather plan in advance to use the most of what I bought with the least waste.