sasselbee
201090
1647
40

This was a Christmas gift for my boyfriend; I didn’t have a chance to post the process until now.
At the time he and I had been dating for 5 months, and his birthday is in February so this was the first major gift-giving time we celebrated together. He’s really into hand-made gifts and wood working so I decided to challenge myself and make a knife holder.
As you read on keep in mind that up until finishing this project I had *zero* woodworking experience, I’m a perfectionist if ever there was one, and I was broke, so fucking up meant I would be gifting him some nice firewood.
After watching too many youtube videos of dudes with years of experience and fancy wood-working machinery make some super cool magnetic knife holders, I decided “this won’t be difficult!”
And to Rockler I went, where I met Shannon. Shannon, if you are reading this, I don’t think my gift would have been such a success without you!
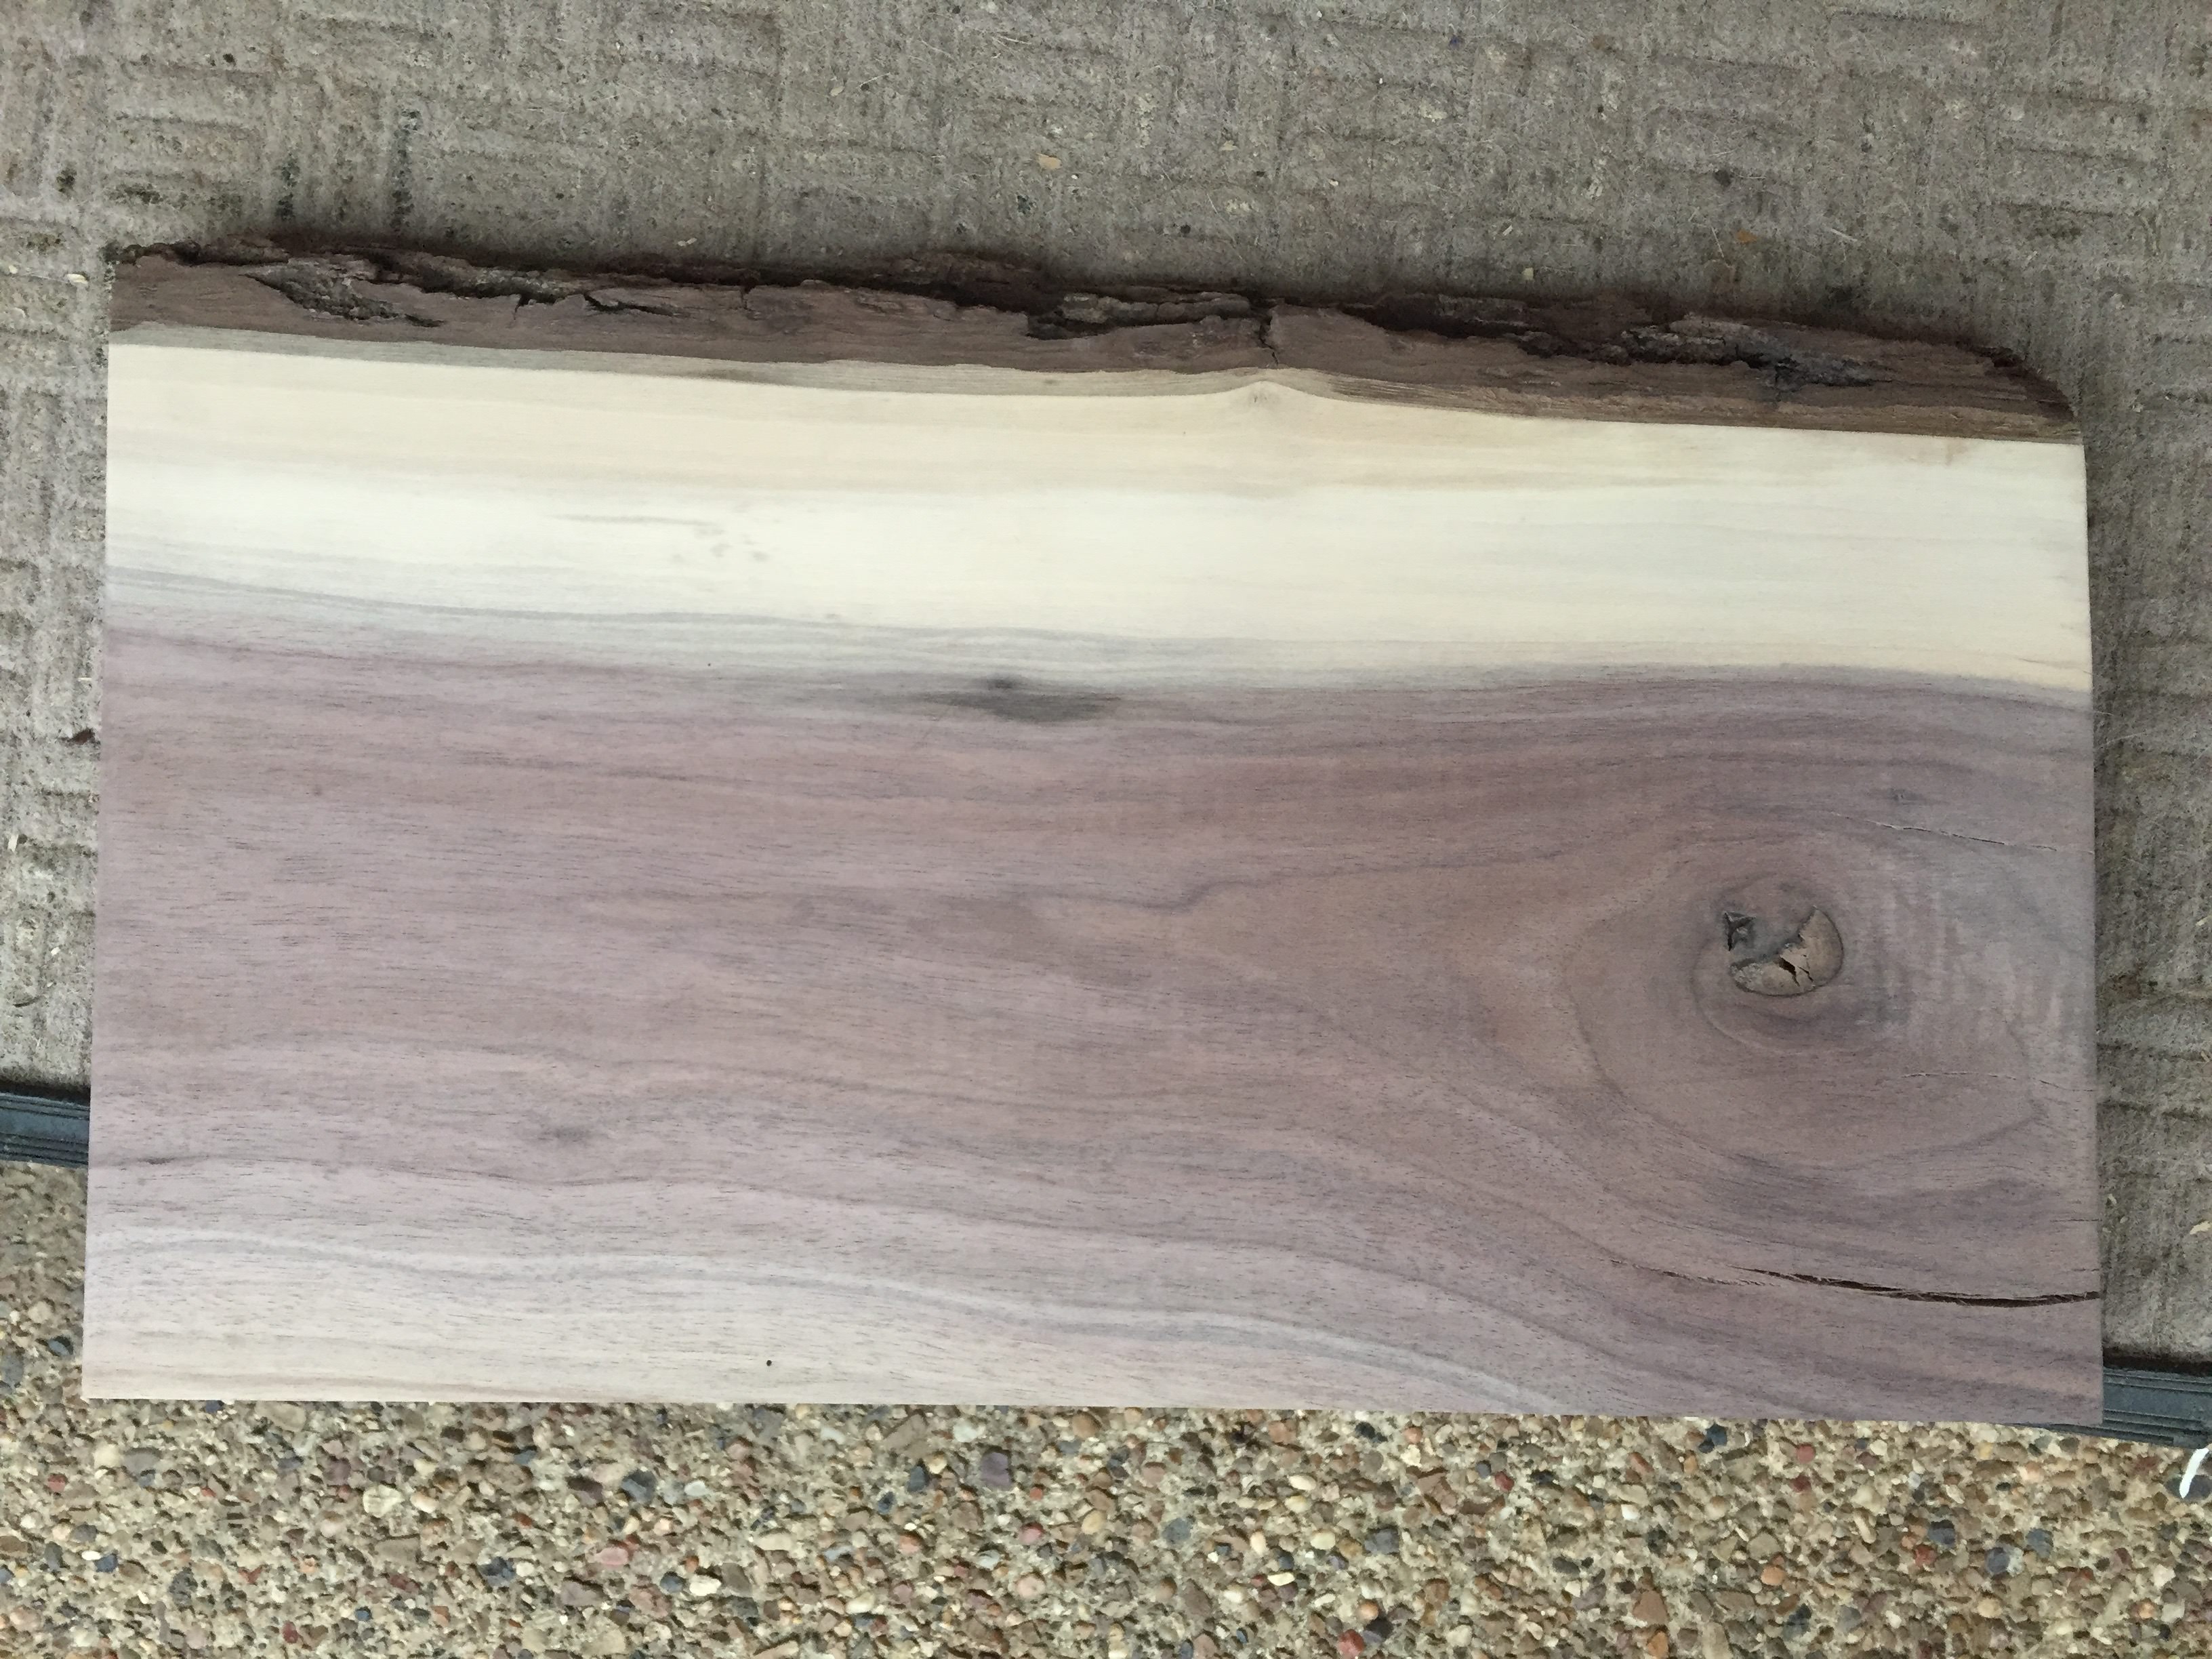
She spent so much time with me and my mom trying to find the perfect piece of wood, listening to my ridiculous standards, and making sure I had the right tools so that my gift would be a success! When I didn’t find the right piece of lumber from the shop, she offered to sell me a slab of walnut she had cut down herself.

She explained the walnut was unsteamed (a process that gives the wood a more uniform color) which is why the sapwood appears more white, while the heartwood is much darker. I really liked this contrast, plus the outer tree bark layer looked so cool, so I knew immediately that this was the perfect piece for my project!
We decided 18” wide, ~10.5” tall, and 2” thick were the perfect dimensions, and after a quick pass through the table saw, I went on my merry way.

The plan was to rout out the back side of the board with slots wide enough to fit ~2” rare earth bar magnets and then have the holder hang from the wall in his kitchen.
No one ever needed to see all the ugly routed out slots filled with epoxy and magnets on the back side.
BUT, then I realized my boyfriend lives in a nice apartment where all of the walls in the kitchen are cabinets or made of slate tile. This makes it really difficult to hang anything anywhere in the kitchen. (Not trying to diss the nice apartment; I am very grateful for this.)
So my options are either to go ahead with my original plan and make him walk into the living room to grab a knife (the living room and kitchen are basically in the same open space, but he and his roommate have a cat and cats trip people so this seemed too dangerous to me) or I could build a stand to make the holder sit on the countertop.
The answer was clear.
Did I mention I had high standards? For some reason I could not allow the back side of the wood to be visible if it was going to sit on the counter top. Nuh-uh, no way. In my head, the countertop version of this knife holder would be cut in half and glued back together to make it look like one, unaltered slab of wood.
But it turns out, even a slab of wood ~2” thick is very difficult to saw into two ~1” slabs of wood.
I spent about a week trying to find someone with the right equipment to do this and I kept running into dead ends.
I ended up visiting a place in Dallas called Wood World, where they advised me not to try to cut the walnut in this way, for multiple reasons.
Reason 1: Walnut is very hard, and the knot in the wood is even harder, which makes it difficult to cut, *especially* into two thinner pieces.
Reason 2: There was uneven thickness throughout the wood. It would need to be sent through a wood planer, which would thin the piece down even more, making it even more difficult to cut in half.
Reason 3: I was broke. If there was a mistake, my project was kaput.
Overall, I was told by the professionals that it wasn’t a risk worth taking. The guy at the store even walked me back out to my car while explaining all the reasons why I shouldn’t cut it. As he handed my walnut back to me I asked if we could cut it anyway.

Once I could hear the saw going, I put in my headphones and listened to George Michael’s “Faith” as I walked through the shop looking for other potential gifts for my boyfriend.

(Ignore the holes for now, those come later)
After about 15 minutes of listening to “Faith” on repeat, this guy walked out of the shop with two even, ~1” slabs of walnut. By George, he did it!
I returned home and immediately measured out the correct depth and length I needed to rout so that my magnets would be nice and snug. I used a straight carbide tipped router bit with a 1/4” shank and 1/2” diameter and set it to cut 1/8” deep with each pass. I ended up going over each magnet inlay a few times, since my router wasn’t as precise as I had hoped, until the there was only 3/16” of wood left under each magnet inlay.
This part was extremely nerve-wracking; I tested this 3/16” thickness out on a much softer piece of wood before actually taking the router to the walnut and I determined that even the slightest pressure with a pencil eraser could put a hole through the soft wood. Luckily walnut is much harder, but it was still scary. This is where I can’t stress enough the importance of sending the wood slab through the wood planer; if I had gone straight to routing the walnut before it was trimmed to consistent thickness, I would have almost guaranteed putting a hole through the wood during this process.

Look at these beautiful, bad-ass stick-on nails I was rockin'. They were a key tool in pulling magnets out of those tiny slots so come at me.

With the routing finished I began placing my magnets. Did you know that if two of these magnets slam together from a far enough distance (I’m talking roughly 2 inches apart) they can completely shatter? This makes them extremely difficult to work with, especially when you are placing them in slots that are less than an inch apart.
I taped the magnets in first to see if they could hold a knife. They didn’t; the knife fell right off the walnut, which was a bummer because I convinced myself I had measured everything *perfectly.* I thought I was going to have to rout out even more of the magnet slots, which was super stressful, since the wood in these spots was already 3/16” thick.

Then my mom suggests “try two magnets in one slot?”. Voila!
I used jewelry epoxy to glue the magnets in (I was instructed by some wood-working professionals NOT to use wood glue for this part; I’m not sure why).

I then used wood glue to put the two walnut slabs back together and let it sit 24 hours under a cast iron pan. It's super important in general to keep strong wood like walnut on a flat surface and under something heavy so that it doesn't bow while you are away from your project.

Once the glue was dry, I sanded it down with a handheld electric sander using 220 grit sandpaper and then went back over it with 400 grit sand paper by hand. I even bought steel wool to get that pretty polished finish, but then I realized that steel wool plus magnets probably isn’t the best idea.
Creating the stand for this knife holder was probably the hardest part. This slab of walnut was extremely heavy and doubling up on the magnets made it very difficult to grab a knife without pulling the holder across the counter top with it. After searching for similar knife holders online, I decided a heavy, flat base was going to be my best option. So I headed over to a place called Metal Supermarkets in Plano and bought a sheet of stainless steel that measured 18” L x 5” W. I also had four holes drilled and countersunk through the sheet so I could use wood screws to attach the steel to the walnut.

Success! I also glued some non-slip netting to the bottom of the base so that it would stay put when pulling a knife off the block.
“Non-Toxic”

For the final touch I used Salad Bowl finish, since it’s food safe.

I think it looks fucking dope, and I’m very happy with how it turned out. I also met so many cool people who were patient with me and really wanted to see my project succeed and it was a lot of fun to learn about the tools and materials that made everything come together. (Also, I will never roll my eyes at how expensive hand-made wooden things are *ever again*. I really thought this would be a great “I’m broke” project; it was not, ‘nuff said.)
TL;DR - I made a knife holder for my boyfriend out of walnut and it was stressful because I have no wood-working experience, but George Michael helped me through and it was a success! I will probably purchase gifts from Amazon in the future.
Chriso325
I can honestly say, I have never loved anyone enough to go through all this work and create something like that... and that's sad. +1
NRC117
Thats an overall solid job Sasselbee! Good idea, recon, design, manufacturing, finishing, and then even a good solid post about it here! <3
sjowe
Now THIS is true love! Doing something you never done before to make someone genuinely happy! All the cred to you girl, it looks amazing!
marbiter
I’m thinking if your boyfriend is smart, he’ll be your husband soon.
adamortiz90
Damn that's awesome
CumDumster
It's magneato
commentsivehadafew
Nice work - feels good to make something yourself instead of buying it
ikagawa
Well done, OP. Looks great. Your BF has good taste in knives, too.
Belzedar
Yeah henckels and wusthoff? Good thing he has a fancy block to show them off on now
featheredmonkey
Hahaha...+1 for "Fucking Dope"! Sounds like something I would say after finishing a project.
AlwaysUpvoteBeerCigarsWhisky
That's a nice project and result. Great work. I'm surprised it took that many magnets, though.
Wolfe65
Thats why I live for Neodymium
Zahnradfee
I read that title as "magic knife holder". Well, it is.
InaHoleThereLivedaHobbit
I'm surprised you had a hard time getting it re-sawn (cut in half). Anyone with a bandsaw should have been able to get that done for you
Jowykins
It's such a long section I would have though the blade would wander off-center. Could a laser or water jet cut that deep?
AzothTheGuildRat
Great post OP. I always love seeing wood working projects.
blackshirts
DogGuyInCatWorld
Very knifely done OP.
vanderzee
that's a bloody aesome work - congrats!
straightteethareforwinners
That’s real nice. I love I unstained walnut. I used it when I built my kegerator top!
HoweJ
That was EXTREMELY well-done. Nice work! ^_^
xemlr
Magnets, how do they work?
Zahnradfee
With wood.
angelbott
I hope he like it! c:
notestoyou
Outstanding project. Happy wood working in future projects.
technicholl
I thought it was transparent at first.
CanIGoOutside
Looks great! Now I want to make one!!
xbolt
That is pretty dang impressive.
baturro
That must have been a pretty big walnut.
NikolaiJakovtheheadoftheKGB
I didn’t even know walnuts were magnetic! Good job
Allofyoush
TLDEFR
Iamhereforyourviewingpleasure
If it keeps the nuts to the wall, it's magnetic.
helena02134
I'm not sure why woodworking with fake long fingernails and in short shorts bothered me so much.
603933
i was more bothered by her just wearing glasses not proper PPE, i know most ppl dont care but seeing the eye safety video has scared me good
helena02134
Same. It almost seemed staged. Because I am an amateur, too, but I wear gloves, earplugs, long pants and safety glasses.
603933
meh, gloves can be a hassle and dont really offer much, pants id wear, but still meh, earplugs...maybe? depends, but an eye splinter? F that
helena02134
I like gloves because I hate getting owies on my hands, because then it's hard to continue on and do more work.
BenjcNZ
Beautiful! A couple of notes: wood glue won't fully dry if it's a thick coat, so pouting it in to secure the magnets wouldn't have worked...
BenjcNZ
The epoxy cures via a catalyst in an exit hermit reaction, so it doesn't require air contact to harden....
BenjcNZ
Most importantly, TIE YOUR HAIR UP WHILE USING POWER TOOLS! That router won't think twice about scalping you
usersubbordercontrol
A) that guys lucky to have a handy gal. B) reason why you didn't use wood glue on magnets is because it wouldn't stick much or at all.
Muttons1337
Good for wood on wood, and even that's a stretch sometimes.
woodjoiner
Then you are doing it wrong.
Trinbabe
Wood glue often is stronger than the wood its joining together as long as you aren't butt-joining
Muttons1337
That's the sometimes! Oh dear lord, anything but a butt joint, please!
jetah
the wood on wood has to be wet enough to stick.
woodjoiner
That depends on the glue. Read the directions.