celerity65
5263
72
2

Finished photo first. Still need to move the lumber and trash, but the deck itself is complete.

Before photo. Our house was built in '88, and the deck was in bad shape. Previous owners covered it with a vinyl deck-over material which was peeling up, and was stained green in some places. Plus, there are swastikas hidden in the deck rail design :0

You can see the deck-over peeling up. Our pup would occasionally peel it up and eat small pieces, so that was extra motivation to re-do the deck. The HOA said that if we replace the existing decking and don't change the footprint, that we don't have to go through the architectural review process so that's one less thing to have to worry about.

I started demo work by taking down the handrails. My little battery powered sawsall did the job just fine.

The rails came down pretty quickly.

I started pulled up the decking with a pry-bar, crowbar and hammer. I got all this done on a Friday evening after work, which was faster than I had anticipated. At this point, I made my first of several trips to the city dump

I worked on and off for the rest of the weekend pulling up all the decking. My dad and father-in-law were coming in town to help me put up the new deck over Labor Day weekend, so I began the demo work 2 weekends before to give me enough time to pull it all up and to inspect it to make sure no new work was needed. Overall, I was happy with my first weekend's progress.

Our pup Ruby inspecting my work through the door.

The following weekend I took down the framing for the portion in front of our windows. My wife had the idea to lower this section so that the view through the picture window is better. This was a great idea, as it's our go-to coffee drinking spot and looks out into the neighborhood lake.

This is the rest of the demo'd material - all of which is still sitting there because my next trip to the dump won't be until this coming weekend.

With the help of some books and YouTube videos, I made my first attempt at batterboards to do the new framing layout. It went okay and I learned a lot about it.
Also, this Home Depot Outdoor Projects book was very easy to follow and had solid, practical instructions on this and many more deck construction techniques: http://a.co/d/53iEucA

I didn't get the measurements 100% correct, and we ended up building this section a little out of square. I should have redone all of this when I had a 2nd set of hands, but it all turned out okay.

I ordered 2x10's for the headers, 2x8's for the joists, 5/4x6 decking and 4x4 for the posts, all pressure treated pine. Most of my board lengths were ~14' so I bought 16' boards, and I thought I was going to have to rent a huge trailer to get all of them to my house, but thankfully a friend suggested I look for a lumber supply store that delivered. Also, at his suggestion, I added 20% to every quantity I thought I needed - to account for miscalculation, board quality, or construction mistakes. This worked out pretty good - we passed on a lot of the decking due to bowing, knots, or other damage. They lumber company I used will also come pick up unused boards and give a refund for anything not cut or nailed.

I thought they were going to unload the lumber in my driveway, but this saint of a driver said it was no problem to squeeze between my fence and my neighbor's house to unload it in the back yard. He was a wizard with the forklift, and only left a minor divot in my back yard. This was well worth the $50 delivery fee.

Half of my help arrived. My father-in-law arrived Friday morning so that afternoon we began framing the new, lower area in front of the windows. We removed the old ledger board, which was secured with huge 3/4" bolts and nails, and discovered this brown siding that I didn't even know existed - I'll be covering it up soon. We hung a new 2x10 ledger board, secured to the brick with 1/2" sleeve anchors. NC State code requires thru-bolts for brick veneer, but the brick is structural and load bearing, so the sleeve anchors are good.

The ledger is anchored every 12". We doubled up this ledger with a 2nd 2x10, which had countersunk holes to slip over the anchor heads. We located the holes by lining up the 2nd board, and hammering it at every anchor which created indentations which we then drilled countersunk holes with a 1-1/2" paddle bit.

The lower level framing where it meets the upper level. Where possible, the beams and joists rested on directly on the top of the posts, but in some places, we notched the post to give a horizontal attachment point or to support boards at different elevations.

End joists and header up, posts going in. This was where we left it at the end of the day Friday.

My dad arrived Friday night and we picked it back up Saturday morning. This section was the one that was out of square. The near side was an inch or so wider than the far side. We discovered this when installing the joists (2x8's on 16" centers). We decided that it wasn't ideal, but it was plenty sturdy enough and we could fix the appearance by spacing the deck boards more on one side than the other. I thought it would drive me crazy, but it's actually not at all noticeable.

The first set of deck boards going down. We're testing the spacing to make sure we can hide the unequal widths at each side.

This little landing is where I put the grill. It existed before, but all the framing came out during demo because it needed replacing.

Joists for the grill area. All the joists were secured with galvanized hangers which made them very easy to install.

Framing done.

This was or cutting station. We had a 10" miter saw, some circular saws, and a sawsall. Big shout out to my neighbor for lending me saw horses, nail gun, compressor, hammer drill, and circular saws. Also, you can see our lake in the background. This was the view we were lowering the handrail for.

Once we had the deck boards like we wanted them, we screwed them down on each end and trimmed them.

I was nervous about my trim cut being straight, so I went super slow and gathered a few pounds of saw dust on my leg. I'm happy with how it turned out though.

The old deck board by the house was nailed into a tight cavity and a real booger to demo. My father-in-law cut it up into pieces to make it easier to remove.

I reused the existing joists here. They're probably 30 years old, but they were in surprisingly good condition. They wobbled a little with no decking on them, so to be safe we did a quick and dirty blocking job before putting down the new decking. These deck boards went in pretty quickly. We put in a nail in a joist at each end to give ~1/8" spacing for the next board. In a few places, we put a nail in a center joist in order to correct a bowed board.

Boards going down.

More boards going down. There are still a lot of uneven gaps in this lower section, but we fixed them later when we began screwing them down.

It's coming together. I didn't get a good detail shot, but my dad made all of the handrail posts. The posts were mounted to the outside perimeter of the deck and notched halfway so that it sat half on/half overhanging the deck. Most of them were secured with two 3/8" bolts and nuts, but a few needed to be lag bolted.

Dad also made the stringers for the stairs. They can be tricky, but for these he just used the old stringers as a template.

The deck passed preliminary pup inspection.

Handrails going in. I used aluminum balusters from Lowe's. I'm really happy with how they turned out. I like the modern look, and the supporting hardware makes them pretty easy to install. The brackets attach to the bottom and top rails (2x4's) and then have angled screw holes to attach to the post. The connectors install on the top and bottom and the balusters just slide right on. It's a tight fit and quite sturdy.

More rails going in.

I was trying to recreate the panoramic shot from the demo stage.

Stairs are done. Rail going in. We're in the home stretch.

We began screwing down the deck. I bought a pack of 800 deck screws and had to return to Lowe's for another 800 pack. So. Many. Screws.

This was at the end of Sunday. I was really happy with the progress we made.

We used the same balusters for the gates, just with mitered joints, secured with countersunk screws.


Another attempt at recreating the panoramic shot from the demo stage.

Once the boards were all screwed down, we put the table back in place.

The lower level ended up being a really nice touch. You can see that we were able to even out the gaps pretty well.

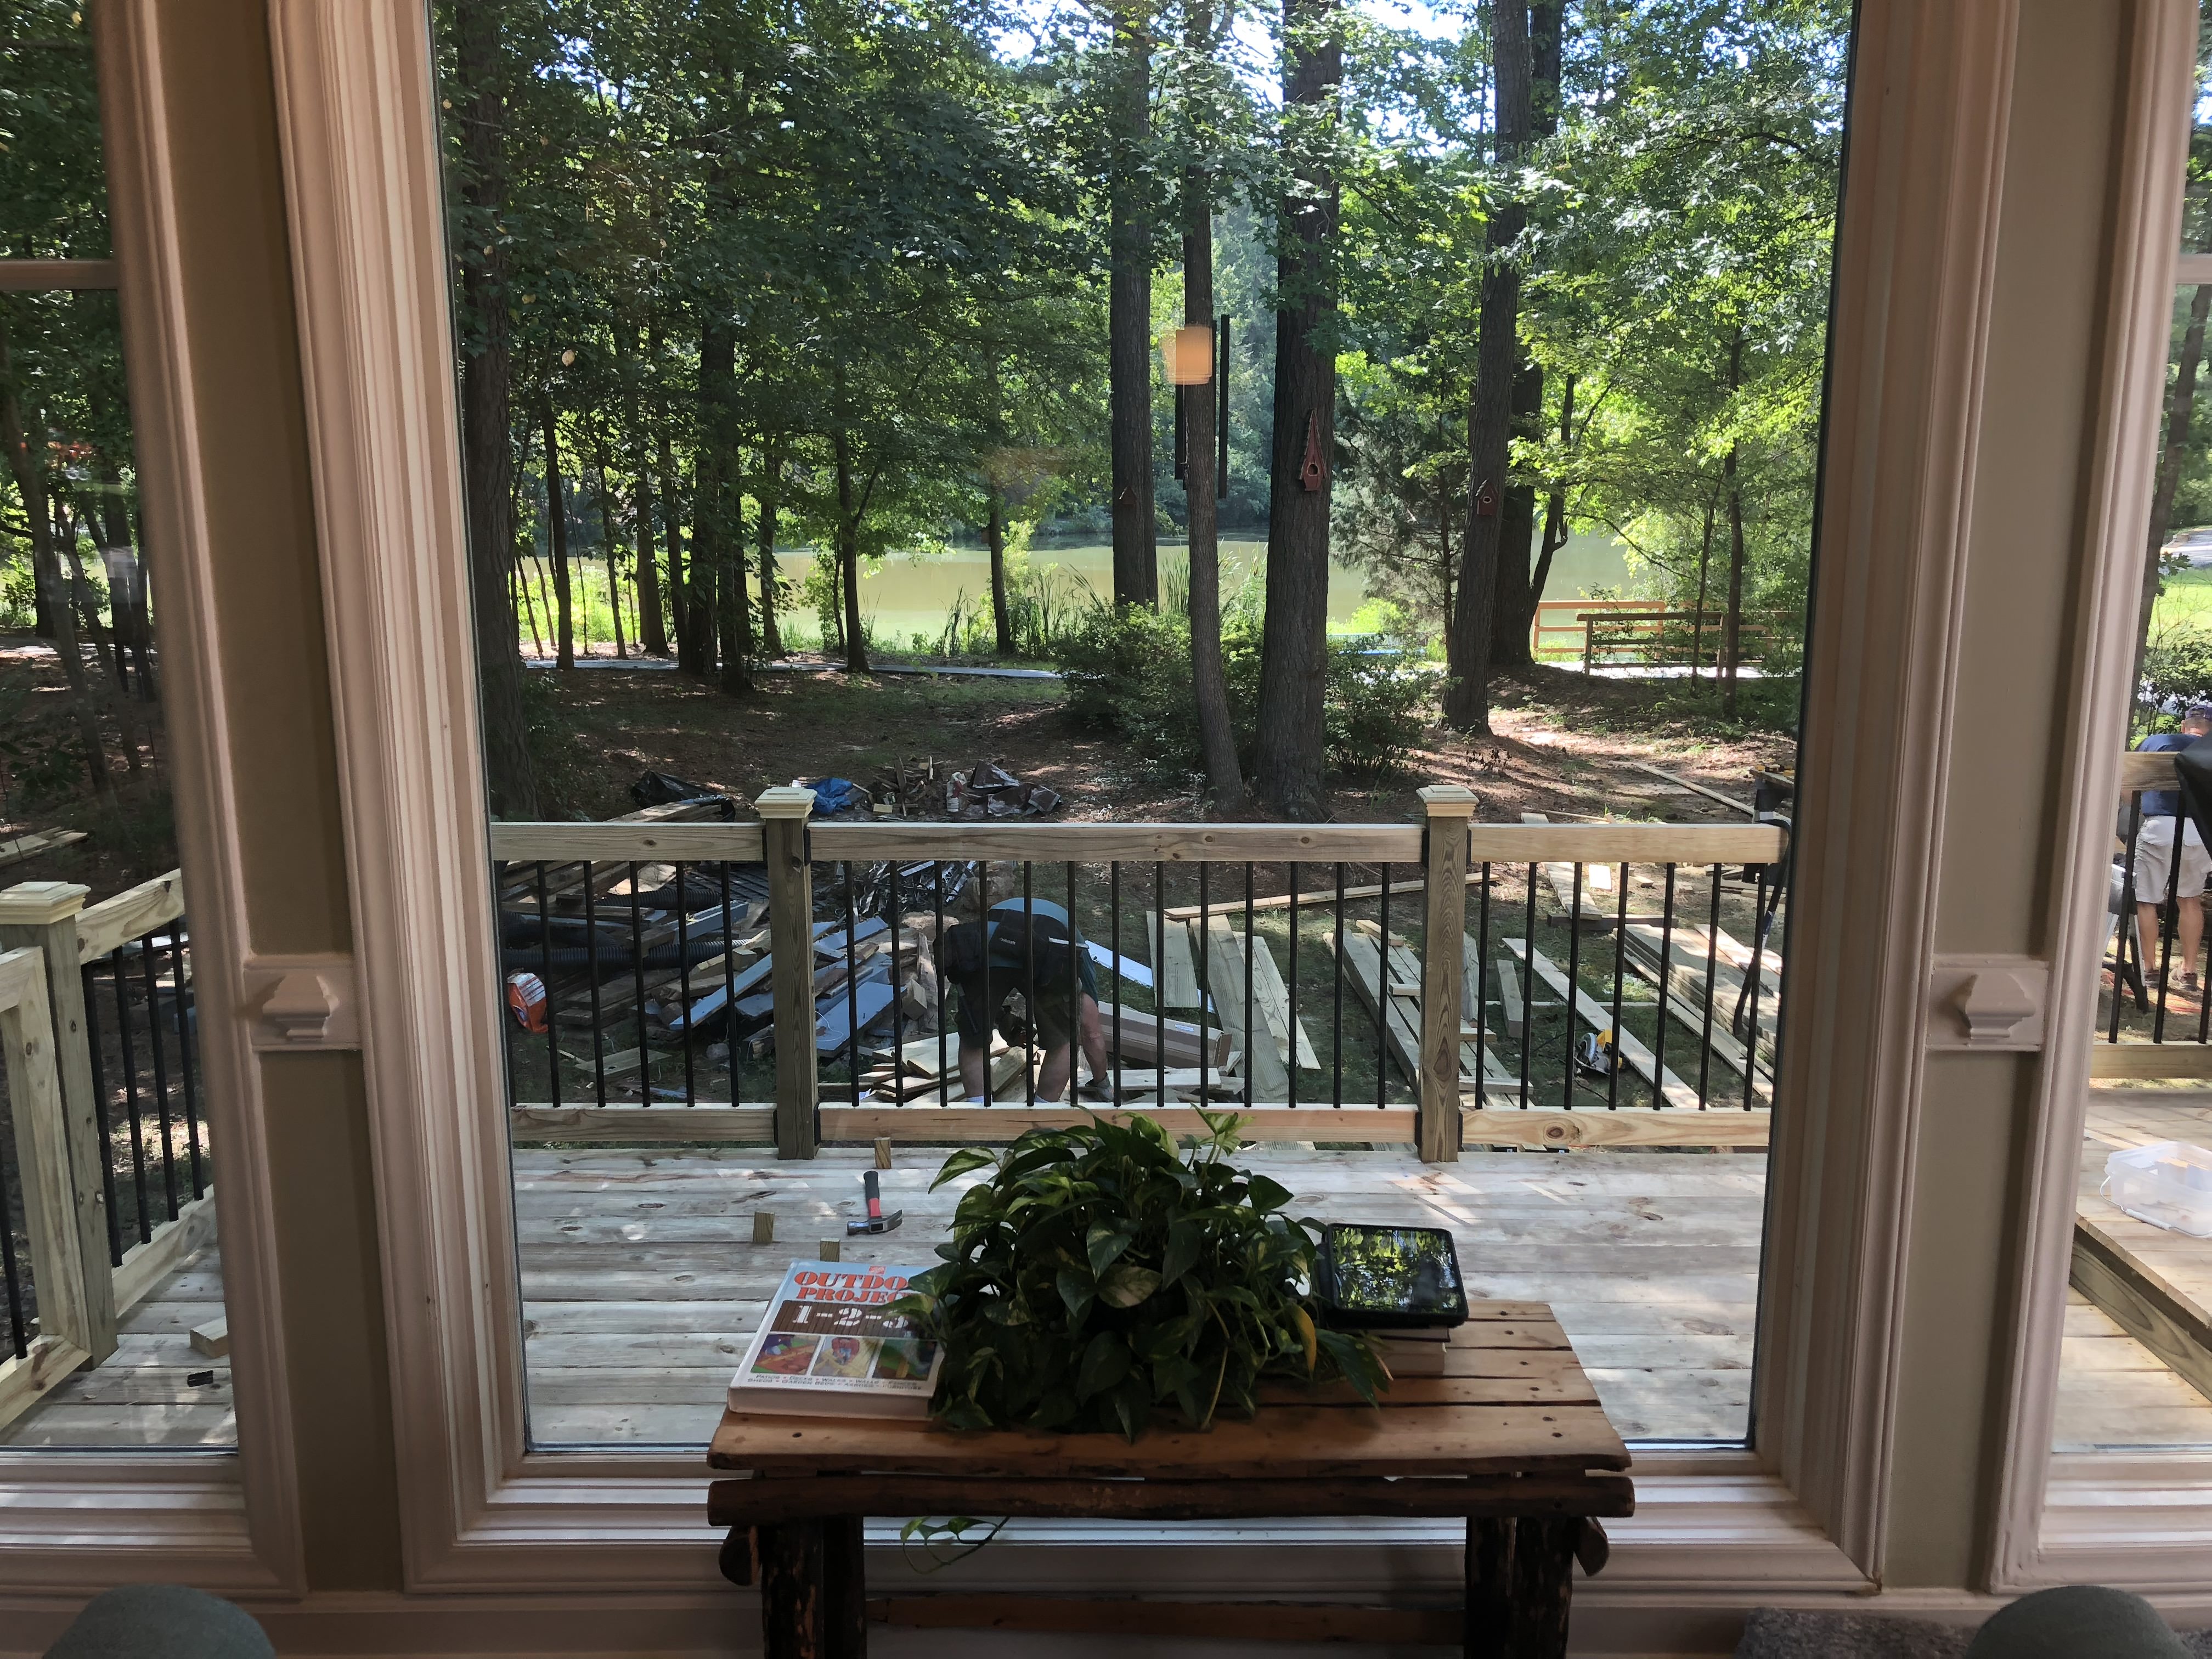
View from the kitchen. We were able to get almost 100% of the deck complete during Labor Day weekend which was definitely a win! I have a small punch list of details to polish up, and I need to make a few more trips to the dump, but other than that it’s complete. Thanks to my dad, father-in-law, neighbor and wife for making this project a success!

Dog tax!
SometimesIdontwanttolaugh
Nice. Are you going to painted?
indigogogogo
It looks cozy OP nice work
filthytank
This is something so simple yet so depressingly out of reach for me, my own home with a deck and a backyard :(
celerity65
I feel for you. A nice house is a huge blessing, but don’t mistake it for being a true source of happiness or joy. For me, those come from1/
celerity65
Healthy relationships with loved ones and my faith (Christian). I encourage you to look for what those things are in your own life. 2/
celerity65
Regarding finances/buying a home, if you feel it’s way out of reach, check out Dave Ramsey. He offers super practical advice for making a 3/
celerity65
Plan for getting out of debt and working on buying a home. He’s really encouraging but offers tough love as well. Please don’t take this 4/
celerity65
As lecture or anything, just want to offer advice that I’ve found helpful. Wish all the best for you.