jabbajac
1349
33
4
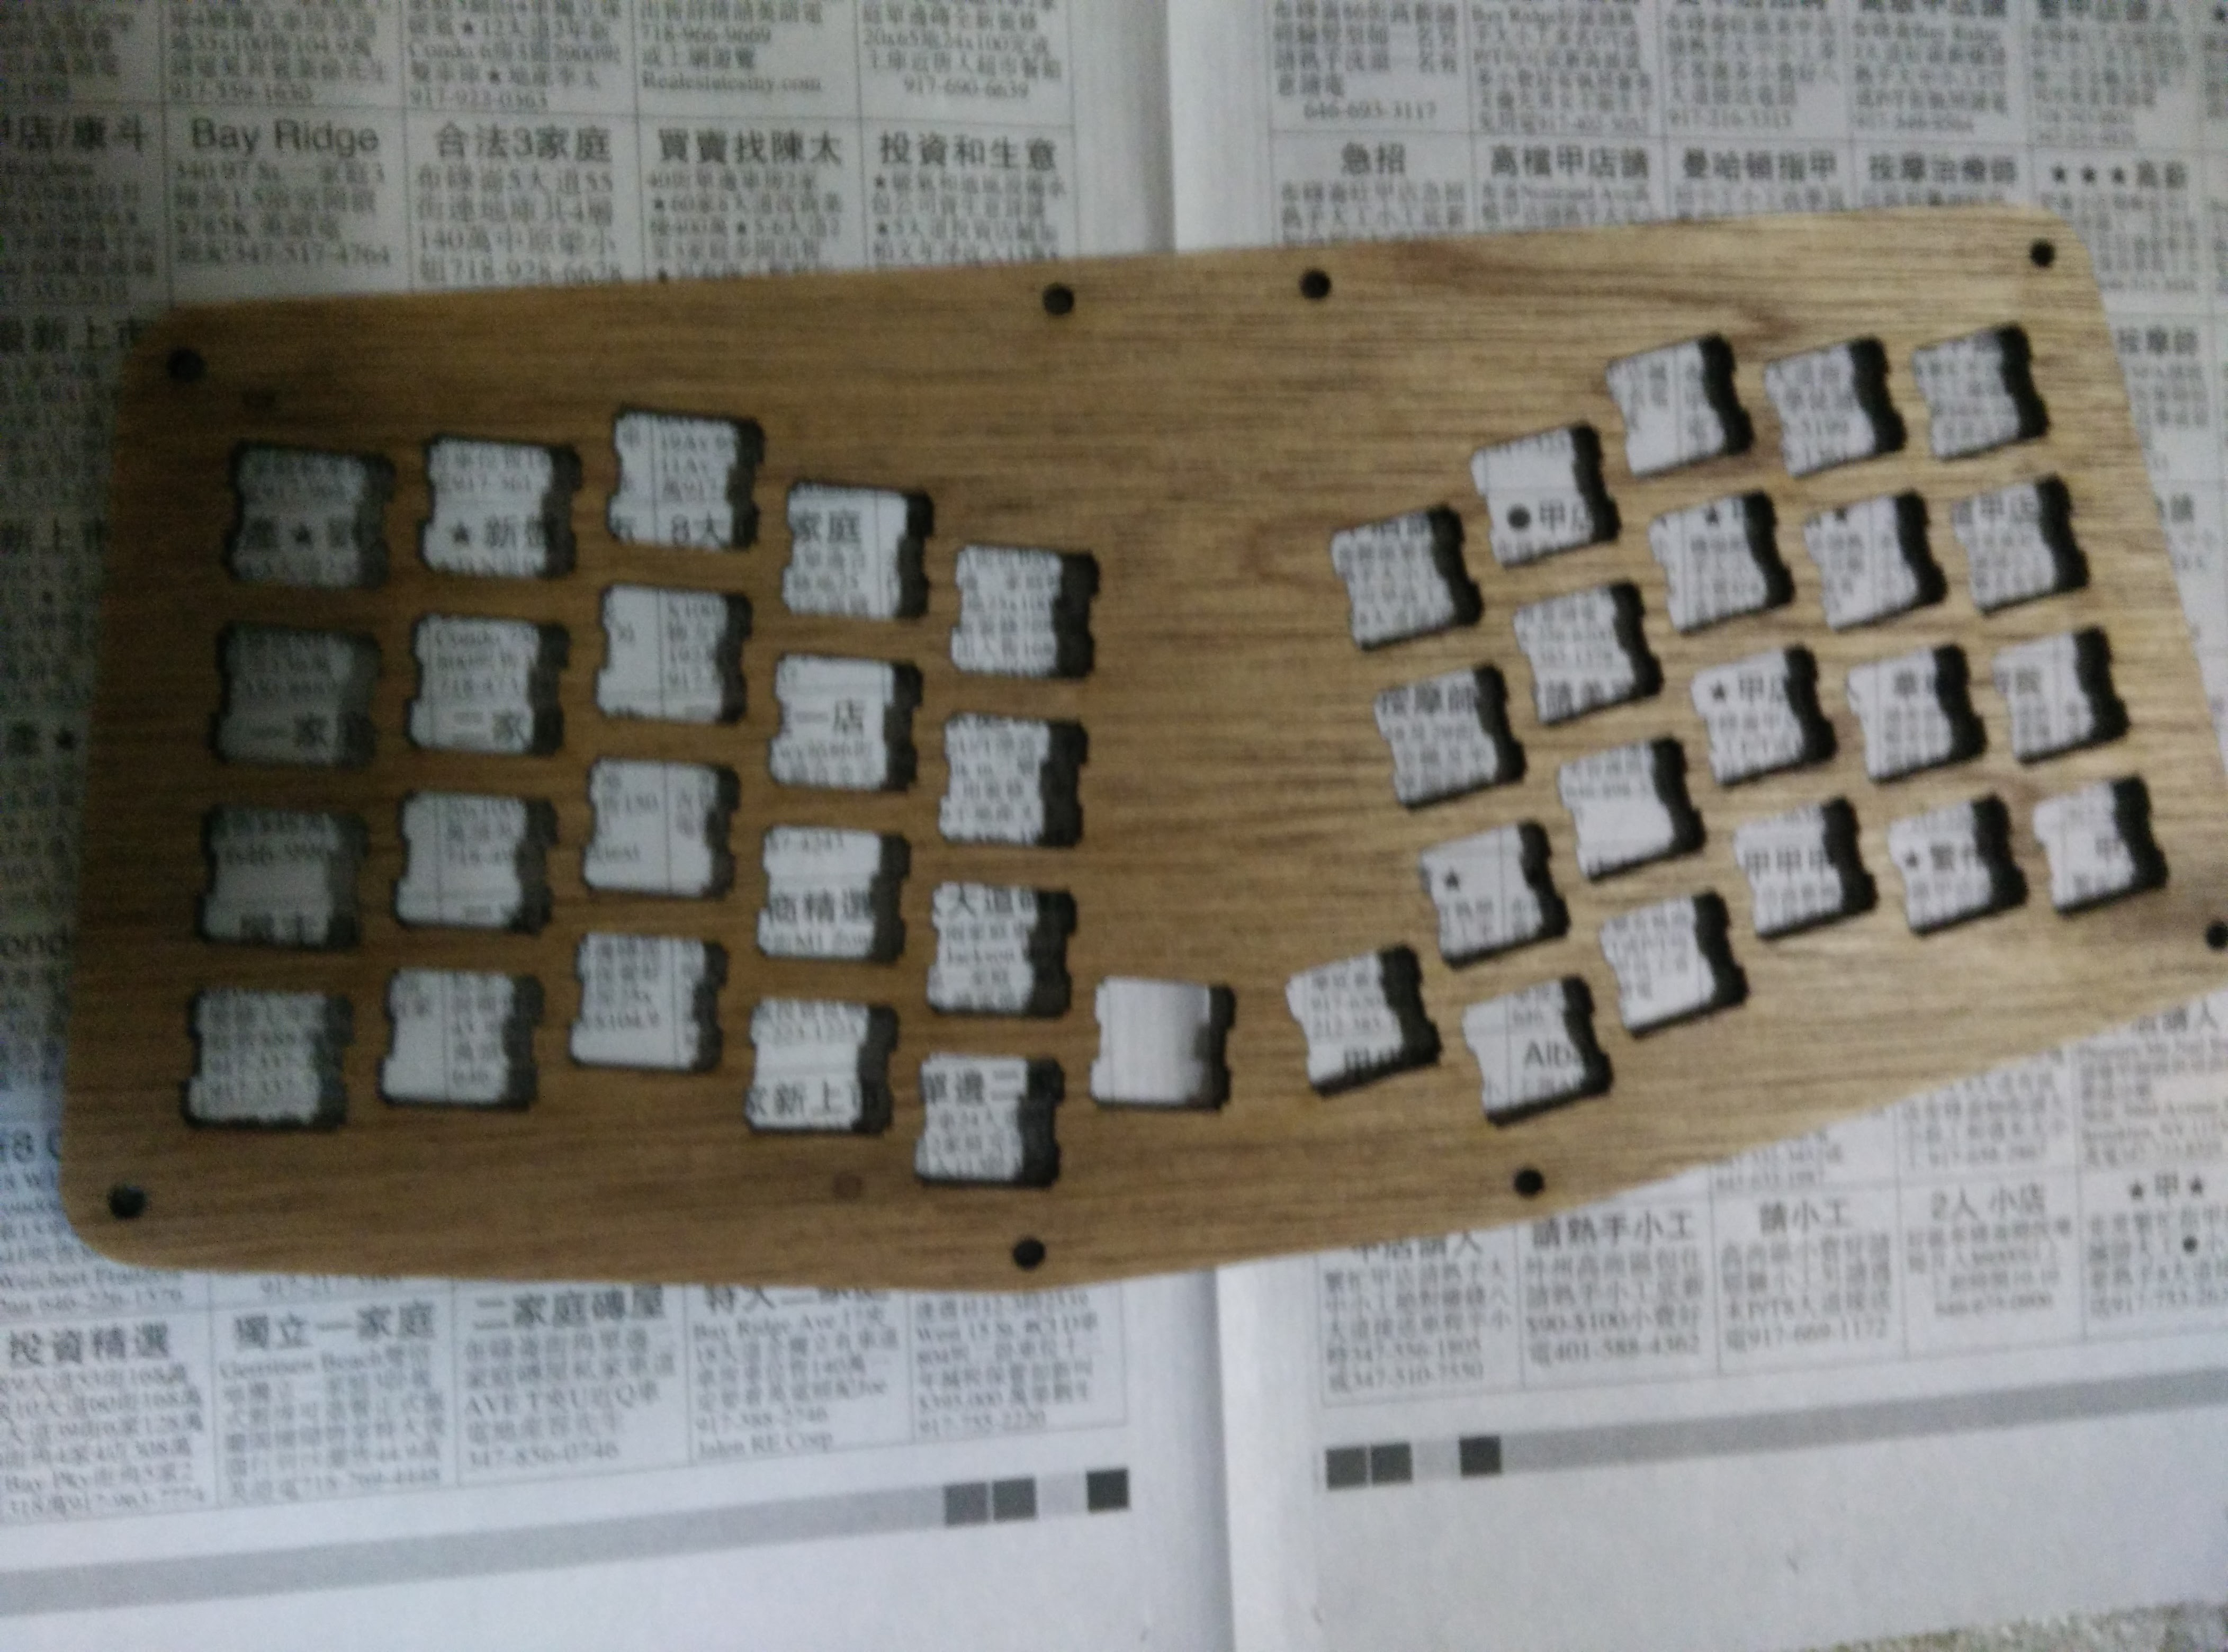
Completed keyboard

Completed keyboard using relegendable keycap drop from massdrop
Soldering the first diodes....

Soldering the first of the diodes as instructed in the build guide.
First row in place

First row of diodes in place getting ready for soldering.
First row soldered

Rusty soldering skills
Second row

Working on the second row
Half the diodes in

First half of the diodes are in
Other half of the diodes

Other half of the diodes
ALL THE DIODDEEESS

ALL THE DIODDEEESS
Full board with all diodes soldered in

Full board with all diodes soldered in
The fantastic mess that is the underside

The fantastic mess that is the underside
All the legs cut off

Cutting off all of the legs were kind of difficult, makes me wonder if it would have been easier if I had cut them one row at a time while soldering
Putting my name on the back plate where it will never again see the light of day

Felt like making sure that I had tagged it somewhere
The lacquer I used to finish the case with

The lacquer I used to finish the case with
Spraying the case

Spraying the case, testing on an inside surface in case it does not end up smooth
Spraying the switch plate
Found that the spray lacquer works really well, so every piece got a few layers, the outside pieces got 8-9 layers with 6 layers for the inside pieces.
Soldering the board

This was a pain, and hard to do if you don't follow directions. If you start with the four legs first this is not so bad. Don't do what I did and solder all of the legs in before trying to fit the board on.
Board soldered on

Finally!!
Test fitting a switch

Test fitting a switch
Soldered the four corner switches

Soldered the four corner switches
Soldered the first row

Soldered the first row
Soldered the first row and two columns

Soldered the first row and two columns and tested the board. The keys all lined up and pressing the keys corresponded to the right letters showing up.
All the switches in!

All of the switches are in and soldered.
Flip side

Flip side
Close up of rusty soldering skills

Close up of rusty soldering skills
Printout of layout for the keycaps

Printout of layout for the keycaps
glutenfreemurderspree
I love it! Where's Delete though? (ie. CTRL + ALT + DEL)
jabbajac
DEL is mapped to FN+Backspace so now I need to hit 4 keys
BBru62
What microcontroller did you use?
xyverz
It comes with an A-Star.
Quirillion
Looks like a cool kit. Is this keyboard really better than a conventional one? why do people use it?
CouldCareLessButDoesnt
It's hipster for technos man
jabbajac
I've been using it daily at work doing sysadmin stuff. Some things I'm going to switch around is to move tab to a more convenient location.
xyverz
It depends on your intended use. I don't like mine much for sysadmin work but like it for my writing. Programmers love the macro features.
xyverz
You can program it however you like, to meet your needs. You can program complex macros if you like, or do what I did and keep it simple.
DoubleBeryl
What does the "Super" button do?
JeepWoodSleepRepeat
It's like the star that Mario gets...
jra12
It's the actual name for the windows key (or cmd on macs)
OMGLasergunsPewPewPew
Super (Linux) = Windows key (Win) = Cmd (Mac)
FishPancakes
sends it into maximum overdrive
RogersTheShrubber
https://media.giphy.com/media/5OgTLOad9Bqq4/giphy.gif