slyvic
5667
59
7

Received this beat up Hublot with the chrono not resetting, a broken screw, and in need of refinishing.
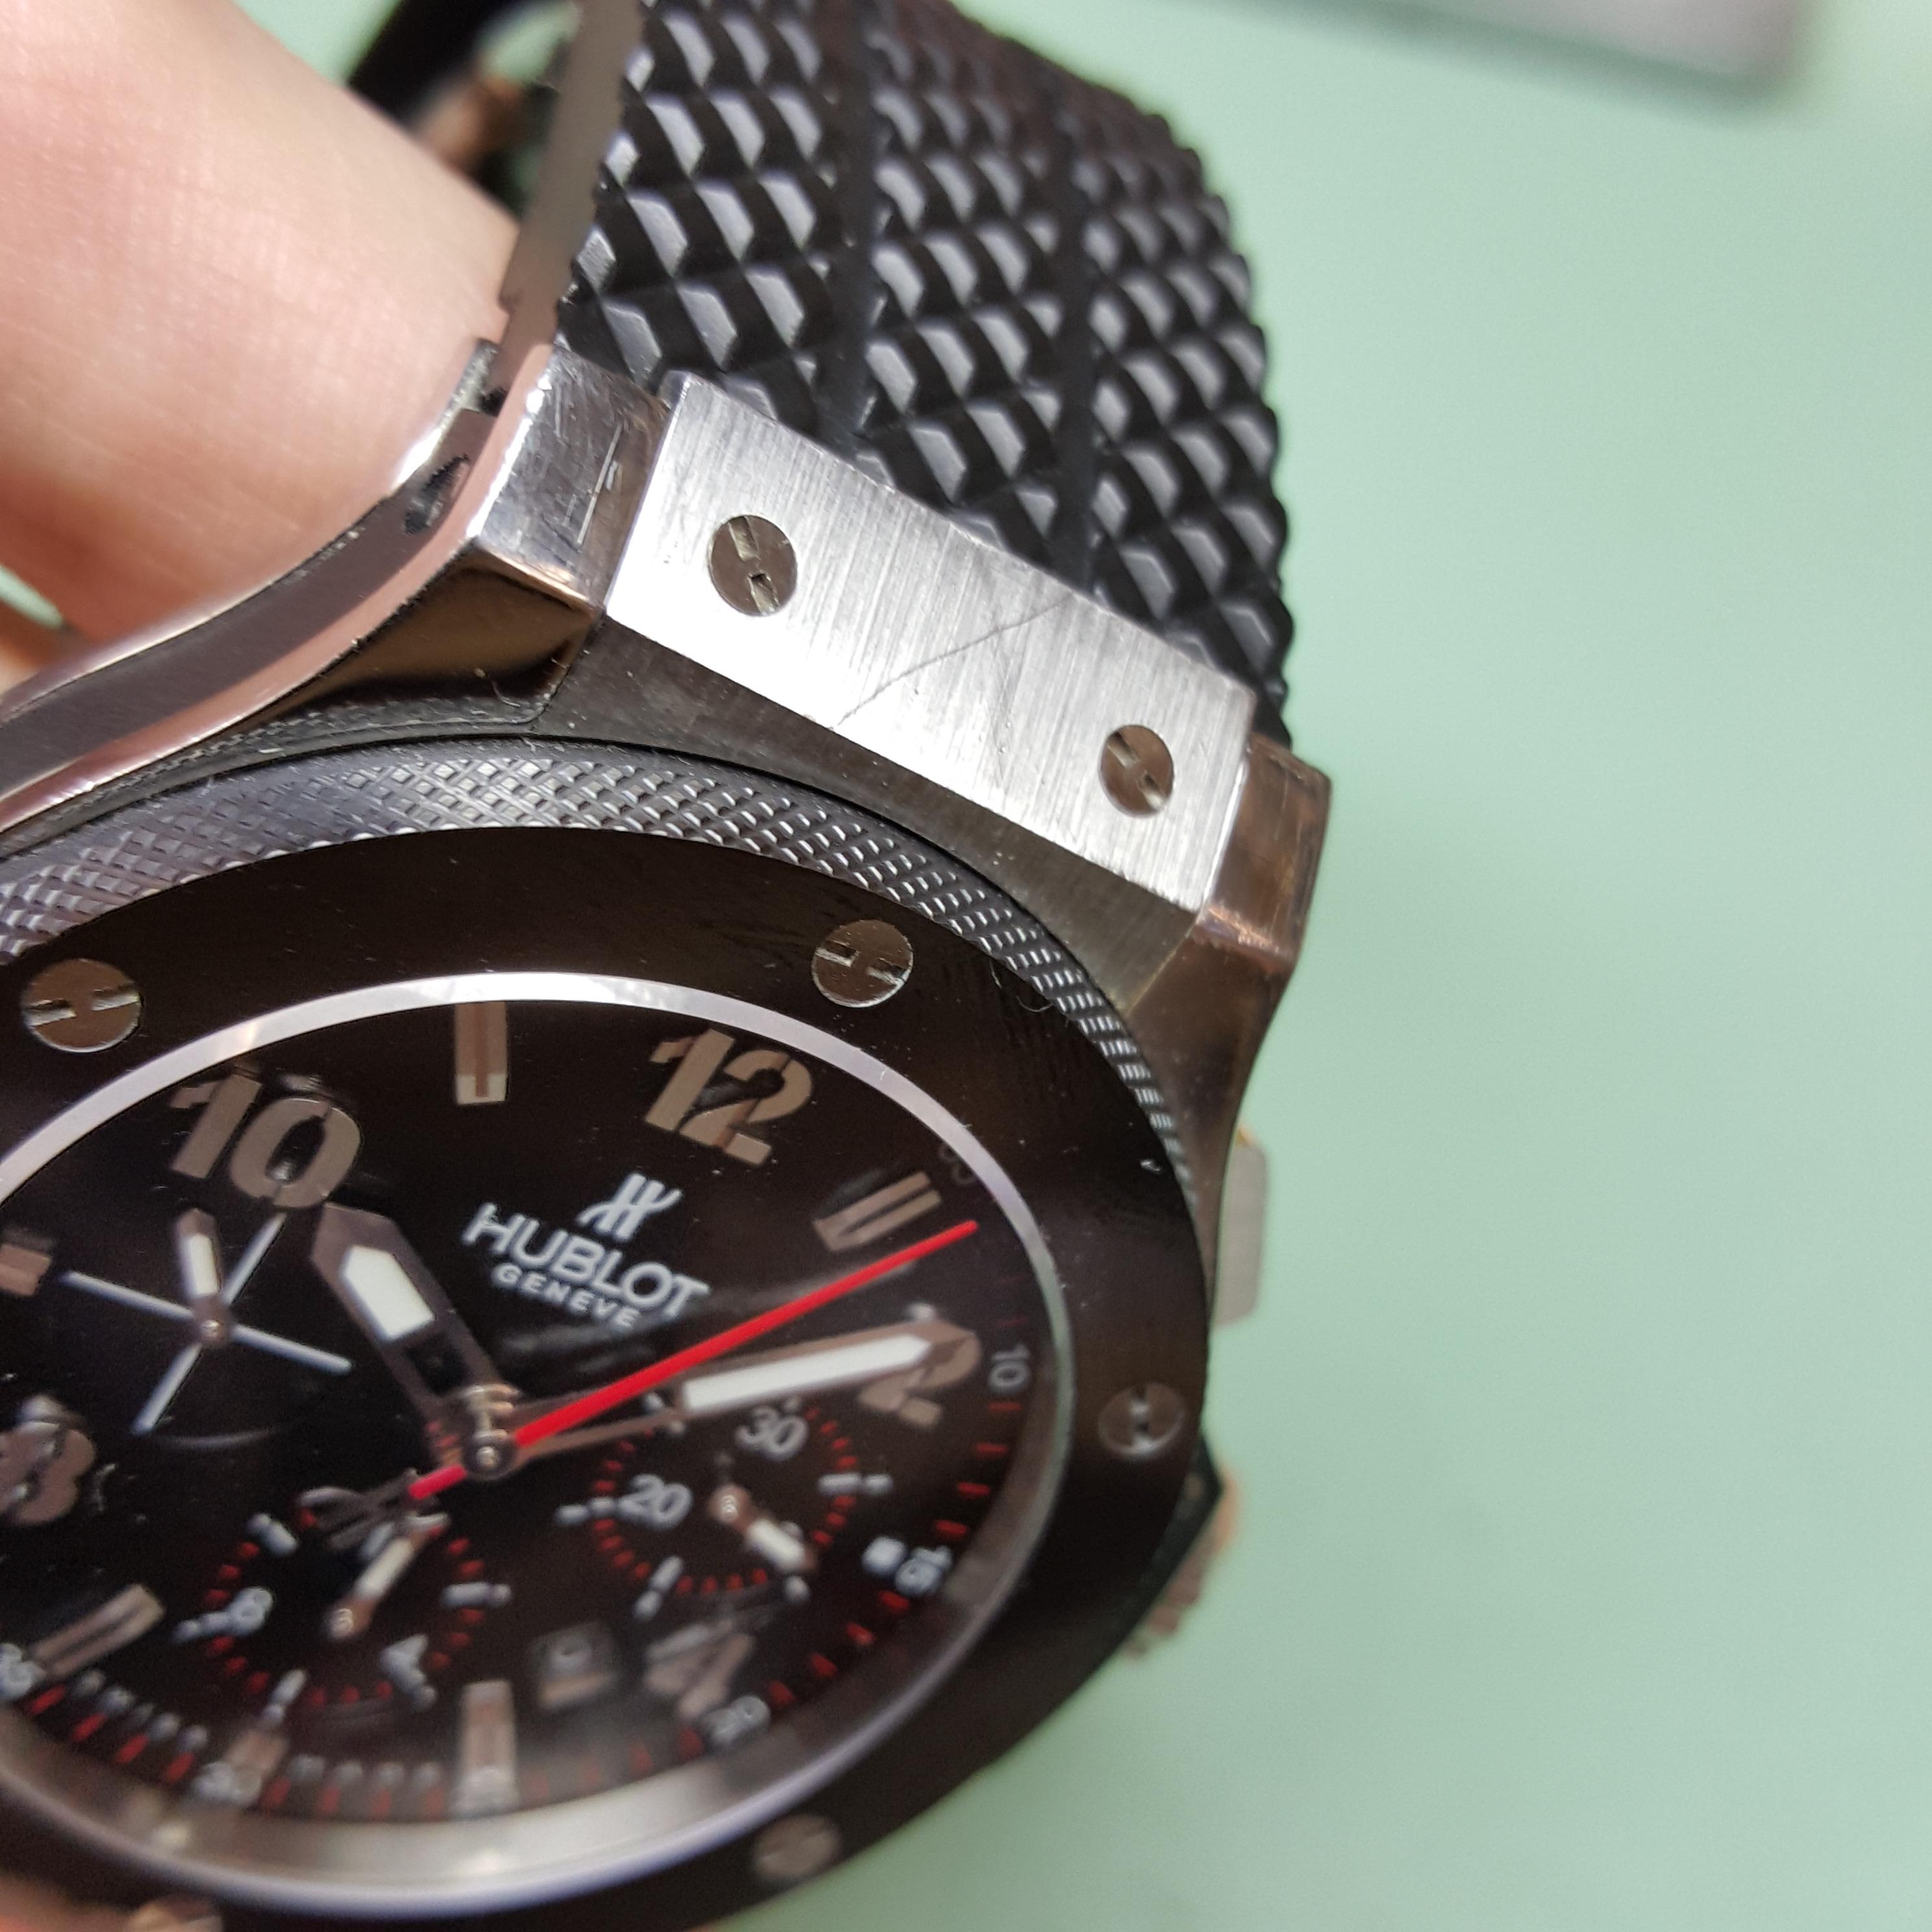
The first few images are to show the scratches on the watch.

On the back.
On the end pieces.


Even on the screws.

As with all watches we start with removing the strap first. The case gets disassembled first so a polishers can take care of the refinishing while I do an overhaul on the movement.

We'll start with the top and work our way down, so naturally the bezel is first. The bezel is ceramic so we have to be careful with it, especially since this watch was dropped and there could be microfissures.

After the plastic ring is removed the inferior plate and the end pieces are exposed. (The end pieces can be removed sooner)

The inferior plate is held to the case by an additional two screws near 2 and 4 o'clock.

Now that everything is removed we can switch to the back side.

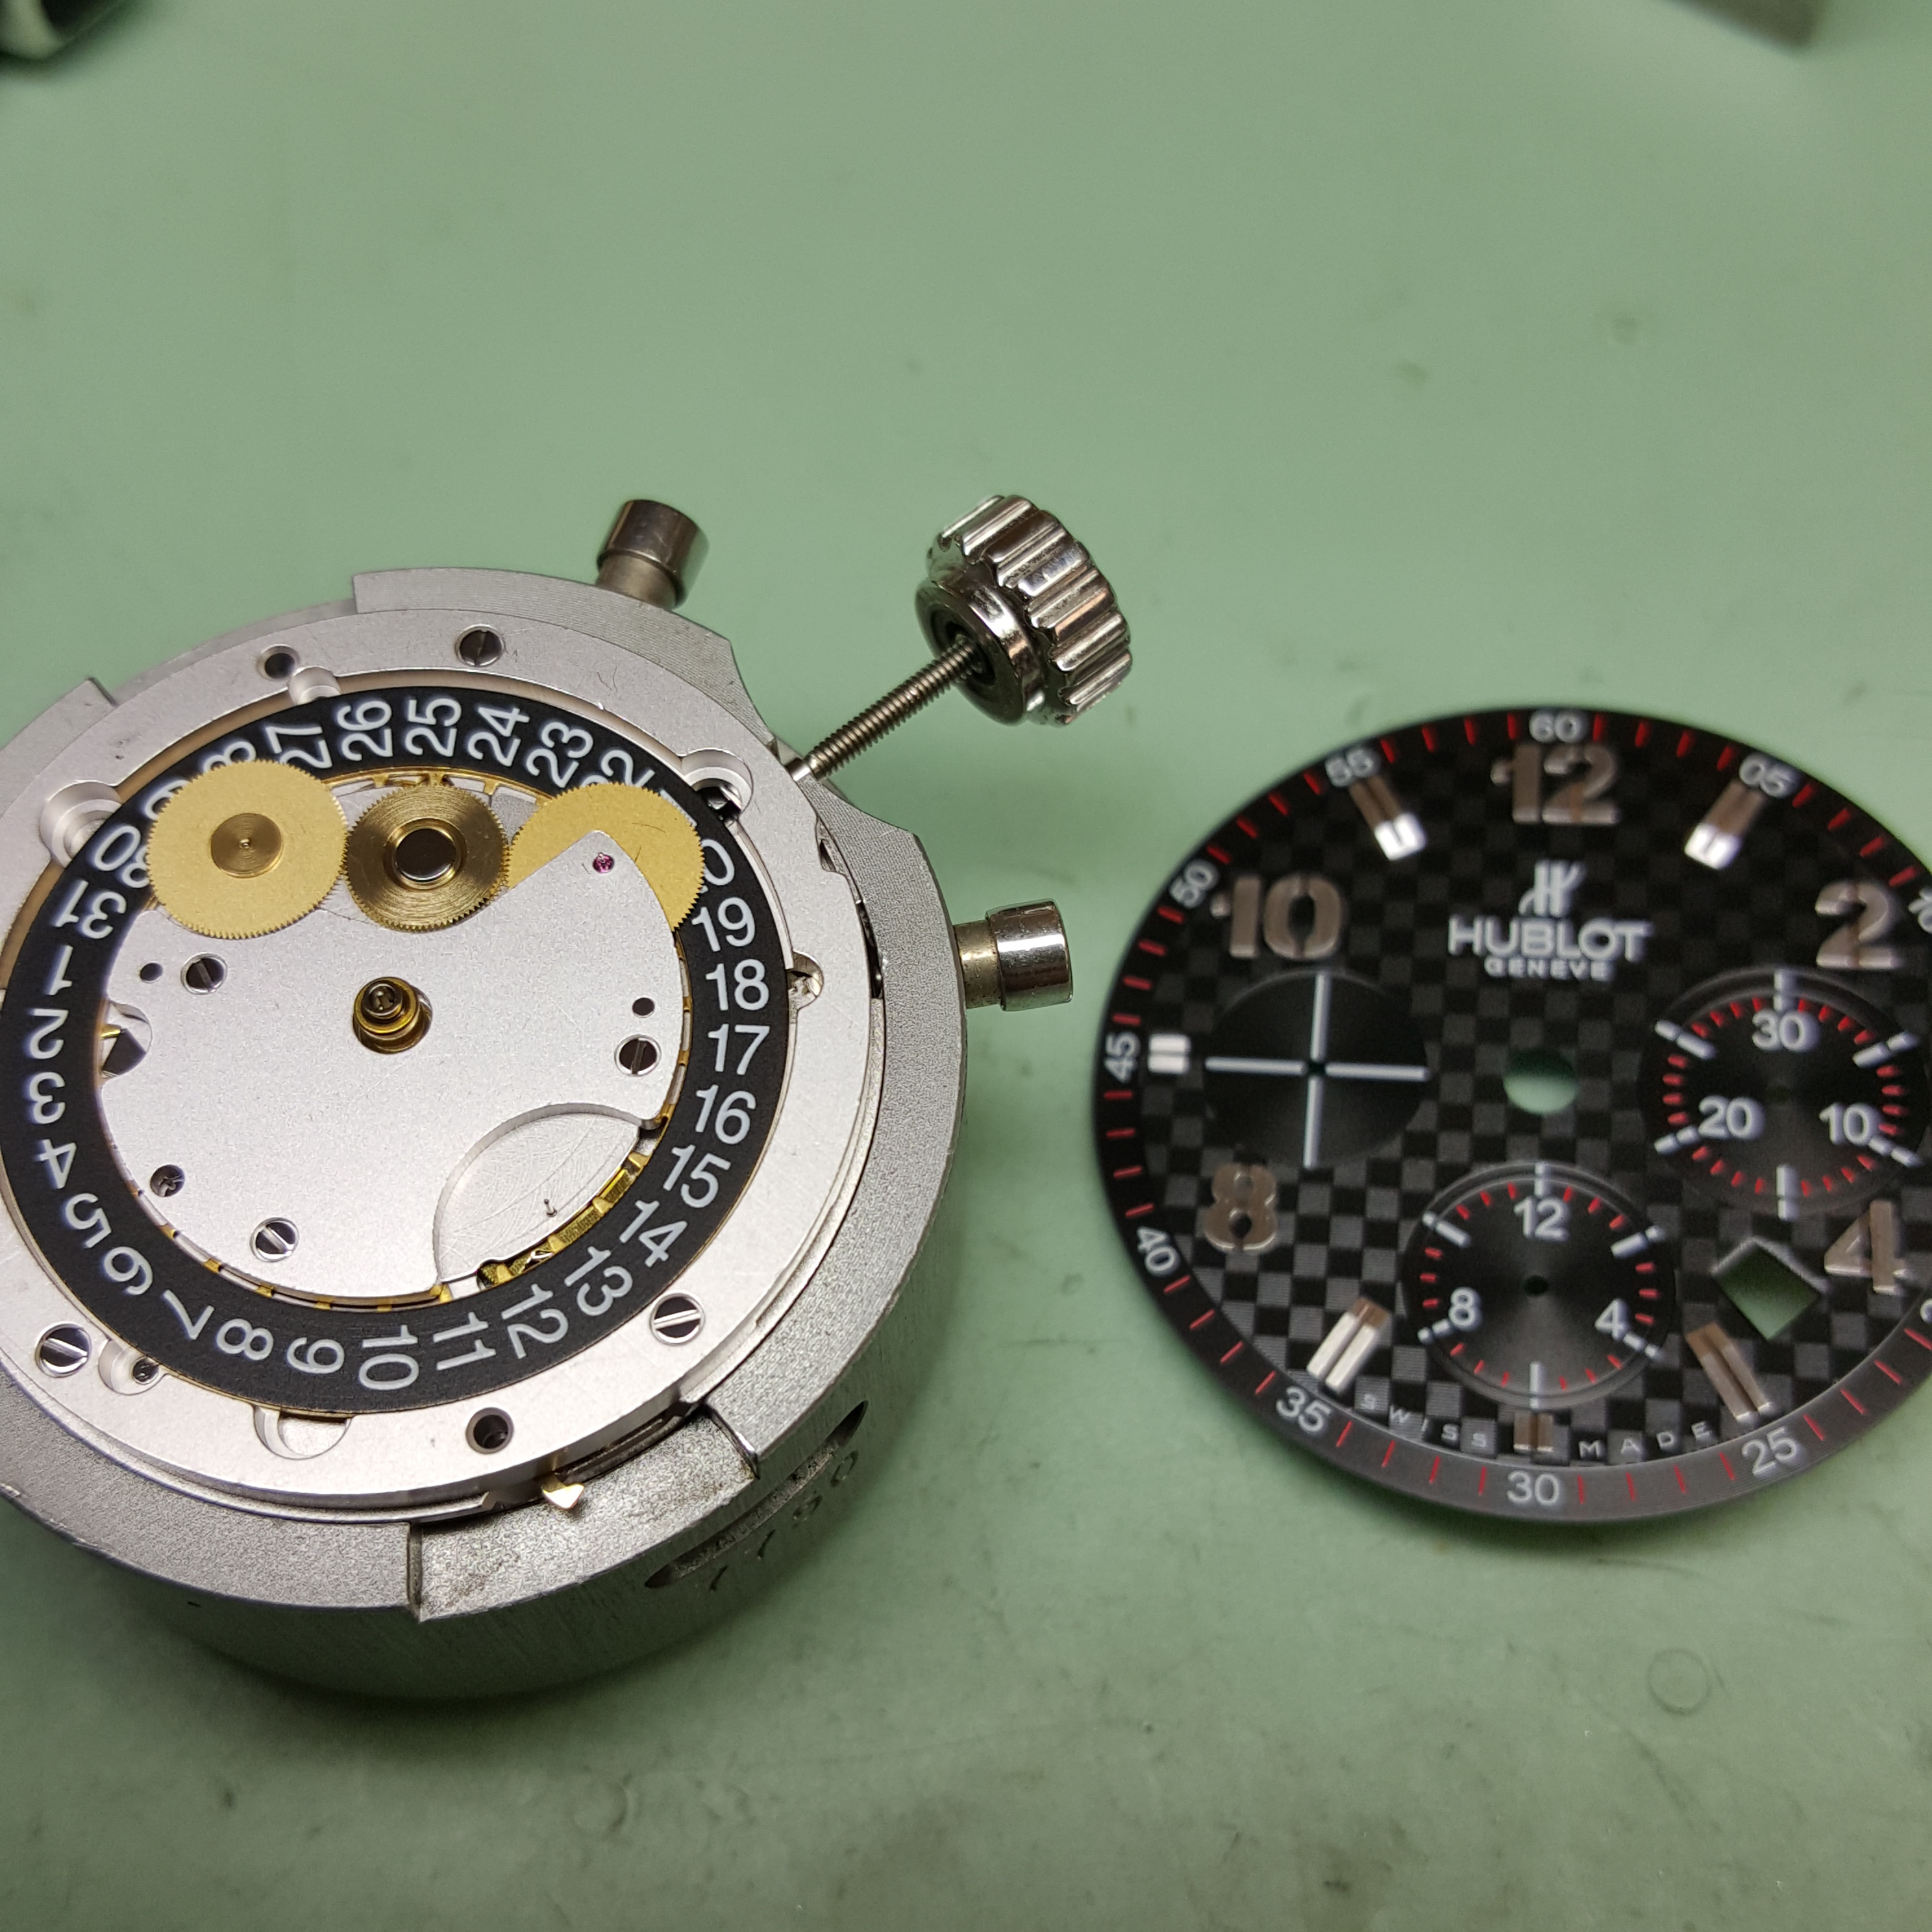
The see-through caseback reveals a Hublot Cal 4100 movement based on the ETA 7750.

After removing the caseback, the superior plate can be removed.

The four screws have to be removed so that it could be properly polished.

The columns on the side also need polishing.


For the time being I will remove the movement and set it aside.

Before the movement can be taken out, the stem has to be removed. The stem is held in the movement by a setting lever and by pressing down on it, it releases the stem.


Next up is the clasp.

In order for the clasp to be properly polished, it has to be completely taken apart.


These are the parts that will go through refinishing as these are the only parts that are exposed.

The rest of the watch will be cleaned in an ultrasonic cleaner. It may seem like a long process but it's probably been only about 5 minutes since I started taking the watch apart.

I can start my part of the job now.

I'd like to use a movement holder to get the hands and dial off, and I'll work my way down from there, but the rotor has to come off first. A 7750 movement holder will work perfectly as the Hub4100 is based on it and only has slight alterations.


I don't know about other watchmakers, but on most chronographs I remove the sweep second hand first, followed by subdial hands, and then the hour and minute hands.


After the hands are removed the dial can be removed.

There are dial fasteners on two sides of the movement that hook to the dial legs.

Unhooking the dial fasteners.gif
Oh.

What a pain. I can't continue working on this side until that wheel is removed. I have a method to remove it, but I have to free the wheel on the other side of the movement that this one is pressed onto.


I'll start by removing the clutch spring so it doesn't go flying when I remove the bridge that covers it. Normally I'd also remove the curved spring (hammer spring) that's around the bridge as well, however thanks to Hublot's genius engineers or designers it cannot be done. This will also cause a slight problem during assembly.

Holy crap. I'm amazed that nothing jum

I spoke too soon. Anyways with the hour counting wheel loose, I can remove the wheel on the other side.


Success!

Lets speed things up a bit.


With this the dial side of the movement is taken apart.

Removing the chronograph bridge.

With nothing in the way, the mainspring can be unwound.

This is necessary so that when the escapement is removed there is no power in the mainspring, otherwise if the watch was wound and the escapement was removed, the sudden release of the mainsprings power could damage or break a gear or two.


Removing the balance.

Removing the pallet fork.

Removing the barrel and trainwheel bridge.


We're almost done (with the disassembly). After removing the mainspring all the parts will be put inside a cleaning machine.

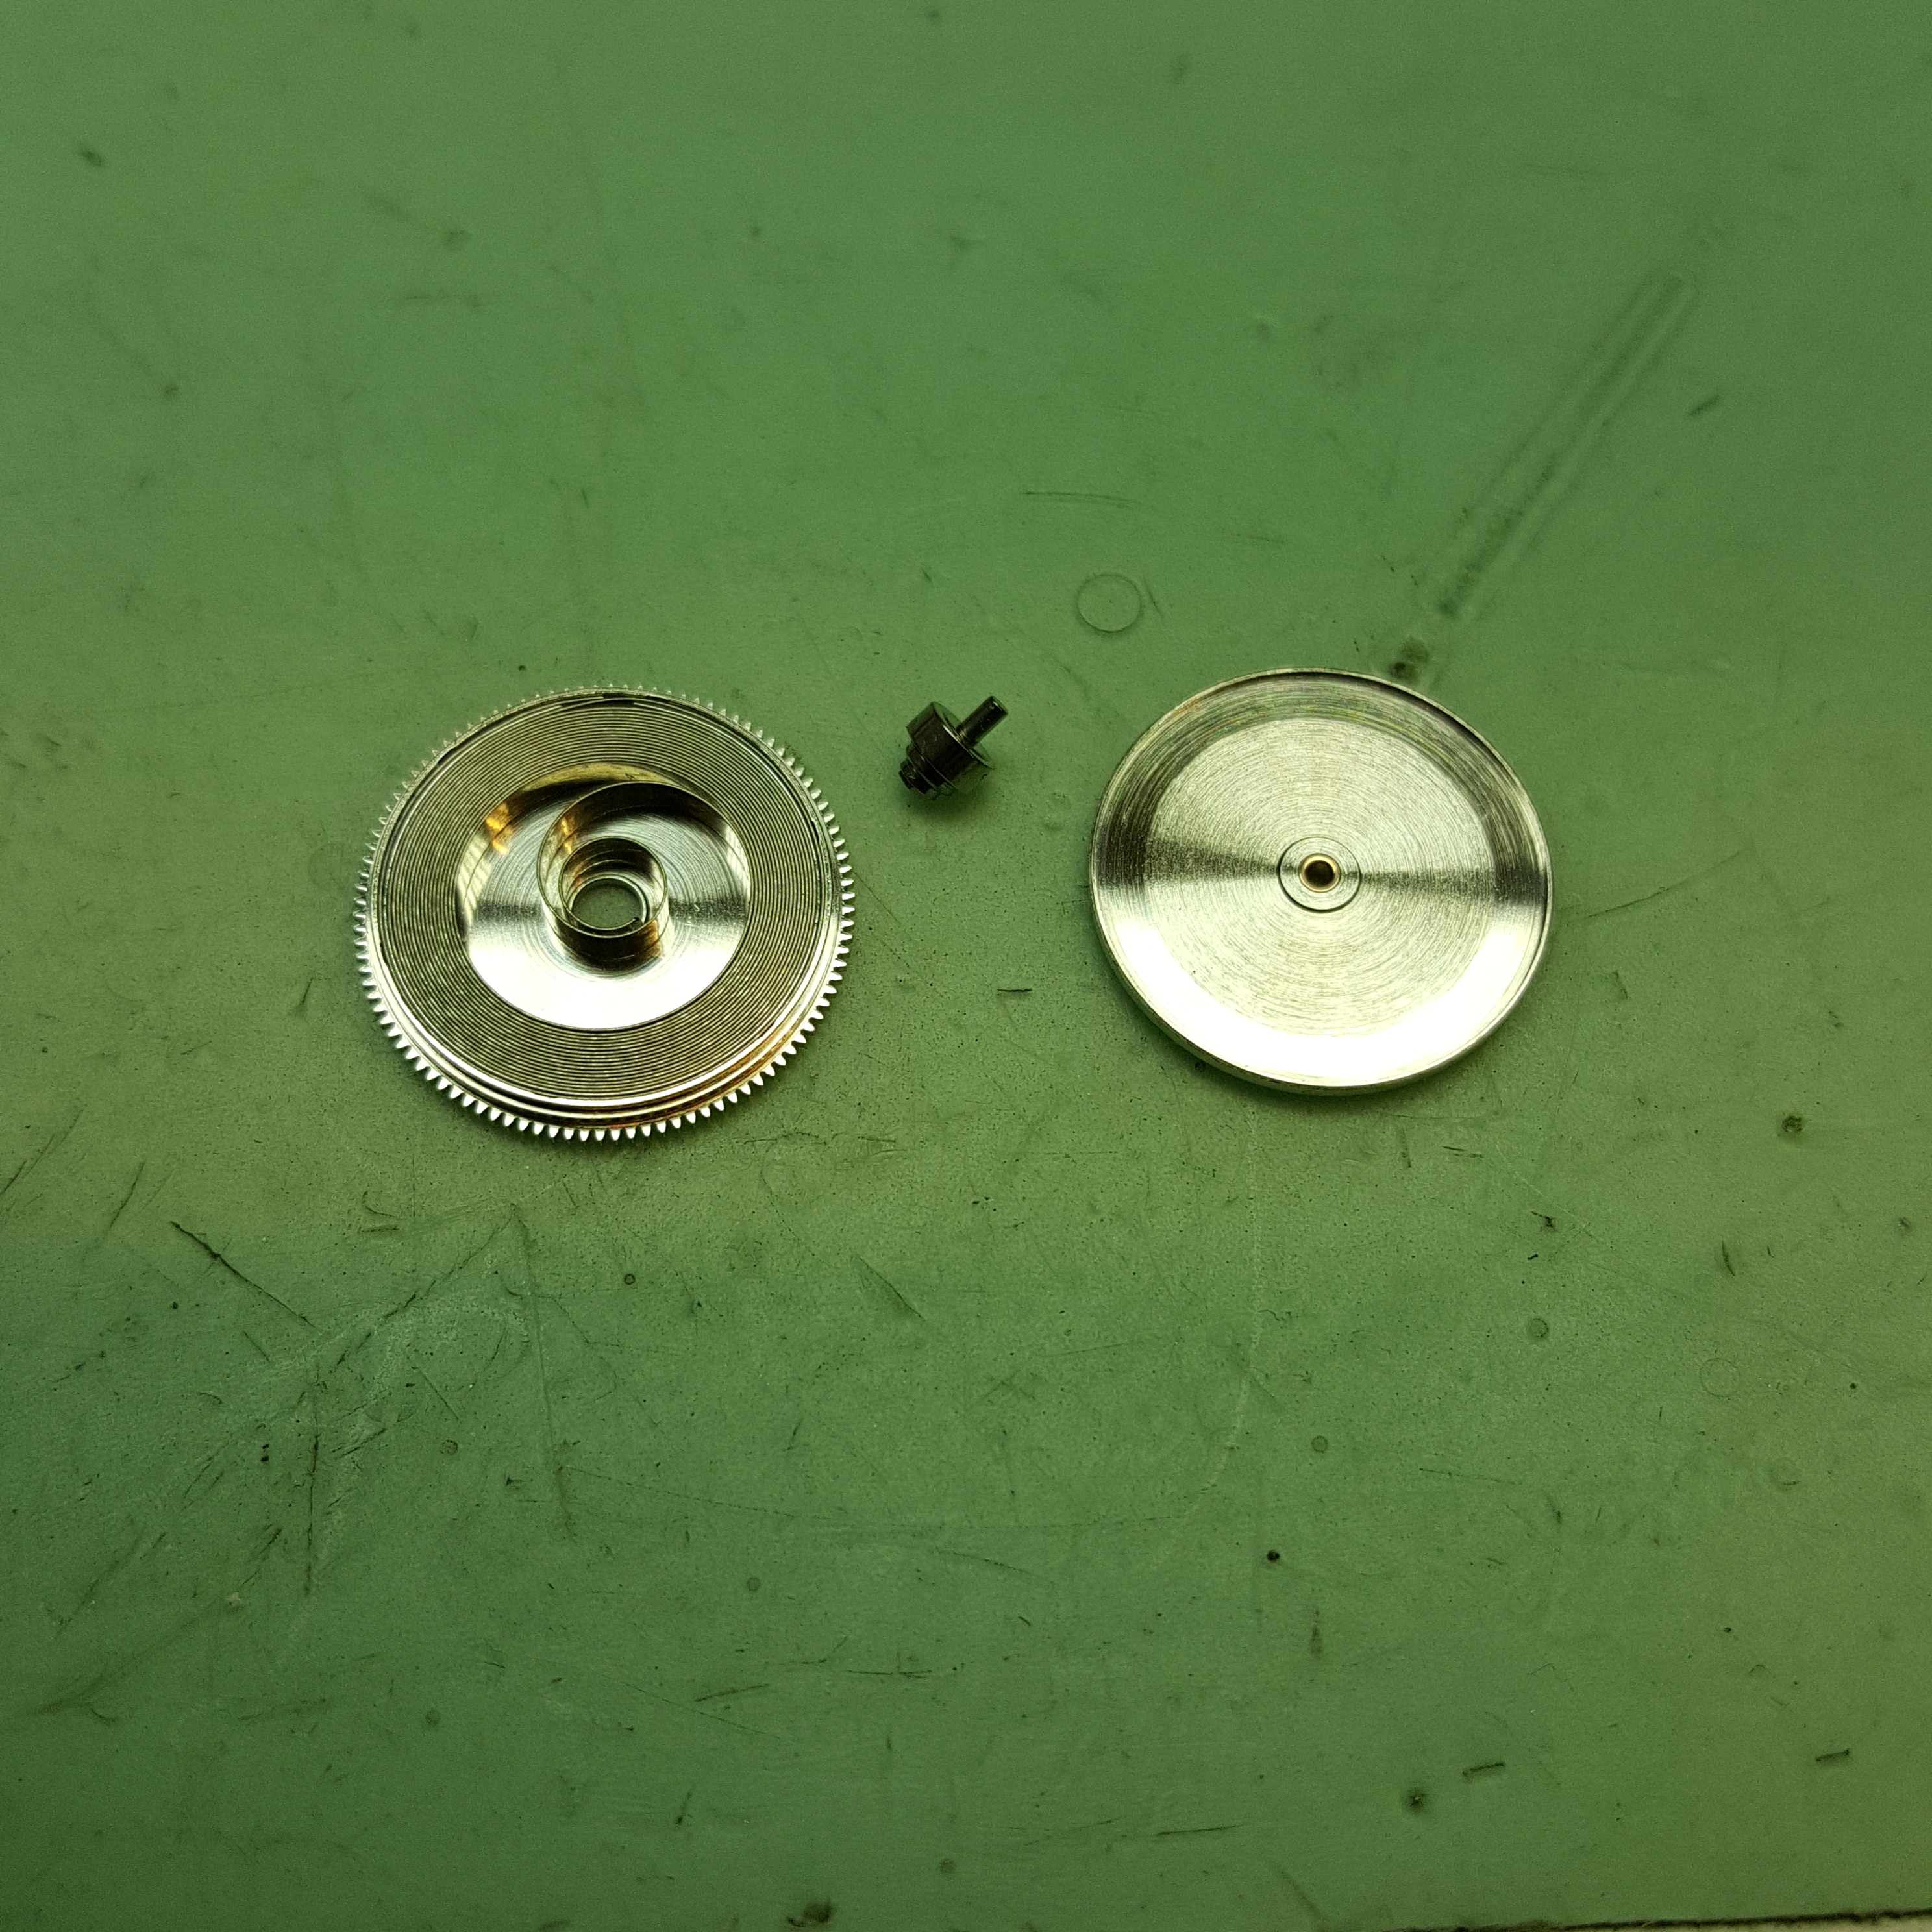
Opening the mainspring barrel.

Removing the mainspring.

Still removing the mainsring. This took about a half minute.

After the cleaning I put everything away until the next day. Everything is clean and ready for assembly.

Now I've seen people work from a mess like this, but I personally can't.

I always arrange the parts in some random order, screws to screws, gears to gears, springs to springs and bridges to bridges. This saves time in the long run.

I'll start the assembly with the barrel. Imagine the mainspring-removing gif playing backwards.

Applying a bit of oil to lubricate the manispring. The walls of the barrel have also been lubricated with a graphite based grease.

The beauty of this movement is the simplicity of it. Parts just fall in the right place.

Can't forget the stop lever!

With this put together we could give it a wind and see how the gears spin.

Well I'll tell you it looks much better on video!

Installing the pallet fork and pallet bridge.

Installing the balance.

The only thing that's left is the jewels from the balance.
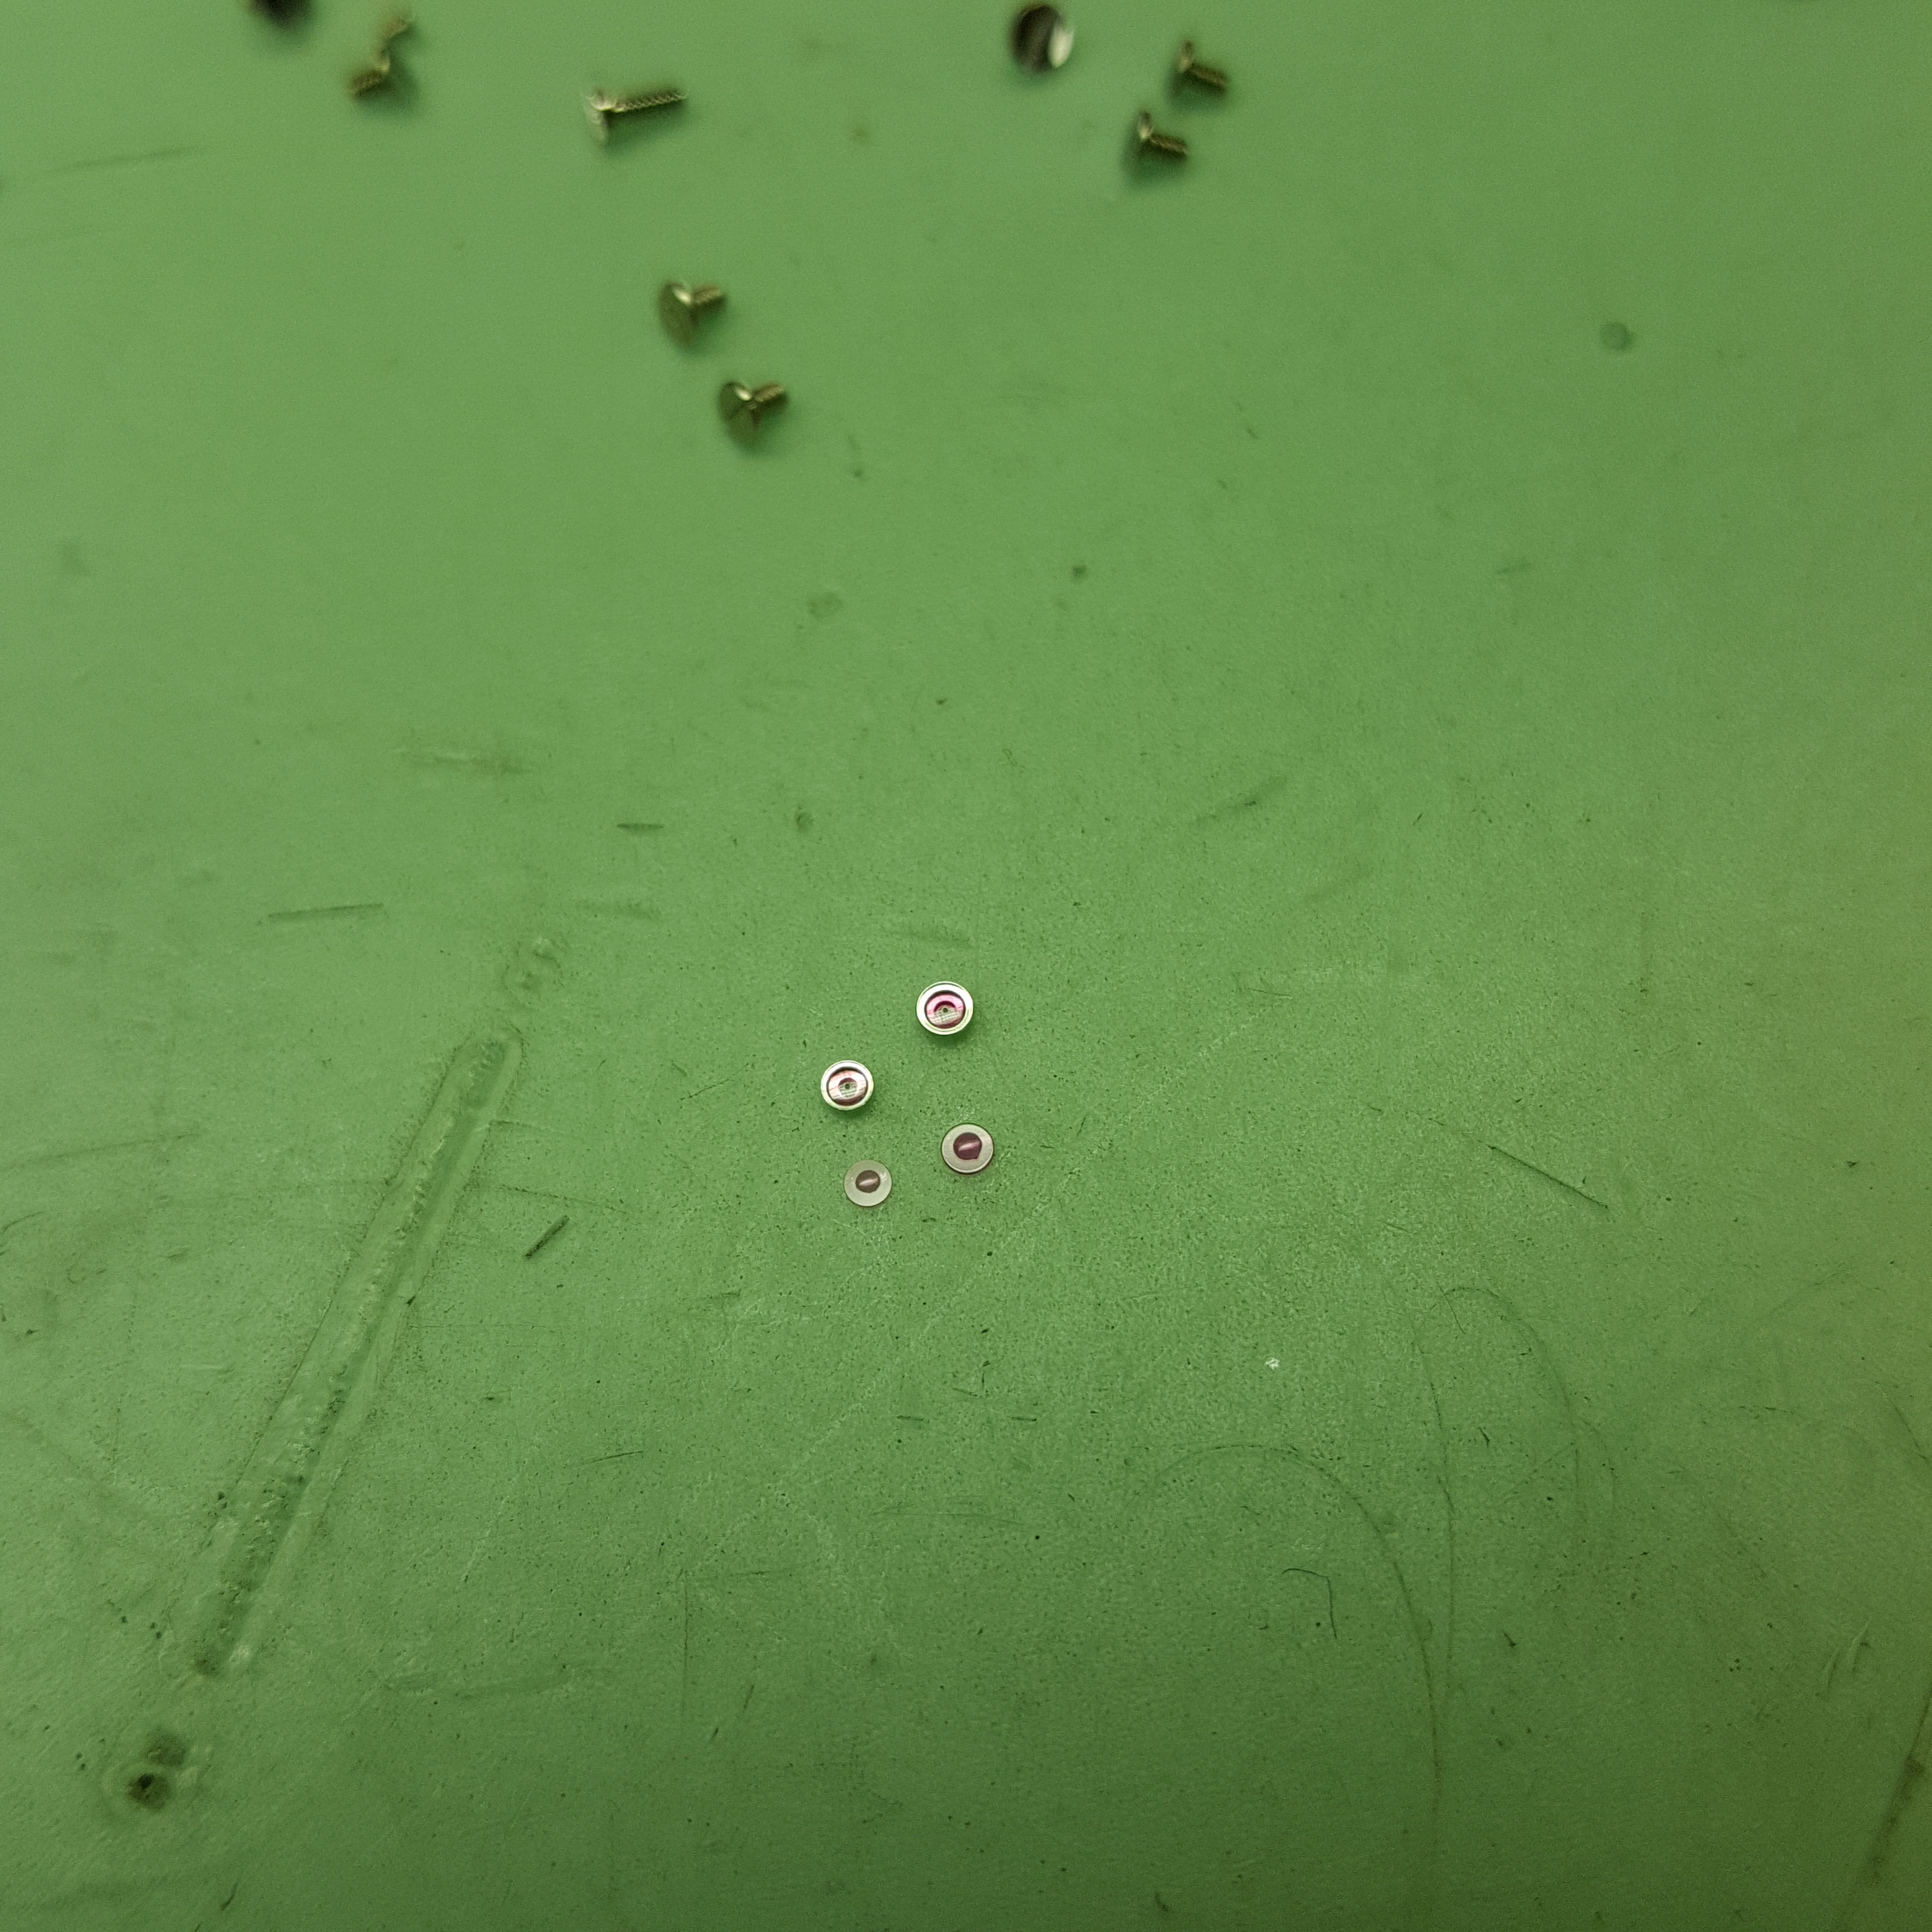
Here they are.


A quick look to see how the watch is running. All the gears that are on the movement have been oiled.

Preparing the parts to finish the back side of the movement.


Why are there two of you?

Installing the hammer cam jumper.

Here come the "difficult" part.

Having to install the hammer spring before the gears are covered is a bit of a pain, as they are under pressure and this will make covering them more difficult.

There was a bit of a struggle but I managed.

God how I hate that modified bridge.

Turning over to the other side

Not much left now to finish the watch

By now you don't even need a description, do you?

Let's just quickly throw this together. Oiling everything as I assemble everything.


Wasn't that quick?

Just a few more gears and screws to go!


Done!

Oh finally time to set the hands! Aren't you excited!?

I'll start by setting the hands on the subdials first.

To set the hour and minute hands, first I'll find the exact time the calendar jumps to the next date.

+/- 3 minutes is within norm, but I think I could do better on this watch since it has a massive dial and hands.

Bingo!

Testing the chrono and reset functions. All good here!

Before I encase the movement, I'll lubricate the pushers first to make sure they keep water resistance in the future.

Almost ready to close the watch.

After installing the rotor and signing the caseback, the watch can be closed.

Doing a quick pressure test before I continue the assembling process.
First test is at 0.5 bars. Passed.

Second test at 2.0 bars passed.

Assembling the case is a bit boring. Still have to be careful so that no mistakes are made.


This may seem a bit confusing, and it is.

The case is fully assembled.


And here's the finished product.


Giving the watch one last reading report before going in quality control.
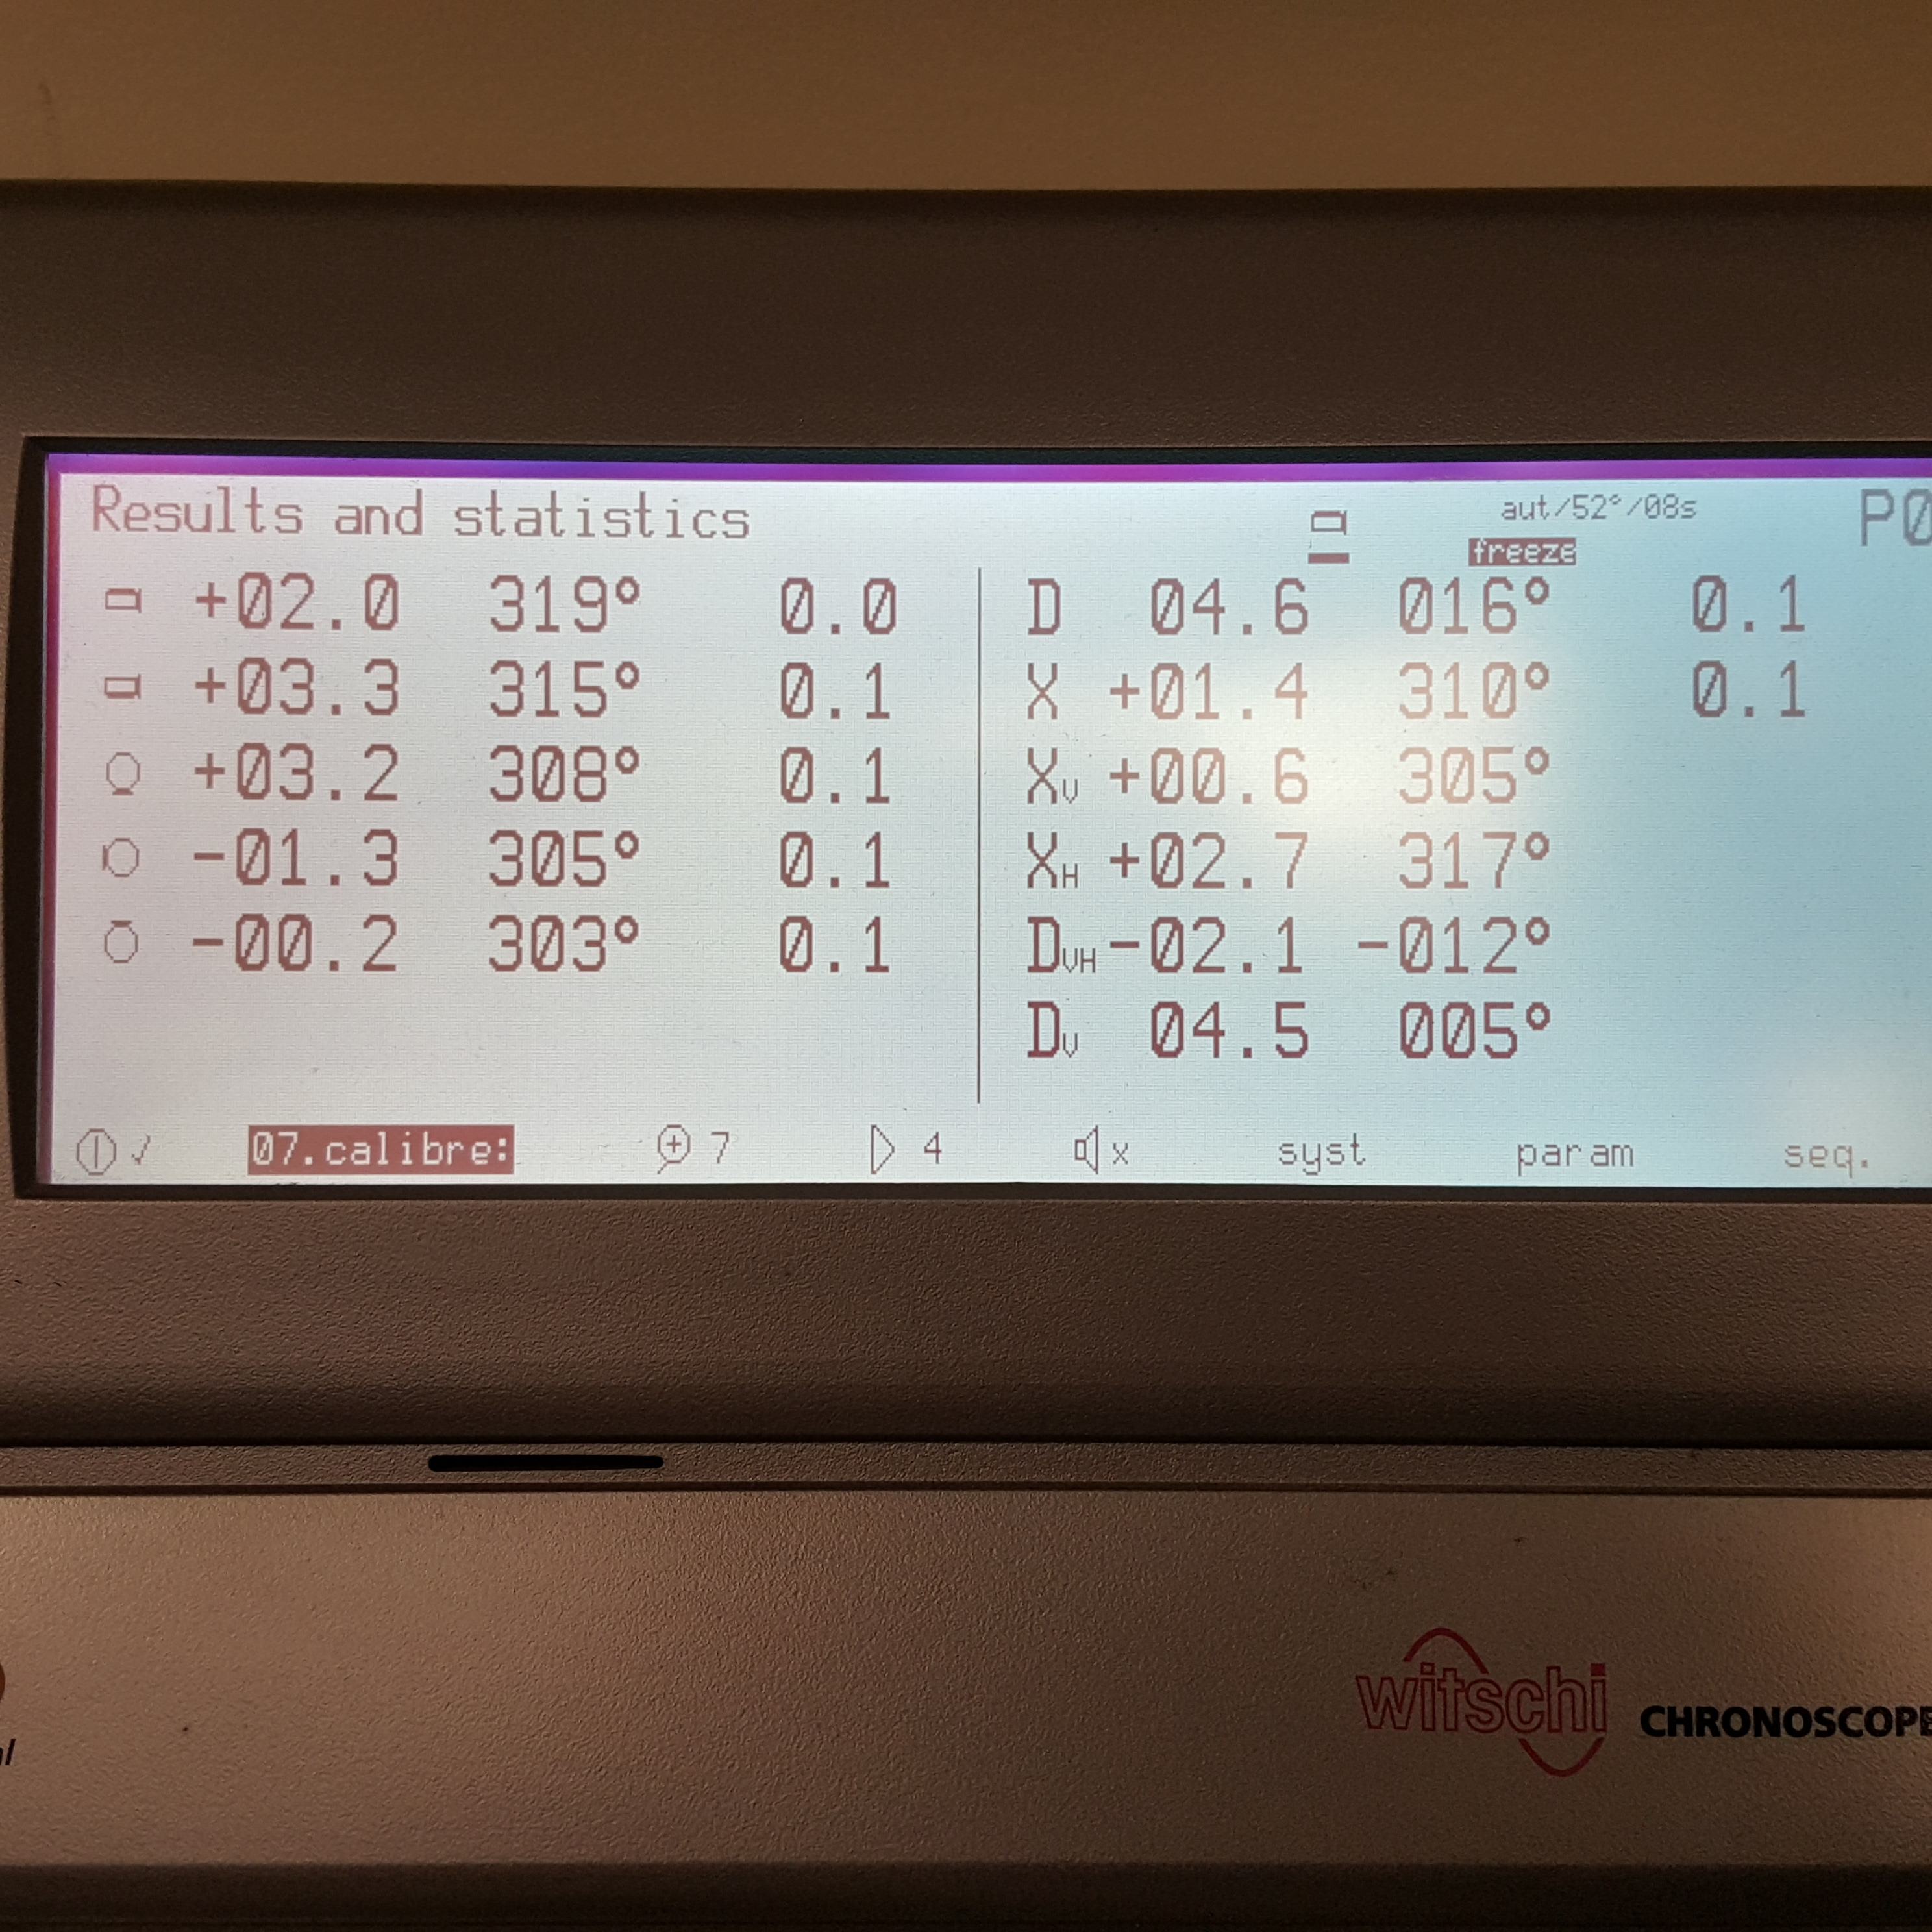
All readings are excellent!

In some of my previous posts I've been asked why don't I wear/don't like to wear finger cots. As you can see sometimes I do wear them.

They're just very uncomfortable.

VERY.
LoudredBragg
Wow finally made it the the end. What time is it?
Temenos
In restaurants we call those, finger condoms
soxxpuppet
Excellent! Wonderfully done OP!
poppedtheclutch
Question: why am I masturbating?
titimonkey
You must be German
gotsomegenderfluidonmyshirt
the sexiest thing on imgur all day
KingCoolbra
TIL finger condoms are very tight.
fierce1three
all that, just to change the battery
shitonyourmom
There is no battery. This is all mechanical.
chadpendragon
Never had these issues with my Timex.
shitonyourmom
Your timex is also electronic
delusionaldaydreams
How does one ever get into this profession?
NotJohnGalt
My question too
SlightlyAfraid
So, I'm 18 and like leather band watches that are business casual oriented, help.
shitonyourmom
Timex Easy Reader or Weekender!
SlightlyAfraid
Thanks my man!
shitonyourmom
No problem. And remember straps are interchangeable if you just find one the right lug width, likely 18mm on most these models.