isobethehen
28330
83
4
Okay, so this all started with me watching a Linus Tech Tips video about a desk like PC case from Cryorig.
https://www.youtube.com/watch?v=nRBJ2fysc64&t=349s I watched the video on 7/16/17 and I knew I had to have that case. Sadly, towards the end of the video, you come to find out that it is super expensive / not even available yet.
My old case, a Corsair Air 540 was a huge magnificent hunk of aluminum. Air flow was nice, the side panel showed everything it had, and I painted red stripes on it myself. But after 3 years I thought it was time for a change.
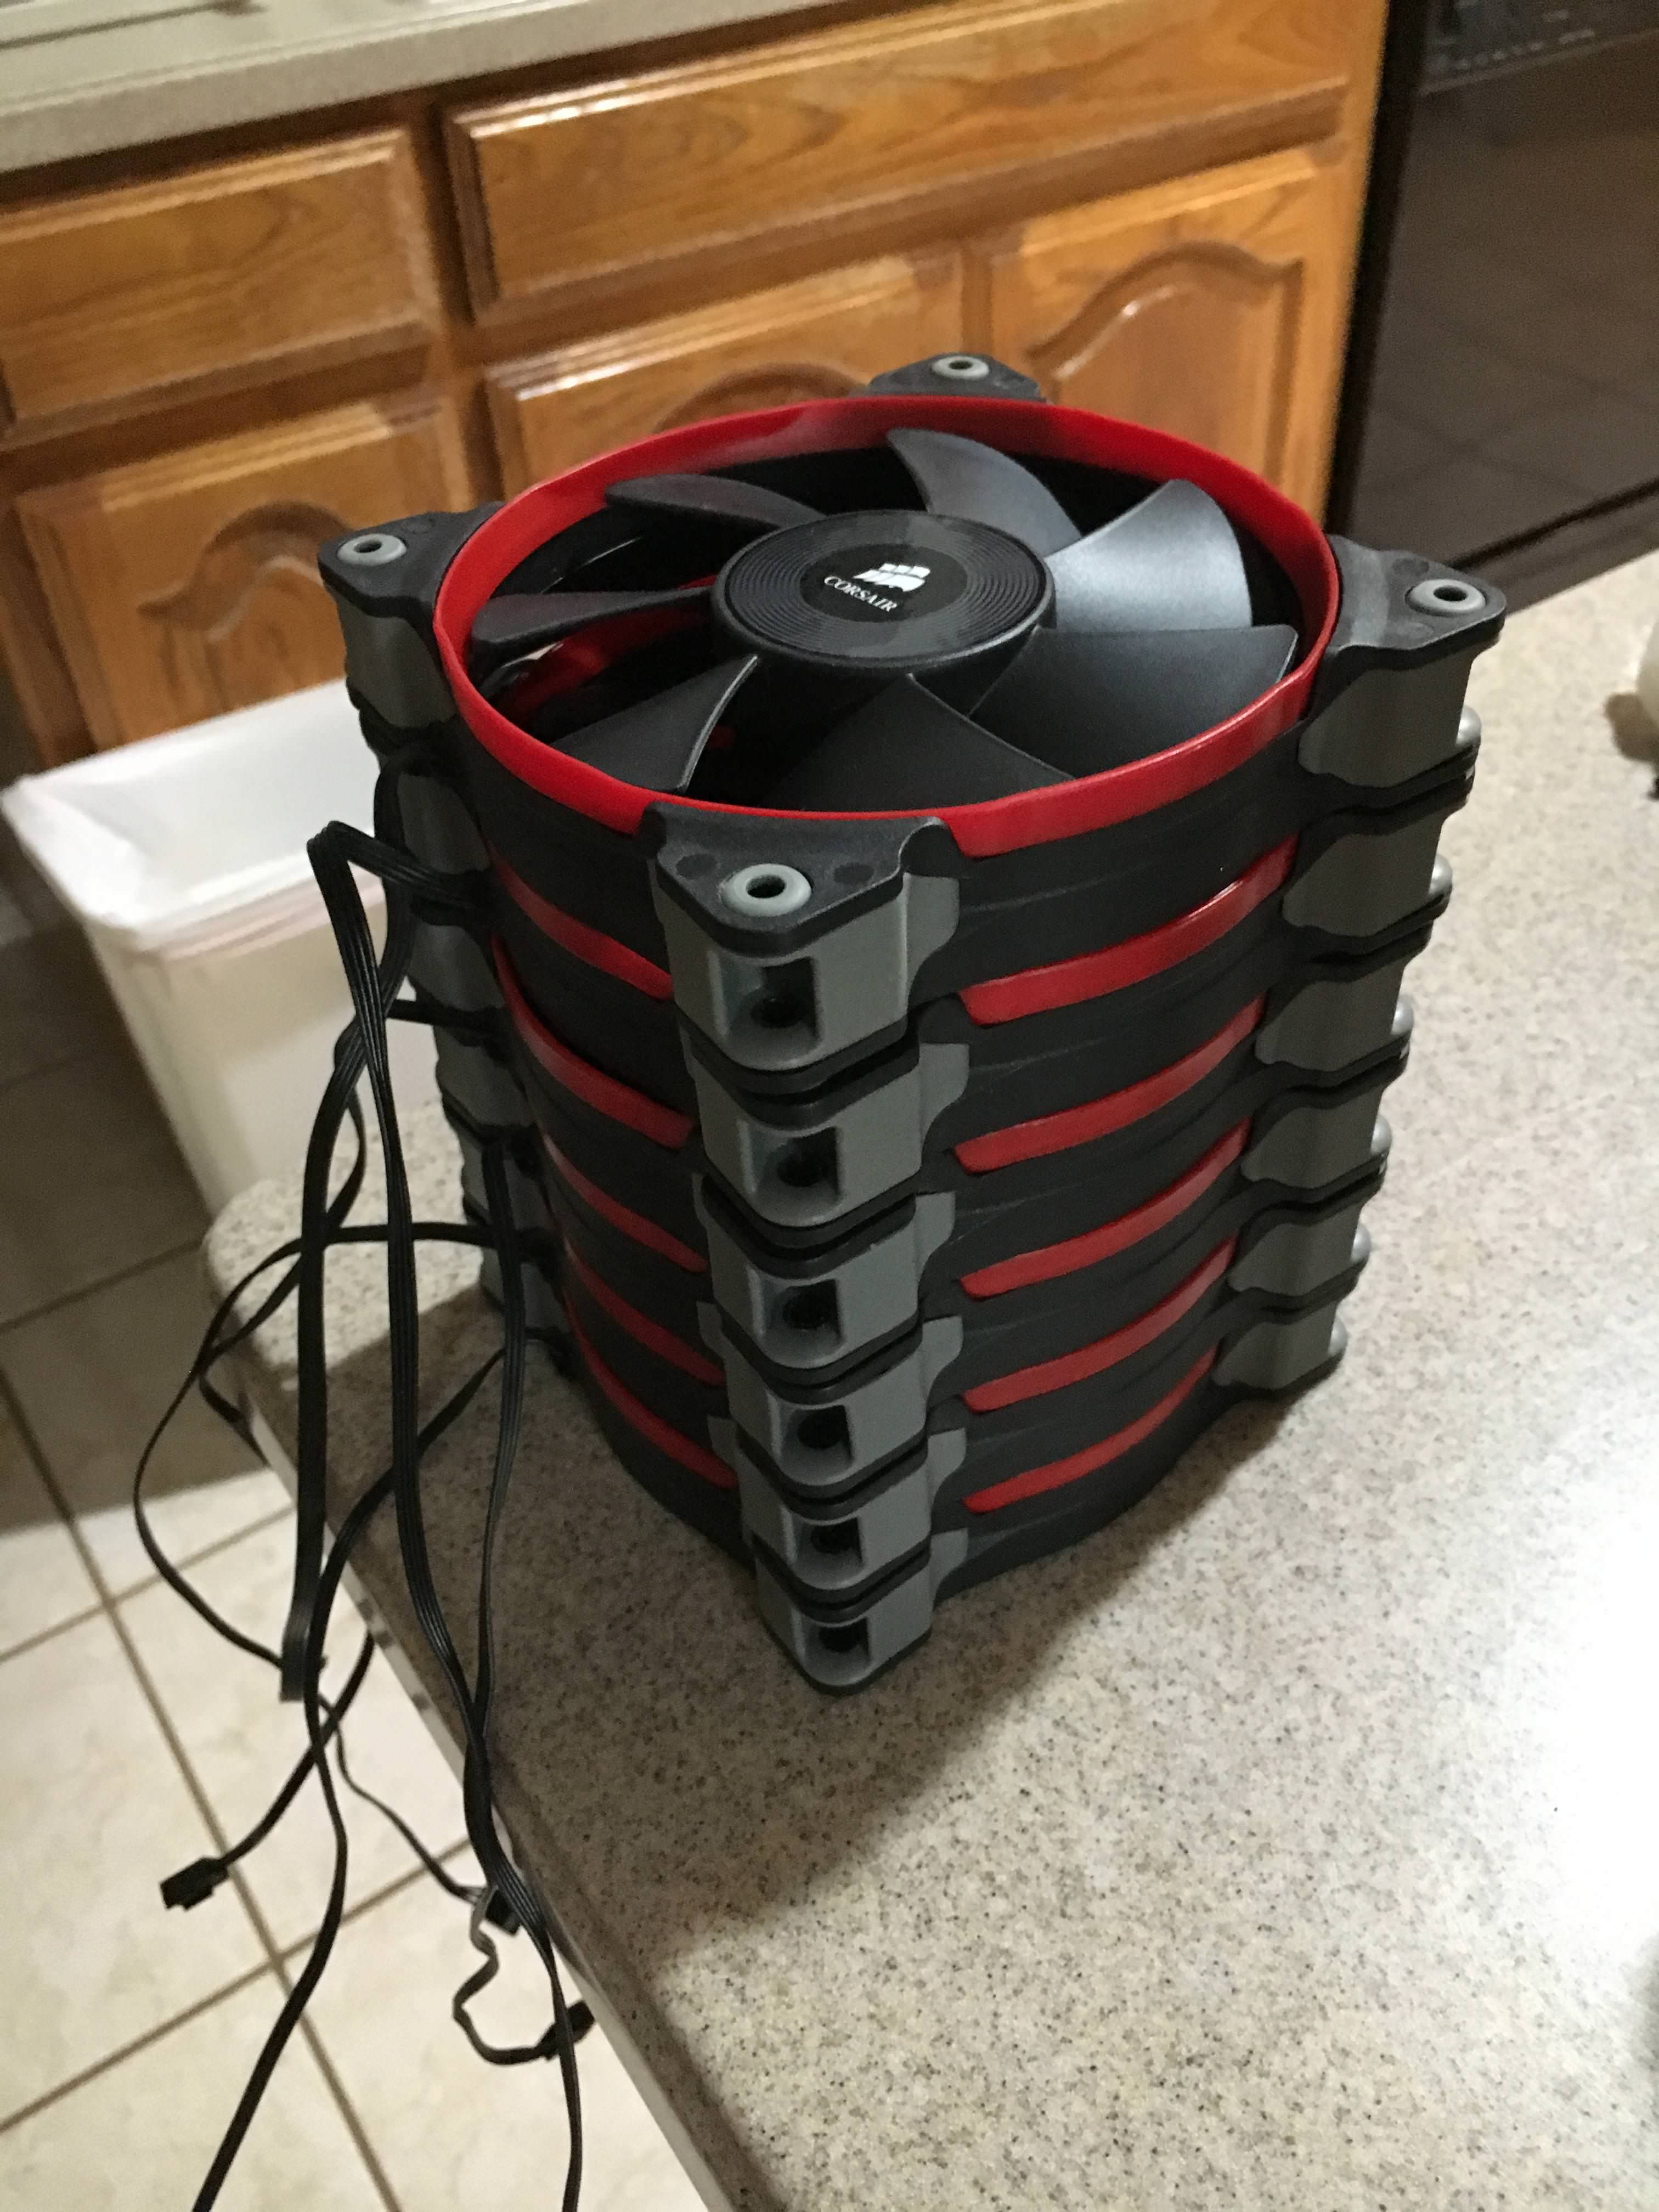
These are all my fans from my old case. Half AF120 half SP120

Specs:Motherboard: MSI z97 Gaming 5
CPU: i7 4790k @4.5 GhzGPU: MSI gtx 980
Memory: 16GB Corsair Vengeance
Cooling: 3 Corsair SP120 Fans / Corsair H100i / IC diamond thermal compound
PSU: Corsair AX860Storage: Samsung 840 pro / 850 evo
Wifi: Asus AC 1300 pcie card
Materials:
1/2 inch 6-32 screws / nuts
1/2 inch 3M screws / nuts
1 1/2 inch 6-32 screws / nuts
1/4 inch thick 2ft x 6ft cast acrylic
5ft x 8ft carbon fiber laminate with adhesive
soft brush
Weld-on 4 acrylic glue
Nonconductive rubber insulation
box cutter
scissors door hinges
motherboard standoffs
PC power button20cm pcie 3.0 extender
markers
spatulasuper glue
This is pre dusting. For dusting off all the components, I used a soft brush.

I decided that I was tired of my old case and decided to start on this new build. I don't have any prior experience making custom cases but I am pretty knowledgeable in computer hardware. My journey started on 7/25/17 when some of the parts started to arrive.

The entire case itself is made out of cast acrylic I got from amazon for about $50. I used a 2ft x 6ft board that I cut using a table saw. Honestly, the planning and measuring was more than half the build itself.
Sorry I forgot to take pictures of the board with all the measure marks and everything.
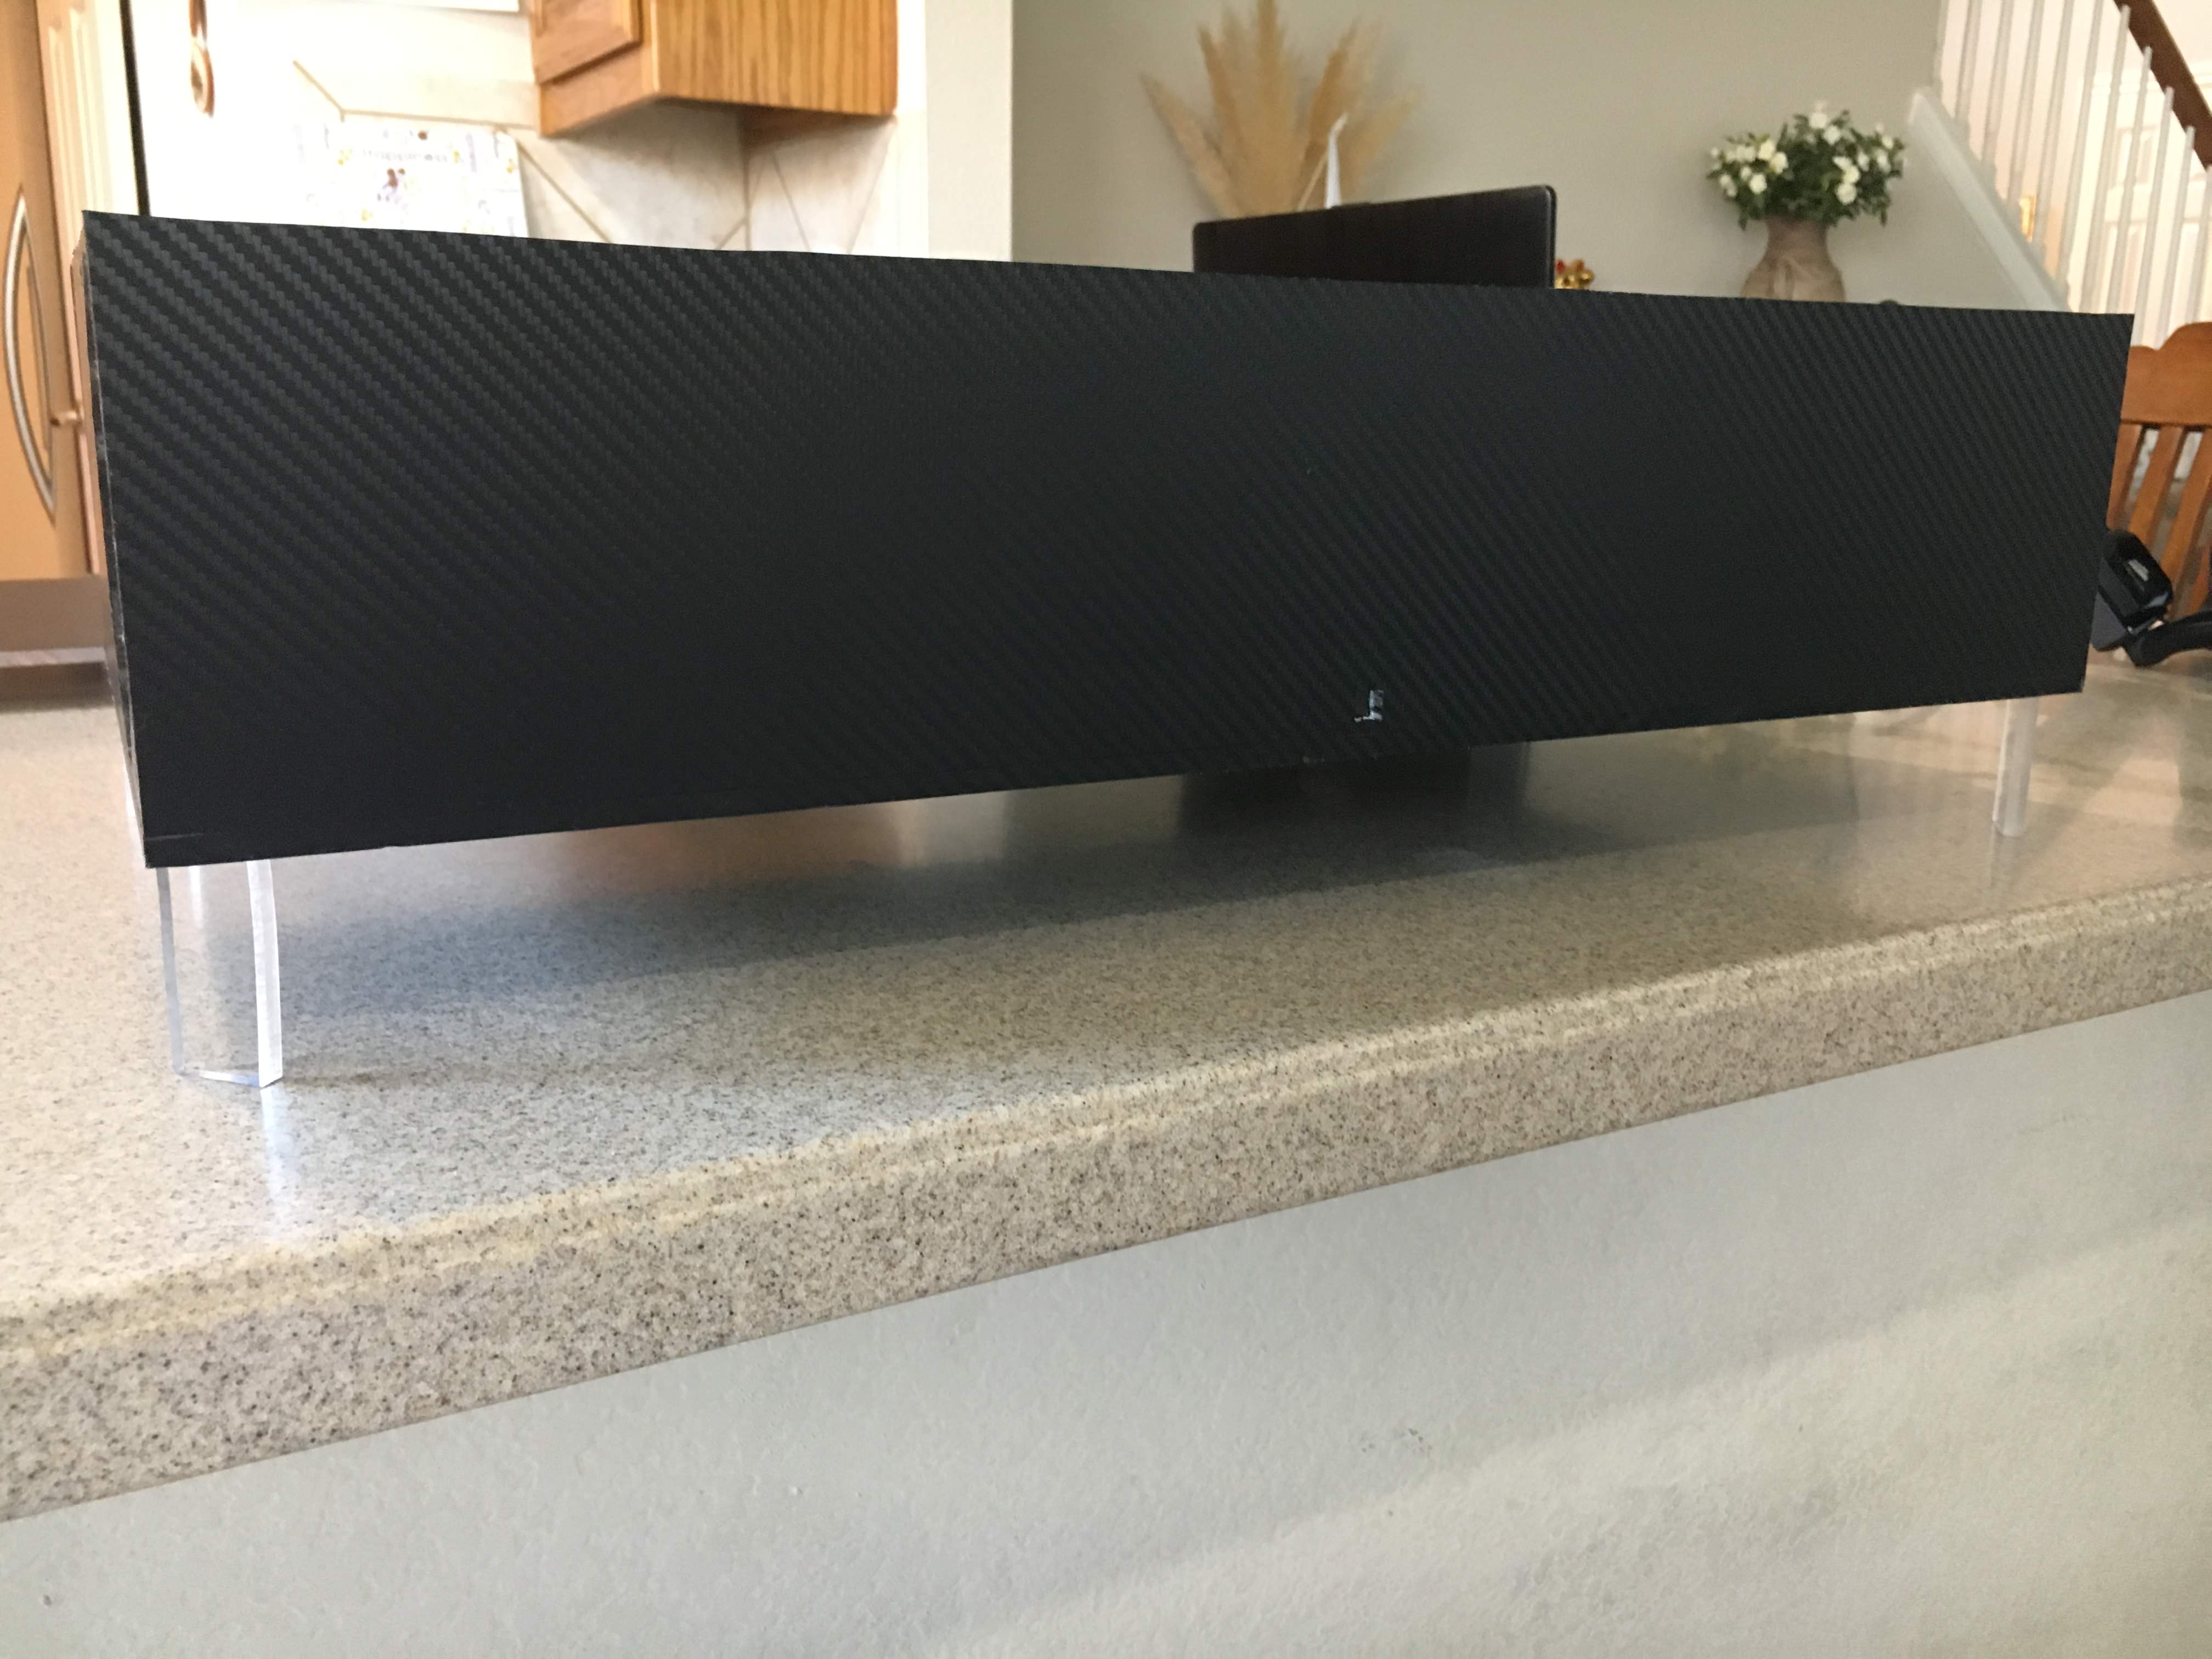
All the clear cast acrylic was then covered with a carbon fiber laminate. Found one on amazon for $18 5ft x 8ft.
Making the motherboard mounting tray was the hardest part since measuring the raisers and where holes needed to be was a pain. New holes were continuously made to accommodate for errors throughout the whole build.

testing to see if I put the raisers in the right place. you can see the SSD holes and that the huge gap right above them aren't there yet.

I even made a home made power button! I don't think I ever used my reset button so I left that out completely.

added clear legs. thought it would make the case look like its floating.
Acrylic is many times stronger than glass so these 1 inch feet that I used are plenty to support the whole build

Acrylic welded all pieces together. All holes are cut with a jigsaw which was the only tool I had to make those cuts.
In the whole build I only used a drill, jigsaw, and table saw.

Back side. you can see the old case in the background, poor thing.

This is before I found out that powersupply cables are thicker than they look and that gap above the SSDs is going to be a pain in the ass.

fan/rad locations, they are both sucking air into the case and the positive pressure makes the air come out the gpu hole.

parts all inside. I've always wanted to use a pcie extension cable and now i got to use it.
cable management was a nightmare since i forgot to put holes for cable ties but I somehow managed.

top on, 2 in borders. can still see everything inside the case.
thought air flow might be a problem but fired up HWmonitor and everything seems to be a cool 32 degrees Celcius
case dimensions: 1ft x 2ft plain and simple (not including feet)

on desk. sorry for phone quality photo. The case is tall enough to keep my keyboard underneath.
RGB lighting is a must but that will have to wait since I need to find out how I'll do that later. I'd say for a first attempt it turned out well and it looks like a half decent case. It is also not so heavy even though it is much thicker than aluminum sheets used in other cases.
Completed 7/31/17 ~40 hours of work ~$150 for all case parts
Thanks for reading my summer adventure!
Agisek
you could just buy a firewood for much less and set it on fire on your desk... and it will fit the red and black theme soon as well
counterweight7
building your own case is pretty badass
Darksnider05
Gotta drill some holes in that bad boy's screen to let some air in or that fuckers gonna melt.
IAkuTheShapeShiftingMasterofDarkness
Looks like a fire waiting to start
anarkyle
Mmmmm.... Needs more cowbell.
HotPeaSoup
I like the layout. It's so simple. I'ma gonna copy it.
bandgeek12345
All your air is being pushed through your psu. Your comp is going to burn up with no air flow.
ChronoKing
and gpu, which are both driven exhausts. he already stress tested it and it gets a little warm but not bad.
Liebkraft
lul, why spend 150$ for plastic that you have to put together, no air flow whatsoever, if you can get a proper solid steel case for less?
JMG021283
.......by the comments you can easily tell he wants it to burn better.....Plastic burns a lot better than metal.
Chasgrich
Instead of using all those fans, I keep my PC in a bucket of cold water
ElusiveWhark
http://imgur.com/V5CFT7r
notmyfirstrodeo
Great looking computer build, but let me criticize you for perceived defect that may or may not exist. - Commenters, so far.
jimsmithkka
eh, the gpu at least needs better airflow, its a the top of the case and sucking air from a piece of flat plexy
ProfessorDumbass
Fans need air to push .... you have a cooker
mybliss
Unfortunately, yea. It looks awesome though.
big65
There's large enough gaps at the back of the case to allow for airflow from the pusher fan.